DIYing photo prints is no easy matter. In fact, if you want to properly learn how to print photos at home, it requires a bit of research and trial and error before you get a product you really love.
But, if you’re dedicated to photo prints and have the money to invest in good supplies up front, it may be a good investment for you in the long run (especially if you are printing photos all the time).
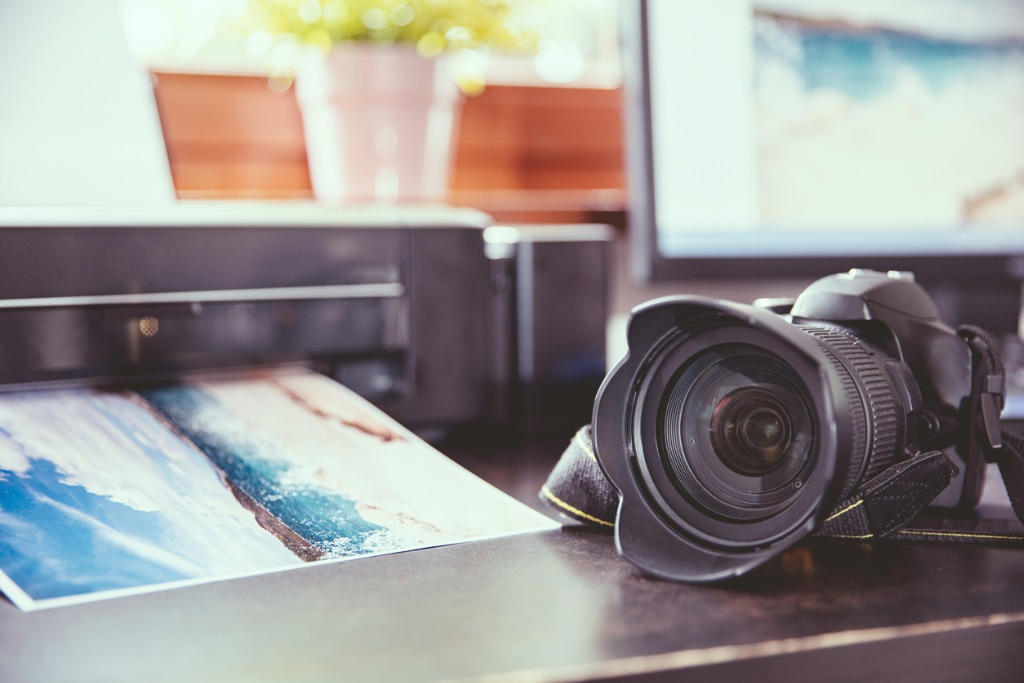
Plus, it’s fun! I like making homemade photo prints, just like I like using my 35mm camera-they’re both dying arts and it’s fun to teach my kids how to do things just the way I did it when I was growing up (albeit so, so much faster).
Table of Contents
- Make Sure the Colors on Your Screen are Correct
- Do Your Paper Research
- Create Profiles
- Don’t Forget About Soft Proofing
- Use Sunlight to Check Your Prints
- Pick the Right Frame
- If DIY Prints Aren’t Your Thing...
Make Sure the Colors on Your Screen are Correct
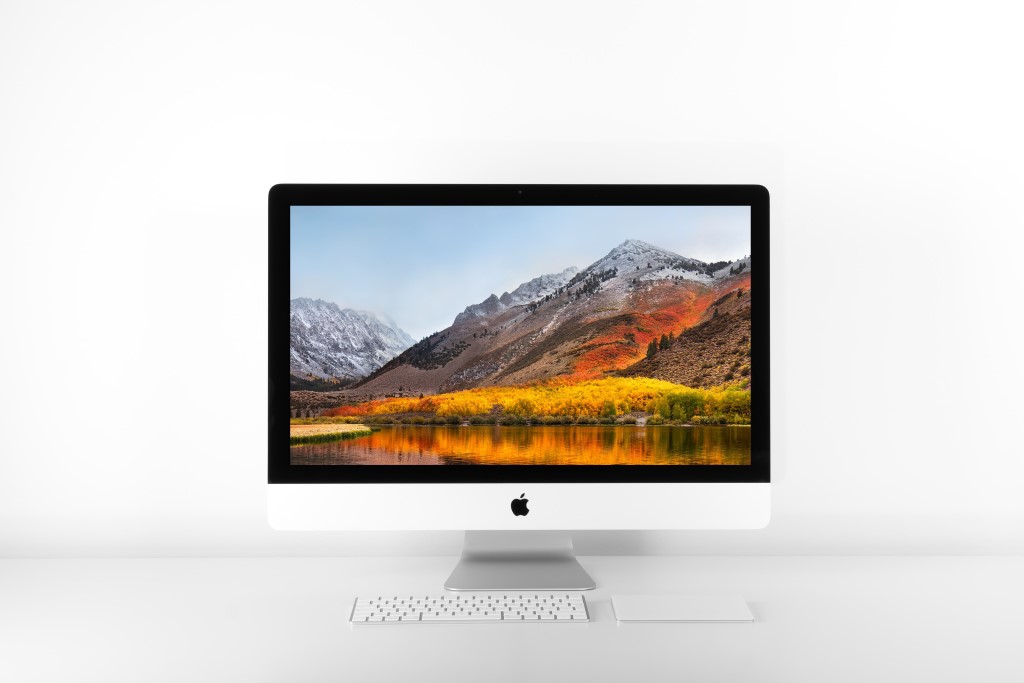
Photo by Thomas Q on Unsplash
The first thing you have to do before you start delving into photo printing tips is to calibrate your monitor.
After all, if the colors of your monitor is even a little bit off, you’ll be sorely disappointed with the prints that come out of your printer.
Plus, calibrating your display doesn’t take much time or money. Whereas you may want to buy a newer monitor at some point down the line, chances are the one you have right now will work perfectly to get you started.
If you’ve never calibrated your monitor, you can use this guide to get started. As you’ll see, it’s a simple process, but the improved eresults you get will be well worth it!
Do Your Paper Research
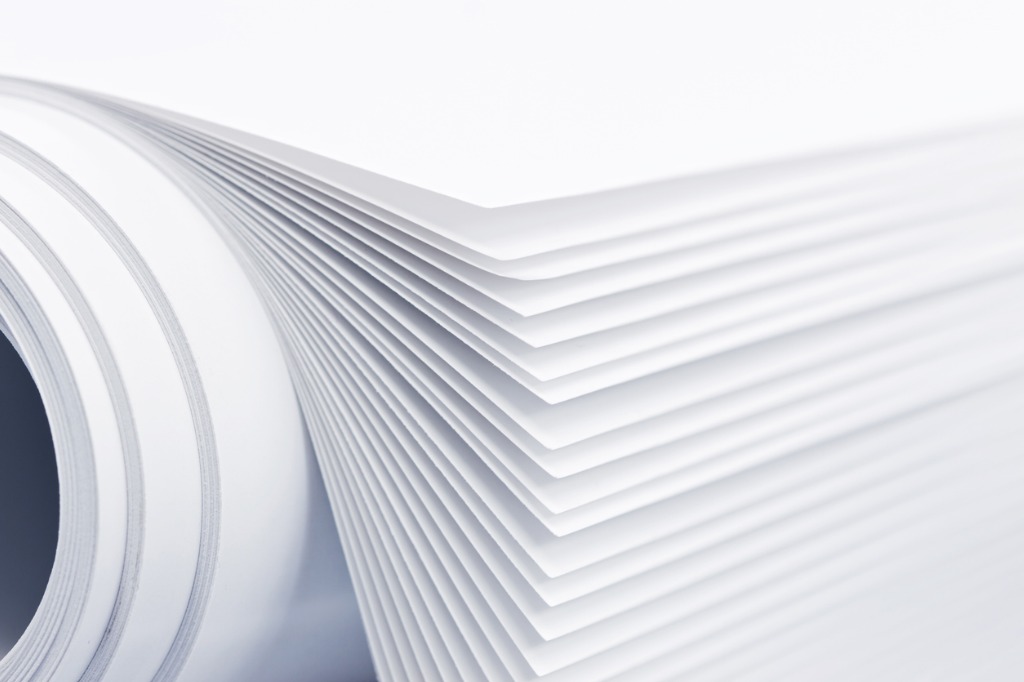
photo by Avalon_Studio via iStock
I’ve never understood why photographers spend so much time picking out the ink they use for DIY printing, but I never hear anyone talking about the paper they use.
Firstly, there’s about a thousand finishes available, from matte to glossy to metallic, and chances are you may only understand what a few of these finishes will look like on your final product.
Since your paper directly affects the quality of your photo prints, I suggest you take a trip to a local printing lab to learn a little bit more about it before you really dive in.
My local printing lab was more than helpful when I asked to shadow one of the printers for a day. They even sent me home with a sample pack of paper, so I could try them out for myself.
Plus, if you don’t want to take the time to visit your local printing lab, you can at least purchase your own sample pack to try out.
Create Profiles

Photo by Joshua Fuller on Unsplash
When I learned how to edit my photos in Photoshop, I basically just memorized steps instead of putting any effort into understanding the process, which meant when I started learning how to print photos I also had to start learning what all of those Photoshop processes meant.
Essentially, when you take your raw photo from your camera and upload it to Photoshop, it goes through a bunch of conversions and translations.
What this means in computer talk is that your photo changes a lot without you ever realizing it.
When you create profiles in Photoshop, you’re helping Photoshop to talk to your computer better. Think of profiles in Photoshop as Google Translate. It’s completely necessary if you’re hoping to get anywhere.
Joe BradyJoe Brady was my go-to for DIY photo printing when I first started, because his videos are informative, but don’t drag on for ages like some other photo printer videos on YouTube.
One thing he doesn’t talk enough about in this video, though, is that when you buy high-quality paper for your photo prints, the paper manufacturer should provide downloads for easier profile creation.
Don’t Forget About Soft Proofing
Just in case you don’t know what soft proofing is, it’s an essential part of the DIY photo prints process.
Soft proofing allows you to use the profiles we just created to figure out what colors your printer can and cannot accurately print, so you can adjust them as necessary.
In the video above, Scott Davenport walks you through how to soft proof in Lightroom.
And in this video, John Whitehead Images walks you through how to soft proof in Photoshop.
Use Sunlight to Check Your Prints
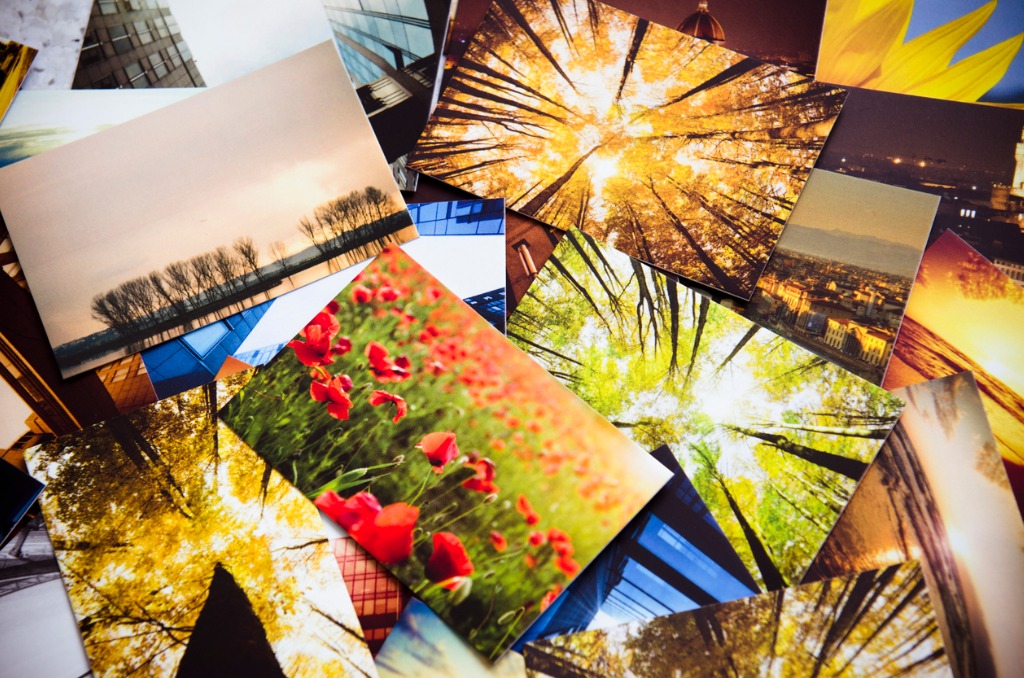
photo by franckreporter via iStock
I’m never one to spend money where I don’t have to and a viewing station is one of these areas. If you’re an artist, you may have a viewing station with proper lighting already in your home, but since the viewing station is a dying medium, I find that using a window works just as well.
All you’ll need to do is hold the print up to the window to see the most accurate version of its colors, so you can change them as you see fit.
It’s quick, simple, and free, so why not take advantage of natural light and end up with improved prints?!
Pick the Right Frame
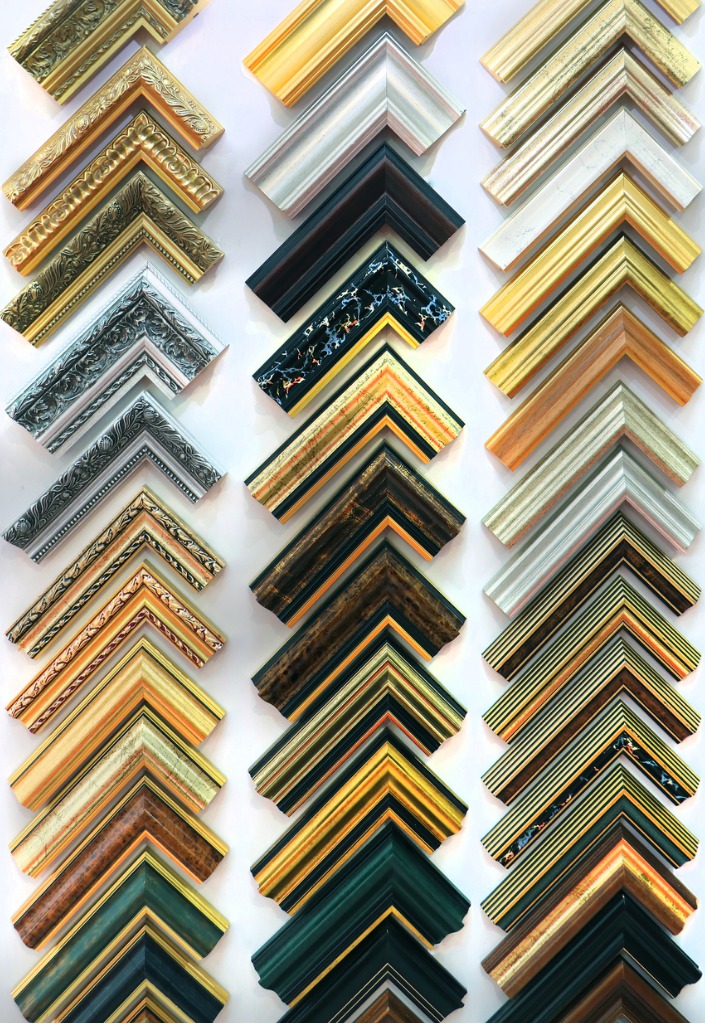
photo by ttatty via iStock
When you pick the correct frames for your photo prints they perfectly highlight your photos. It’s incredibly satisfying to be proud of something you created from scratch.
You can frame your photographs in a simple or ornate frame. Whatever you choose will become part of the how you want the photograph to be seen. Simple black, silver, or wooden frames can highlight minimal compositions, and don't intrude on the photograph. But sometimes you need a more ostentatious, large, elaborate or gilt frame that can complement and image as well.
It can be overwhelming to decide on your own. Talking to your local frame shop or artist friends can help show you possibilities you might not have thought of.
But ultimately, as the creator, the final decision on how to frame your work rests with you.
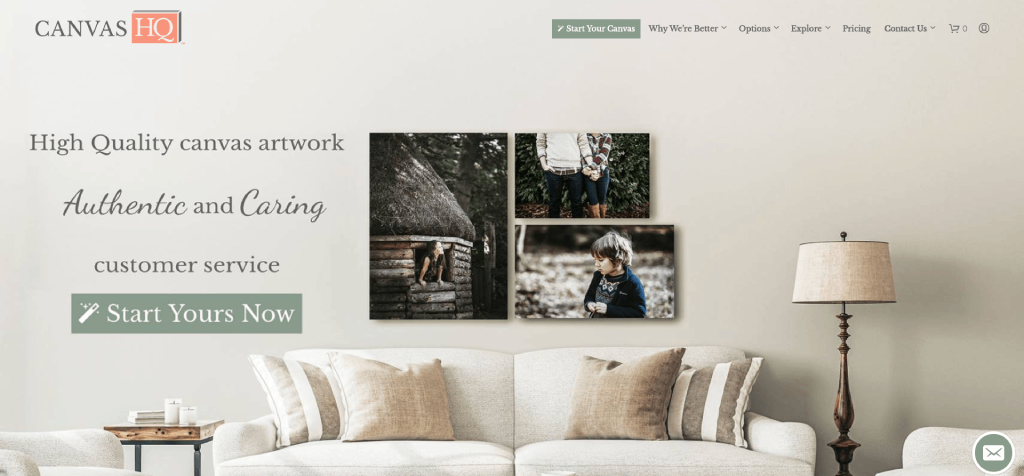
If DIY Prints Aren’t Your Thing… Use CanvasHQ
I understand that learning how to print photos isn’t for everyone. It can be expensive. It can also be time consuming, and with the holidays just around the corner, you may want to get some photo prints the easy way.
For this, I recommend CanvasHQ.
CanvasHQ uses the highest-quality supplies in the industry, from the handcrafted frames to the fade-resistant ink, so you can rest assured your canvas print heirlooms won’t be ruined if they end up in a storage unit for a few transitional years.

The customer service agents behind CanvasHQ are also incredible communicators.
There’s a countdown on their website telling you exactly how many days you’ll need to wait to get your photo printed if you sent it in today.
They also offer free shipping. Plus, they’ll walk you through all of your options so you don’t need to make all of the decisions alone.
Not bad, right?!
Whether you’re in a pinch and need a print fast or you’re just ready to hand off the print-making responsibilities to someone else, I can’t recommend CanvasHQ enough.
They are my go-to printer and have been for years, and I have yet to be disappointed in the experience or the product!
This blog post about "How to DIY Photo Prints at Home" was first published on our website here https://www.photographytalk.com/how-to-diy-photo-prints-at-home
This blog post about "How to DIY Photo Prints at Home" was first published on our website here https://www.photographytalk.com/how-to-diy-photo-prints-at-home