Learning to shoot landscapes with a drone definitely comes with a steep learning curve. It’s incredibly difficult at first, but it slowly becomes easier and easier once you get the hang of it(especially abstract landscape photography) - just like everything else in photography!

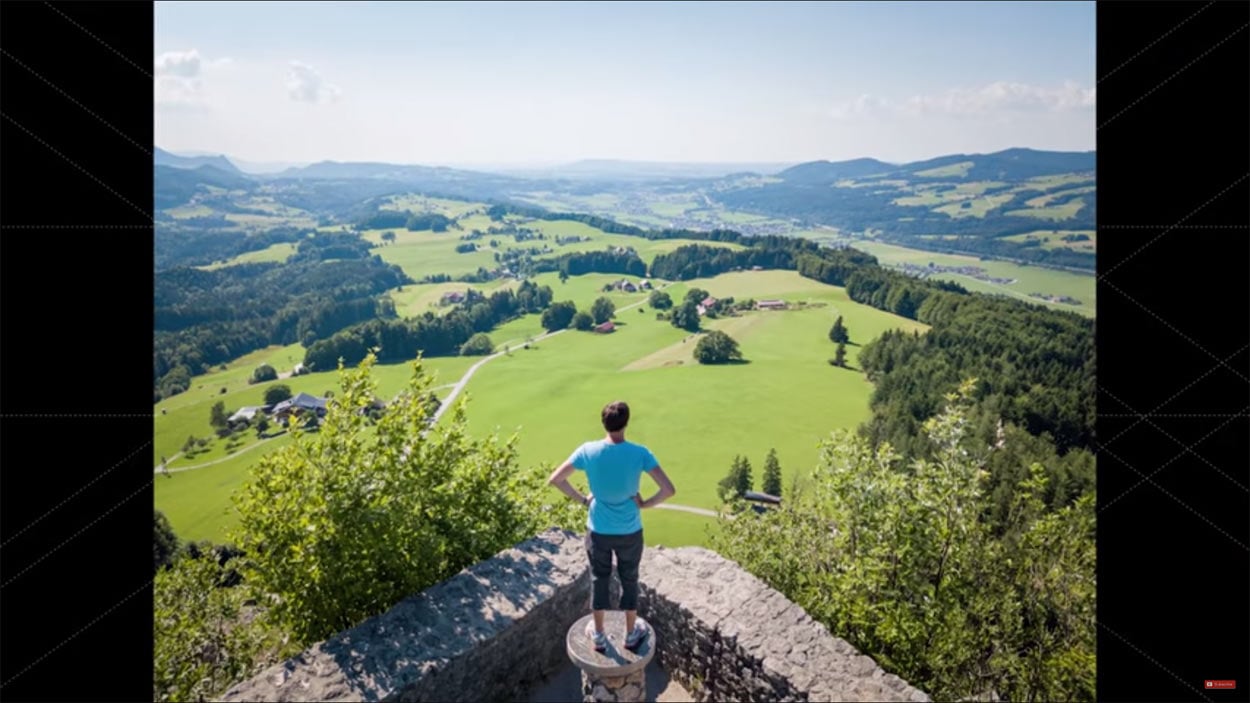
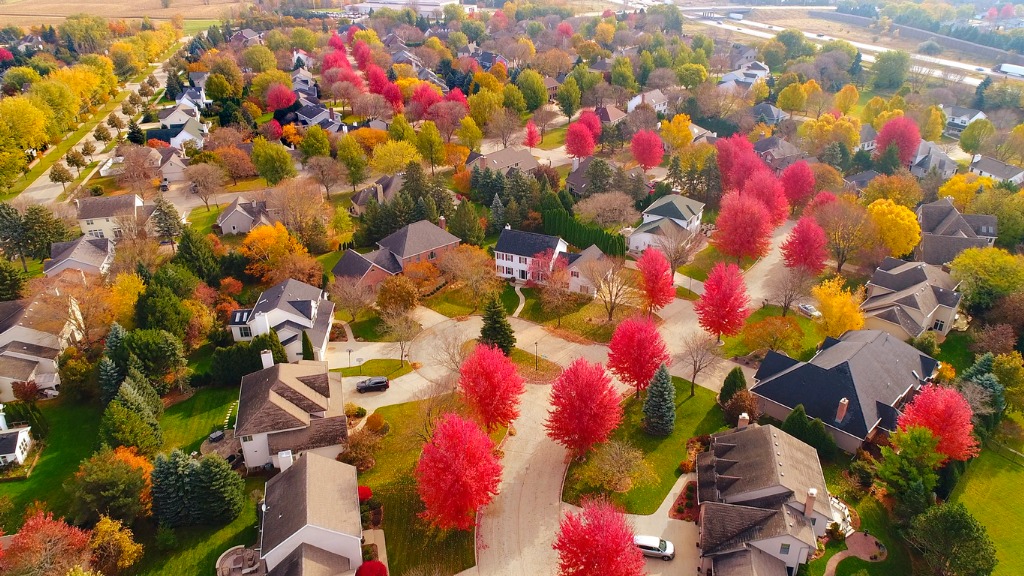
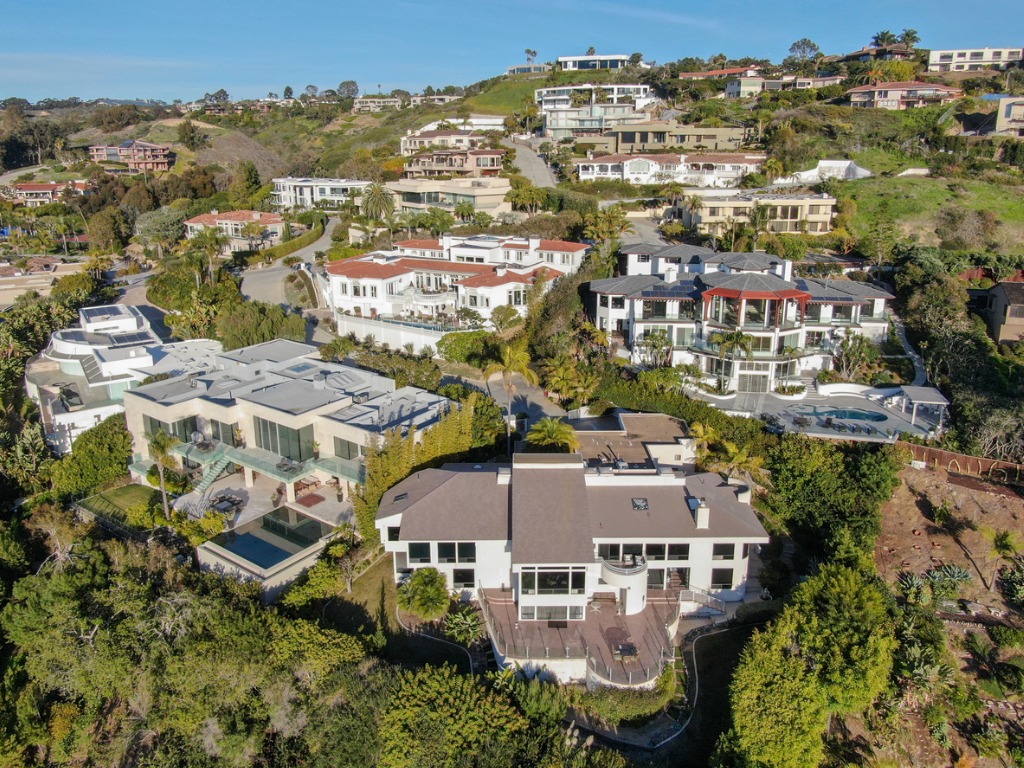
When you’re shooting landscapes with a drone, the landscapes completely transform into something otherworldly. Where other photographers can take beautiful landscape photographs, you can take magnificent ones.
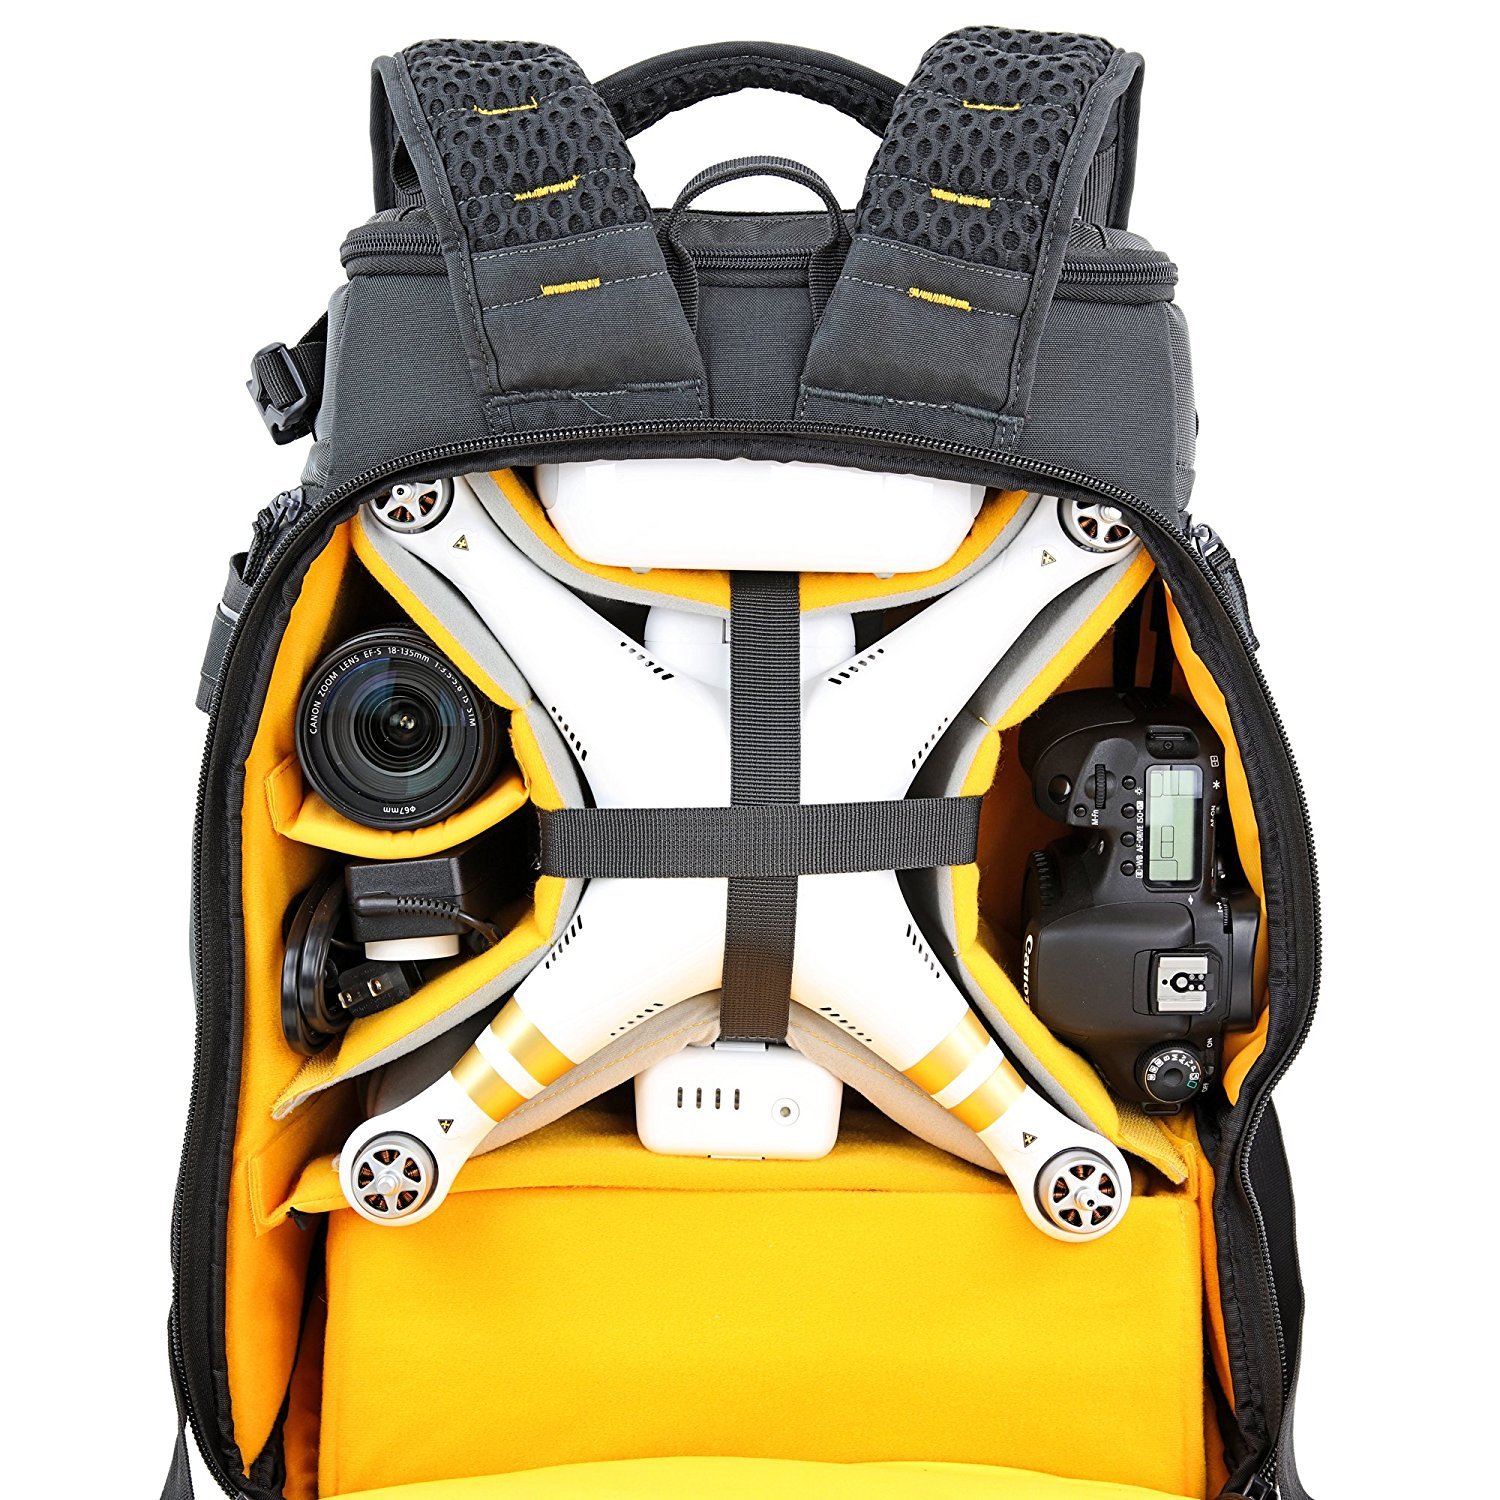
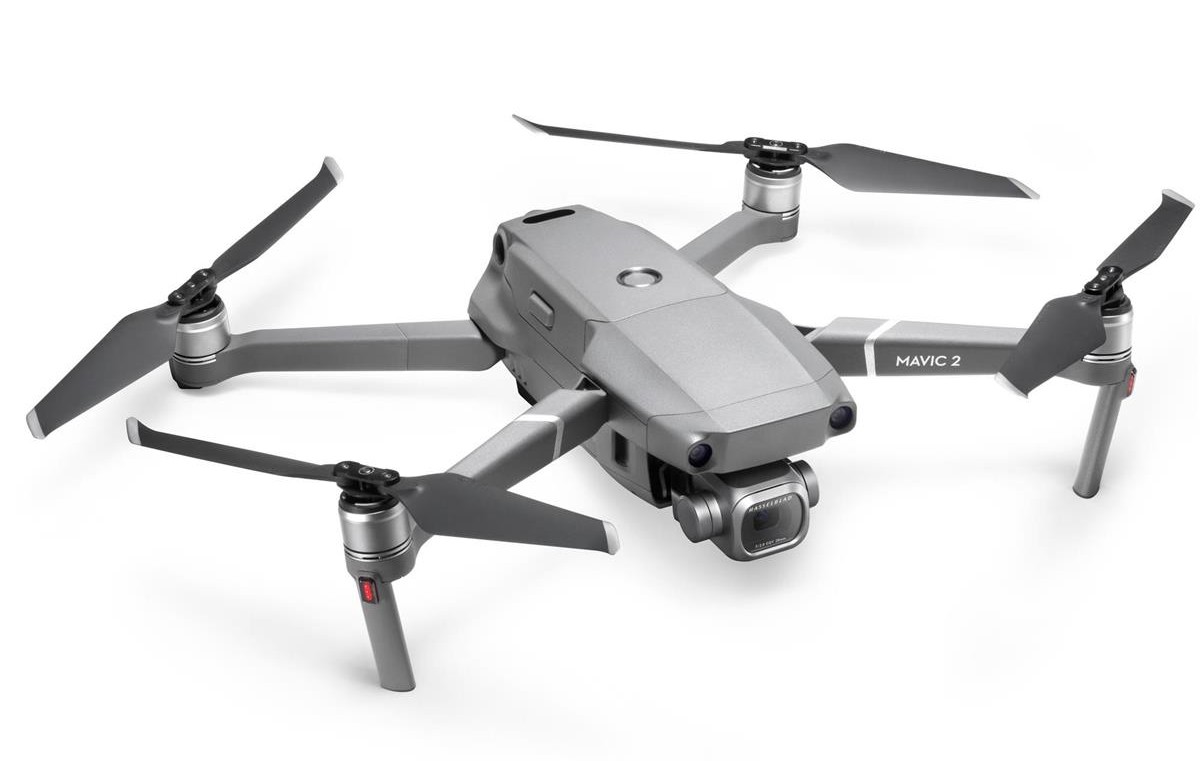
For the purposes of this article, I’m going to be talking about the DJI Mavic 2 Pro drone because it's the version I own. It’s also on sale on Adorama for $1,599 right now as an added bonus.
What Shooting Landscapes with a Drone Looks Like
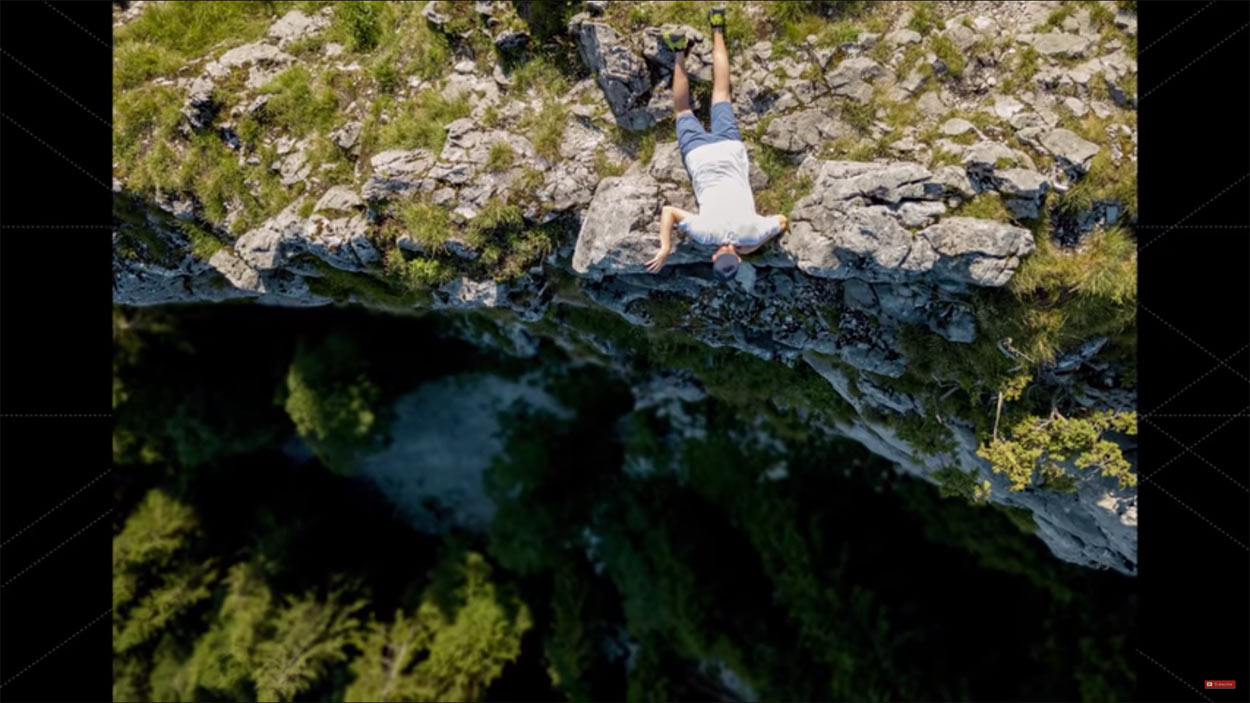
Brendan van Son also owns a DJI Mavic 2 Pro and shows you exactly what shooting landscapes with a drone looks like in the video above.
Shooting landscapes with a drone allows you to take mesmerizing video footage of scenery, but it also allows you to take beautiful panoramas.

photo by olaser via iStock
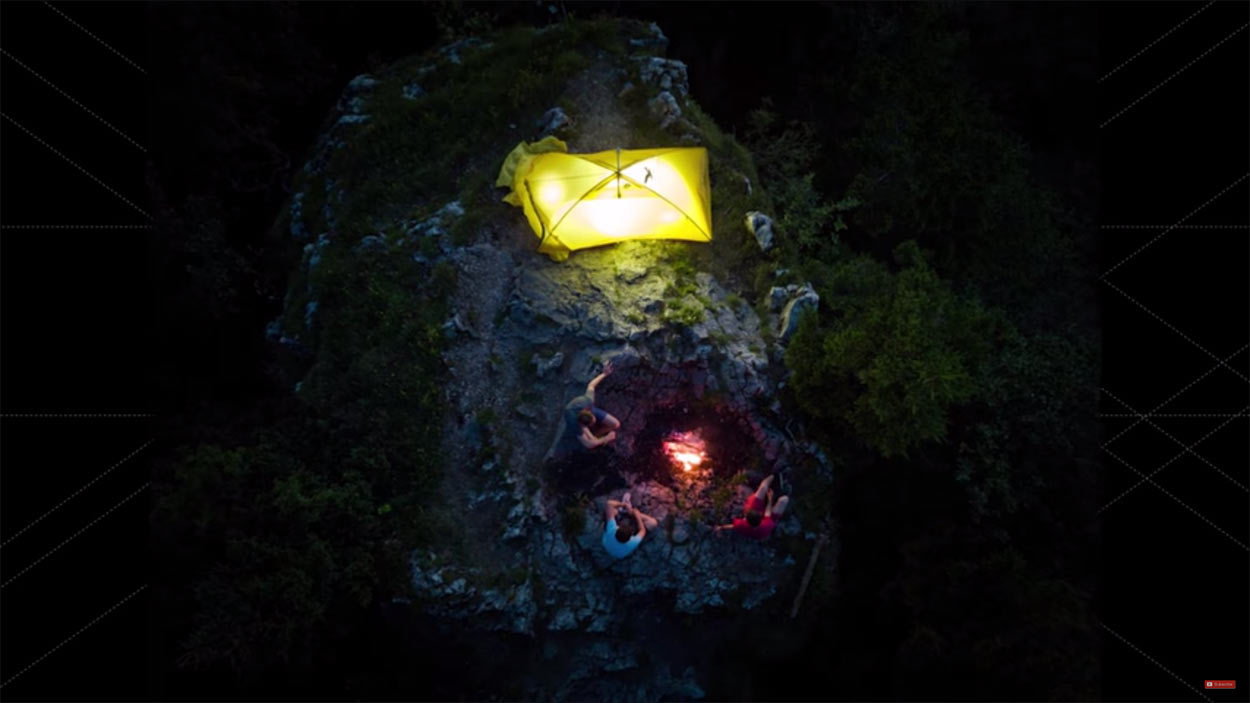
And isn’t drone photography all about a different kind of perspective?
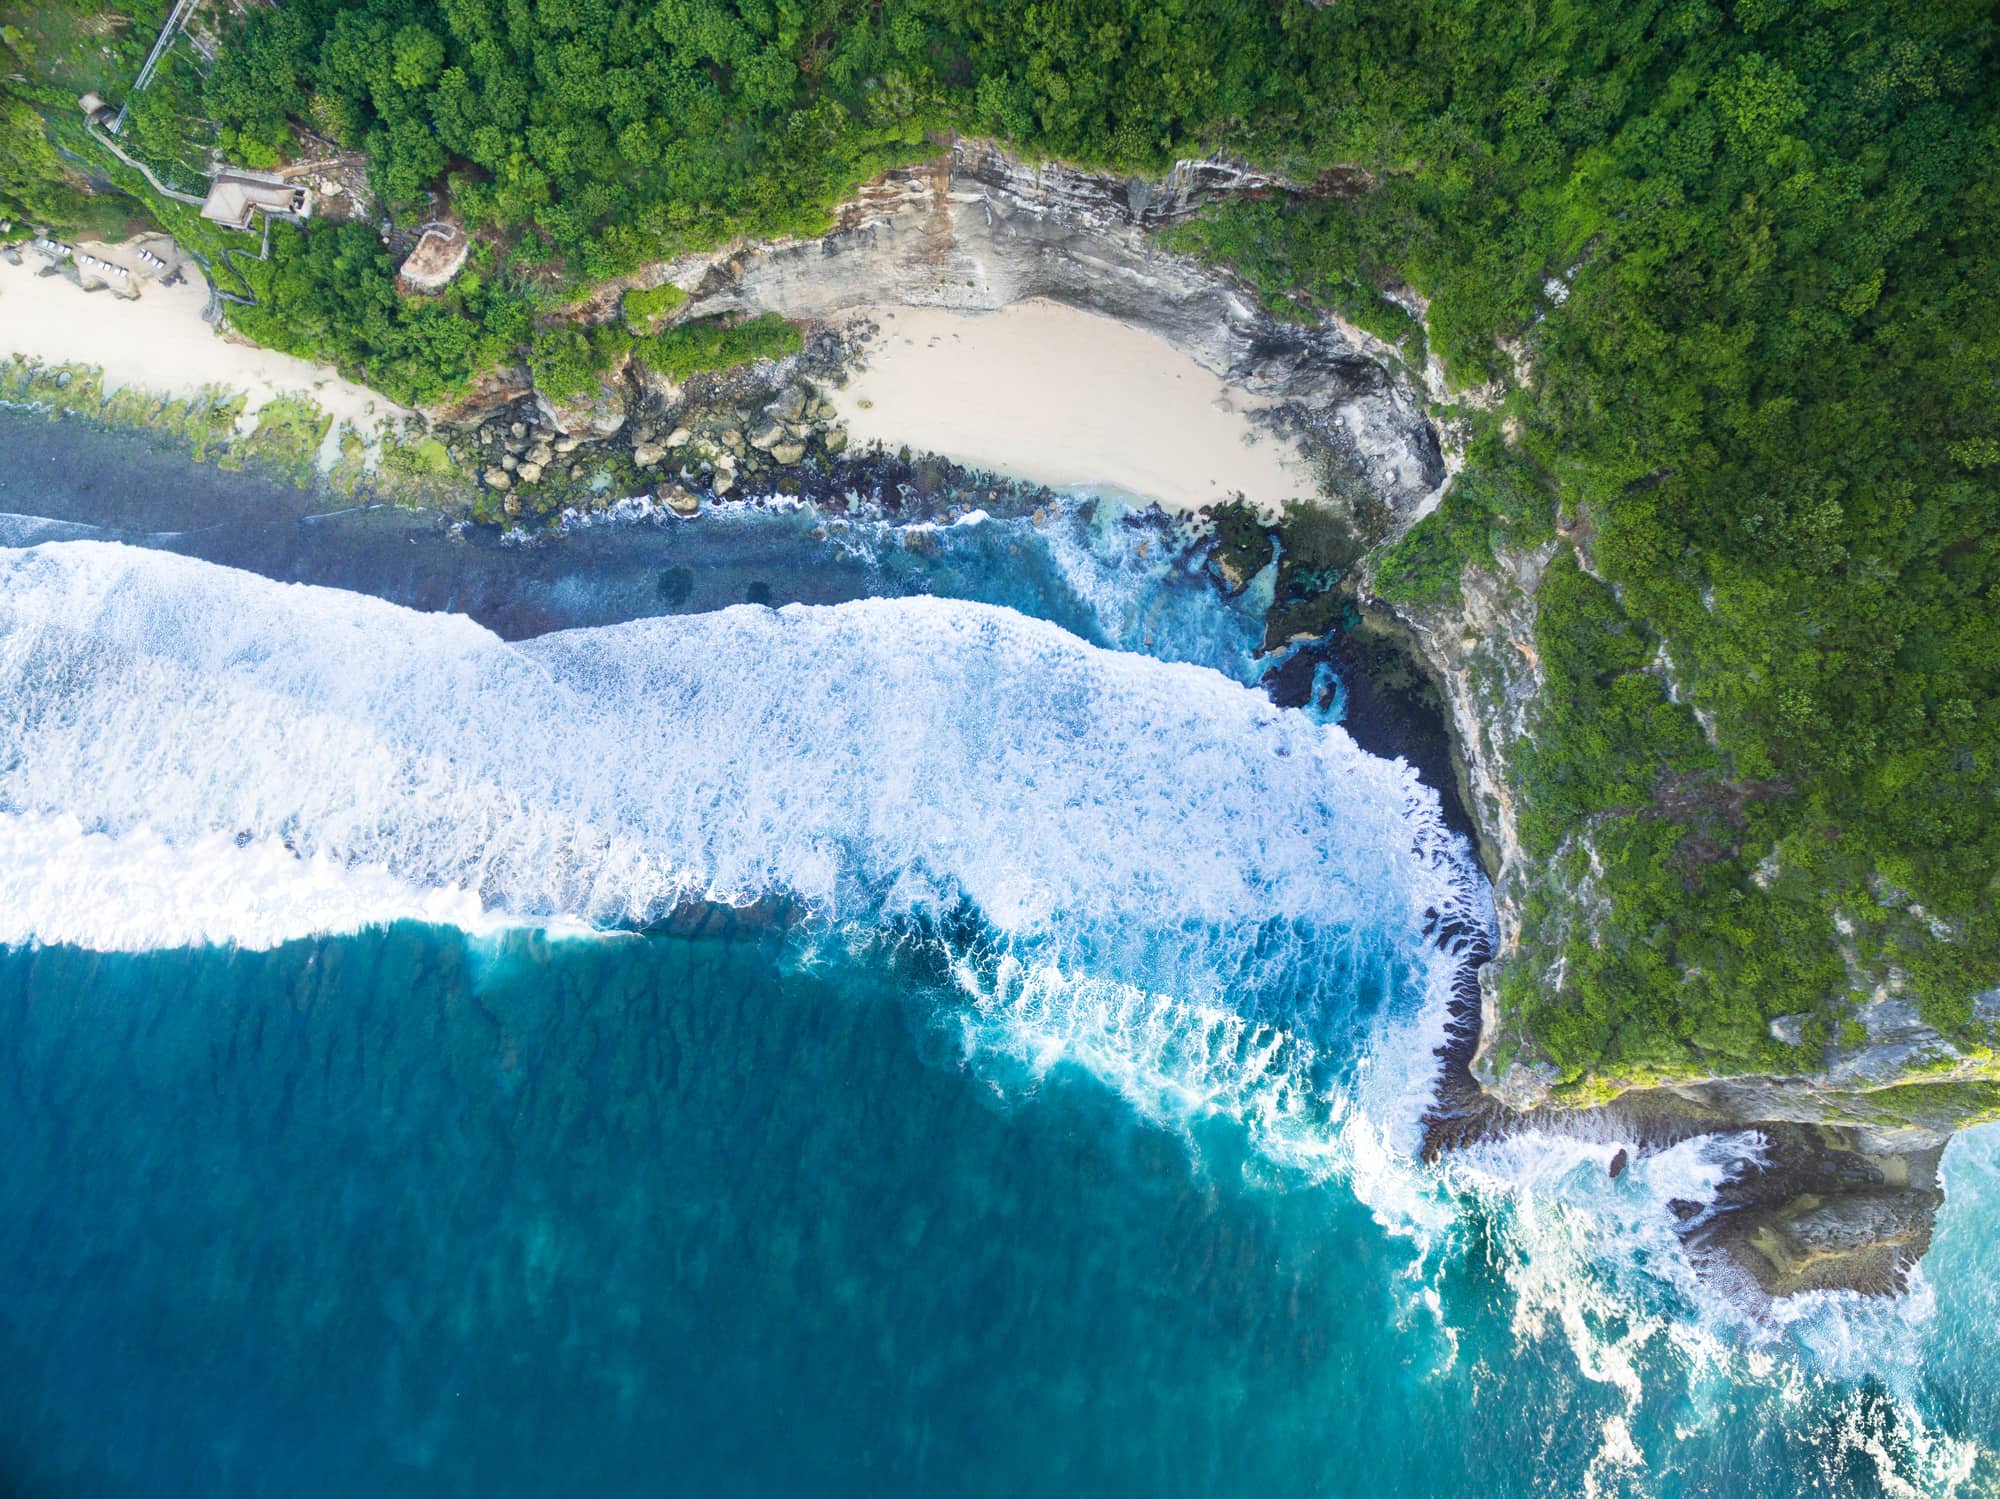
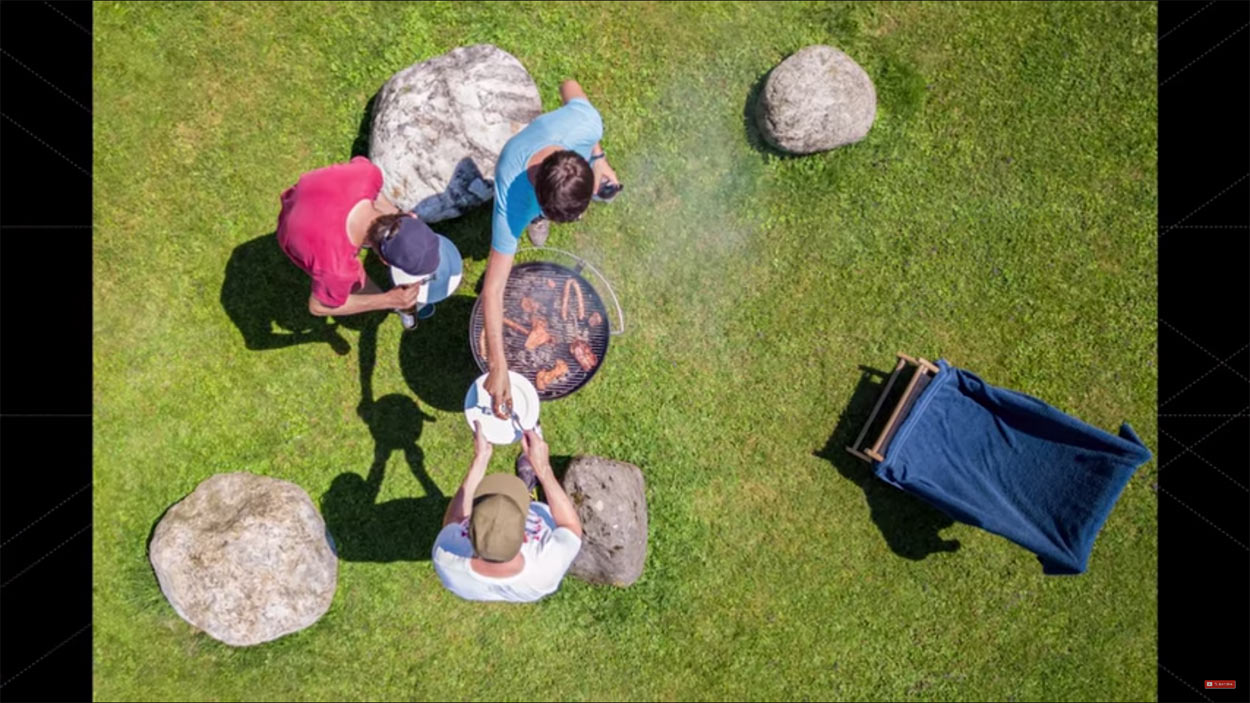
Getting above it all and having the capability of capturing images of the landscape from a completely different point of view is invigorating and it can stoke your creativity.
Besides, it’s a fun challenge! It’s hard enough to take great shots with a camera you’re holding in your hands while you stand on the ground. Taking great photos while the camera is flying around overhead will put your photography skills (and piloting skills) to the test.
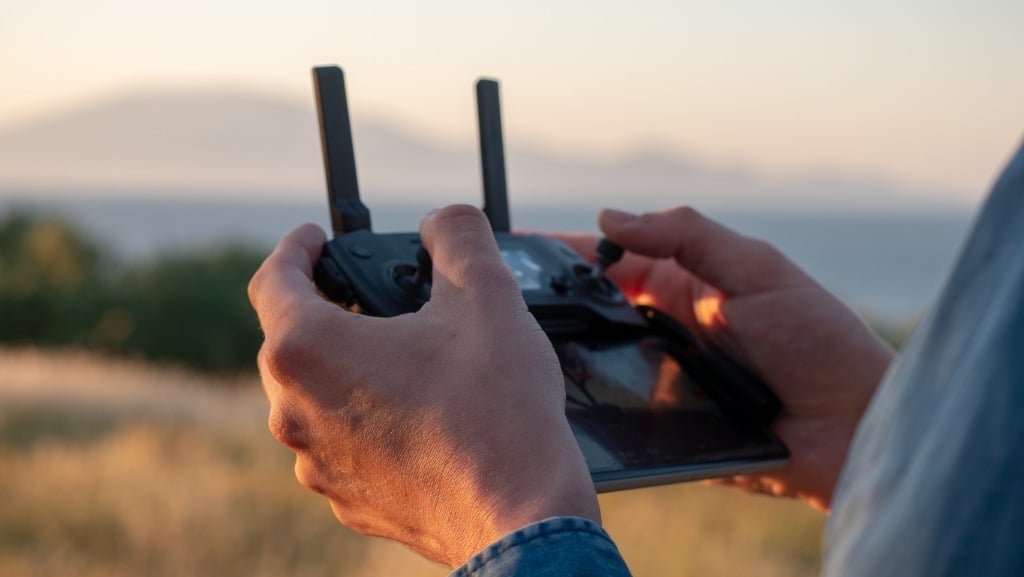
What Drone Settings Should I Use?

photo by PhonlamaiPhoto via iStock
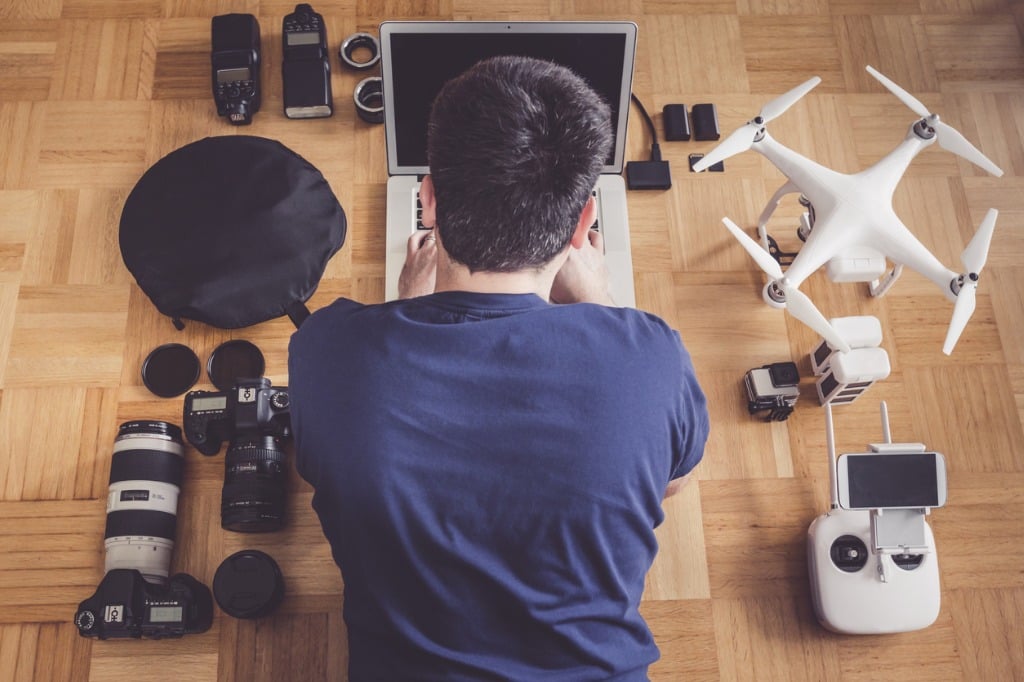
So, you’ve purchased your drone, watched as many tutorials as possible and have your first shoot location scouted. What settings should you use?
DJI’s Mavic 2 Pro drone features a Hasselblad camera with a 1-inch sensor that can take 20MP photos. If you are purchasing a drone specifically for landscape photography, make sure you buy one with a sensor of at least 1-inch, that way you maximize resolution without having to buy a drone that’s overly large.
The DJI Mavic 2 Pro also comes with a wide-angle 28mm lens, which allows me to shoot landscape shots that don’t look bug-eyed while also allowing me to capture a wide view of the landscape below.

Photo by Jeremy Bishop on Unsplash
Most drones will allow you to get a smartphone app that syncs to your drone and keeps everything very familiar for you, meaning you can choose your shooting modes from full auto to completely manual.
But, there are some new methods you should be aware of when it comes to shooting landscapes with a drone.
For instance, “windowing” is when your drone will crop a section of your total photo resolution for you, while “subsampling” is when your drone resamples the image signal which results in less bright colors.
In the video above by Tom’s Tech Time, you can get a thorough overview of the best camera settings for the DJI Mavic 2 Pro.
Benefits of Shooting Landscapes with a Drone
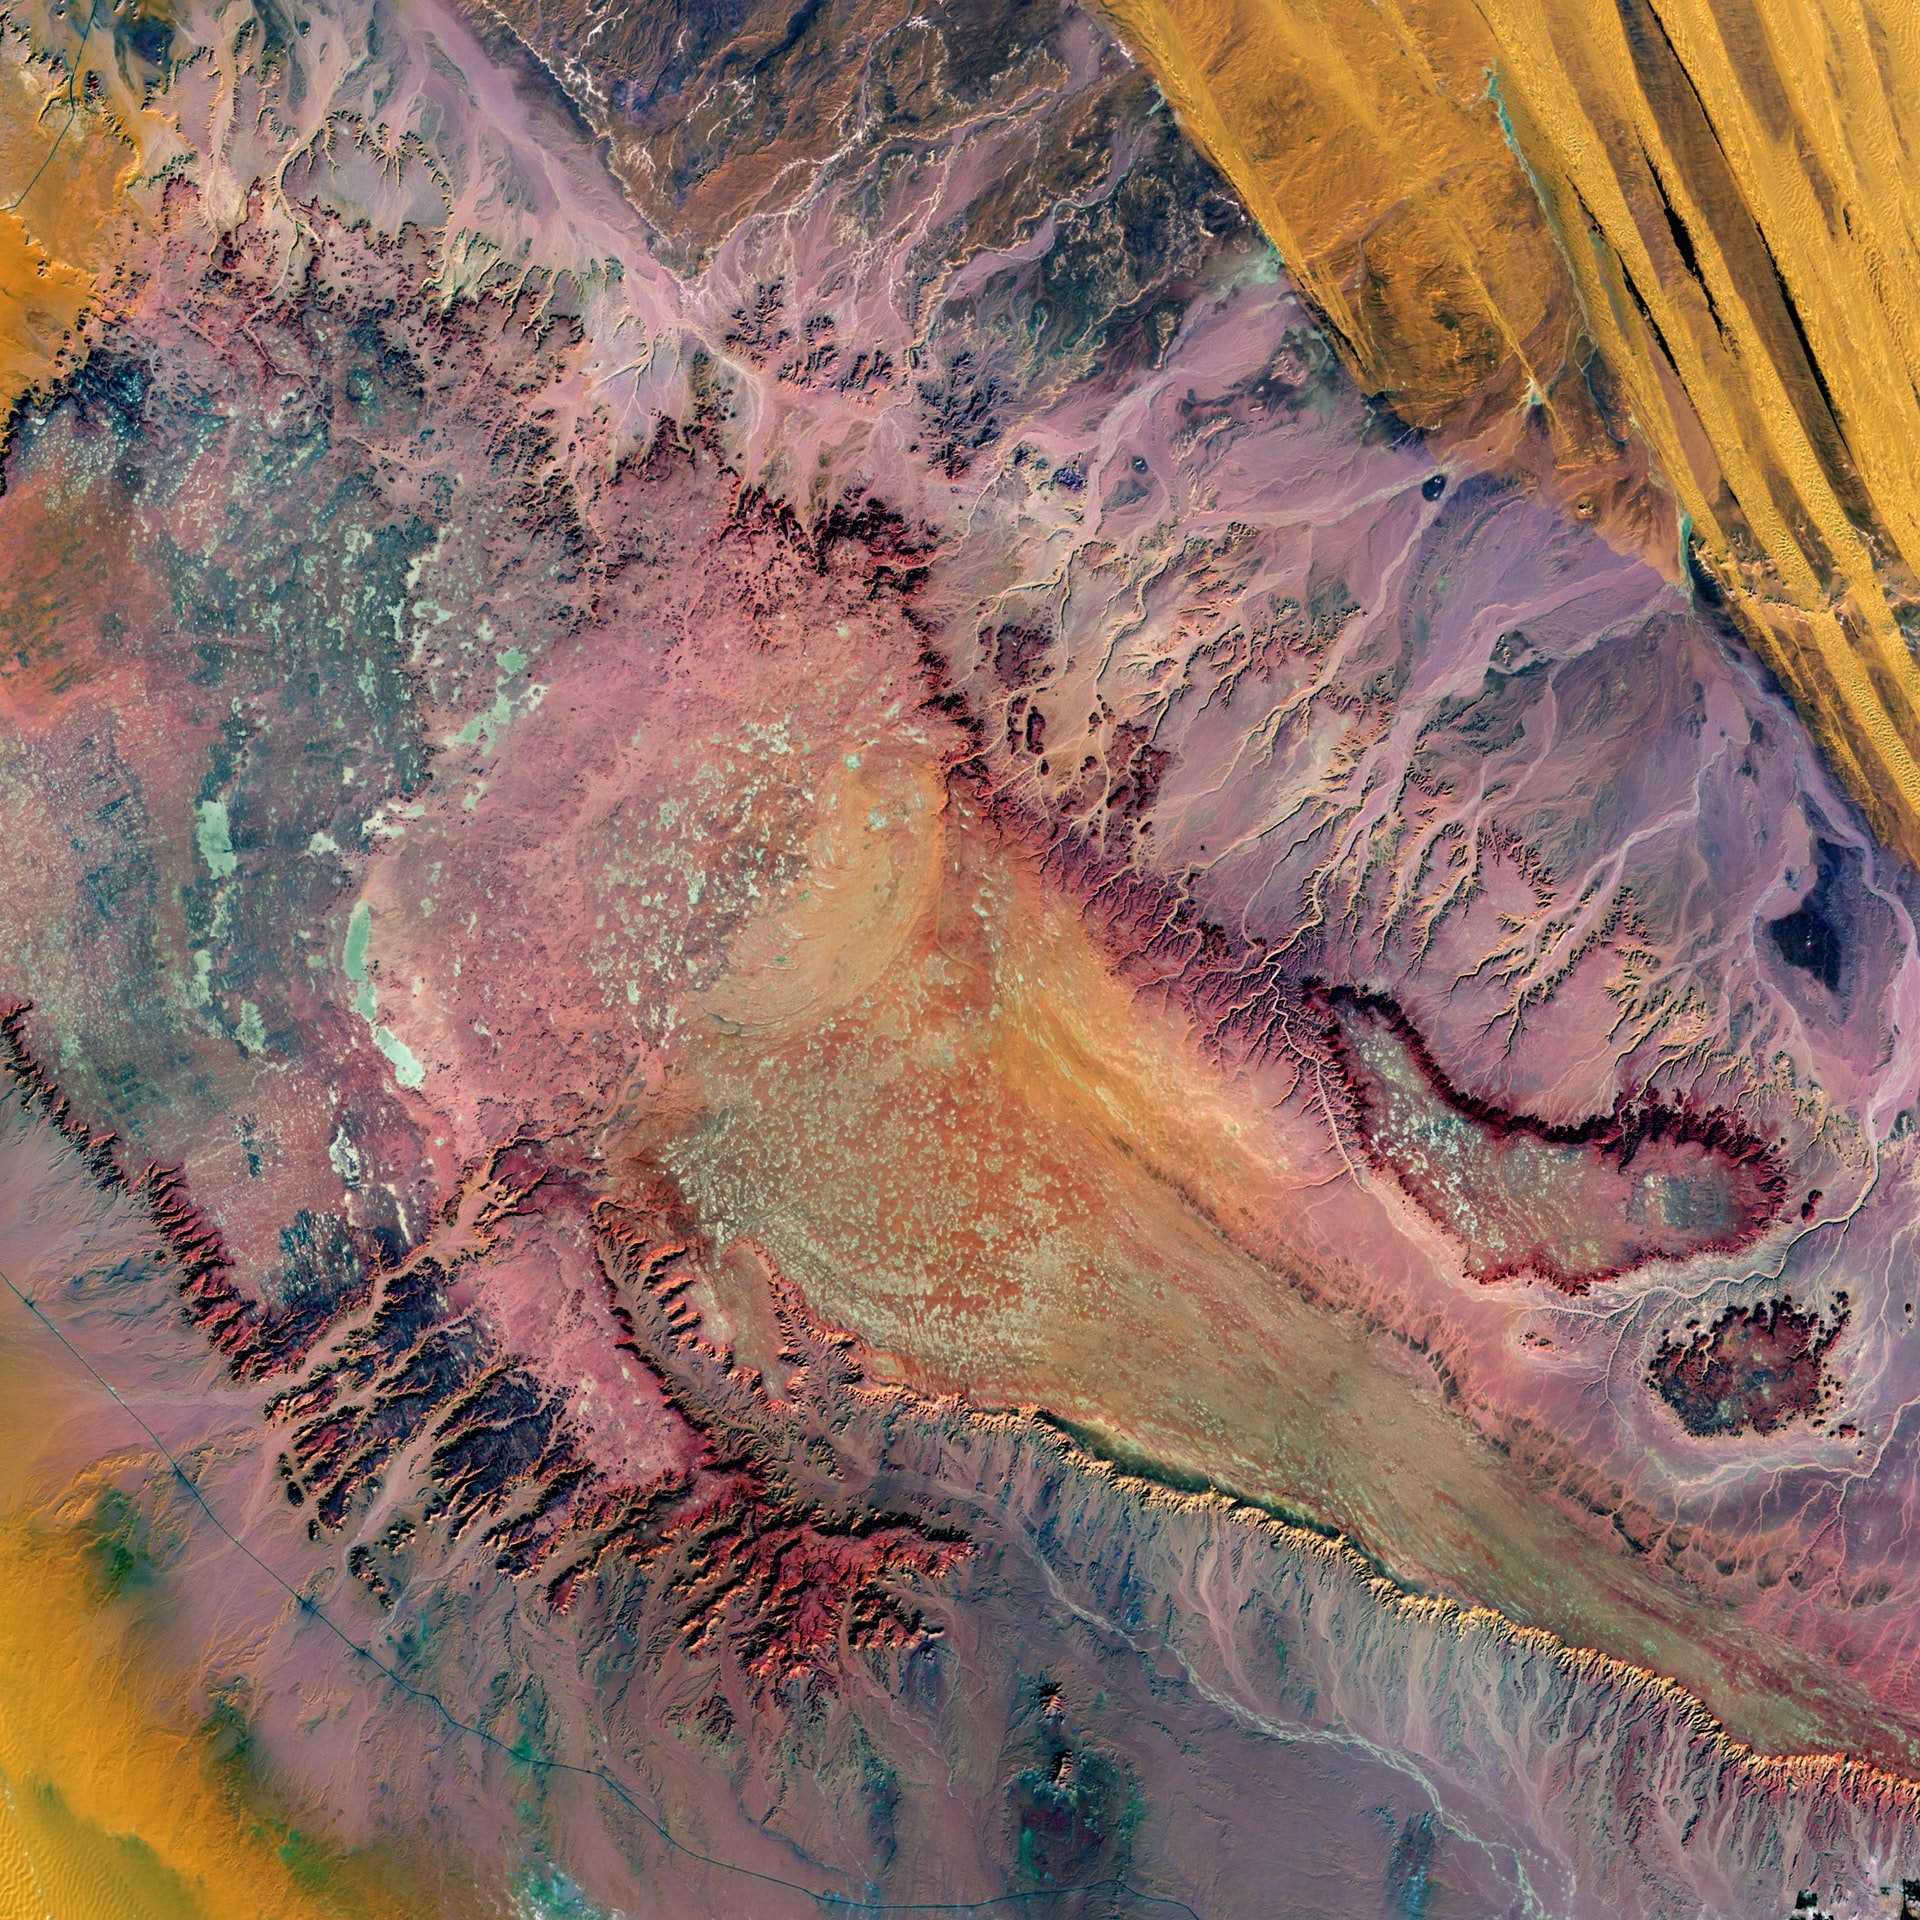
Photo by USGS on Unsplash
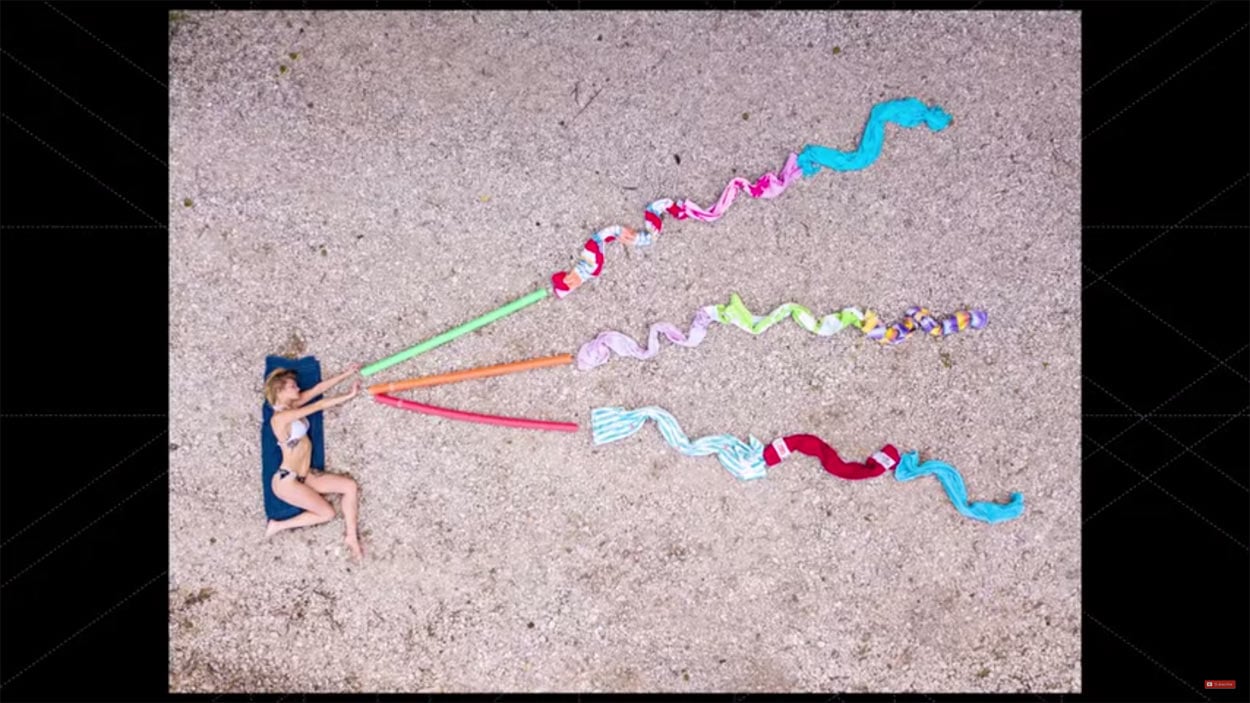
One of my favorite benefits of shooting landscapes with a drone is that you can create abstract photographs of the landscape. For instance, the photo above is of highly eroded plateaus rise from the desert floor in Egypt.

Photo by USGS on Unsplash
Or, the above shot, which is of fluorescent plankton in the dark waters of the Baltic Sea.
But, abstract landscapes are not the only benefit of shooting landscapes with a drone.
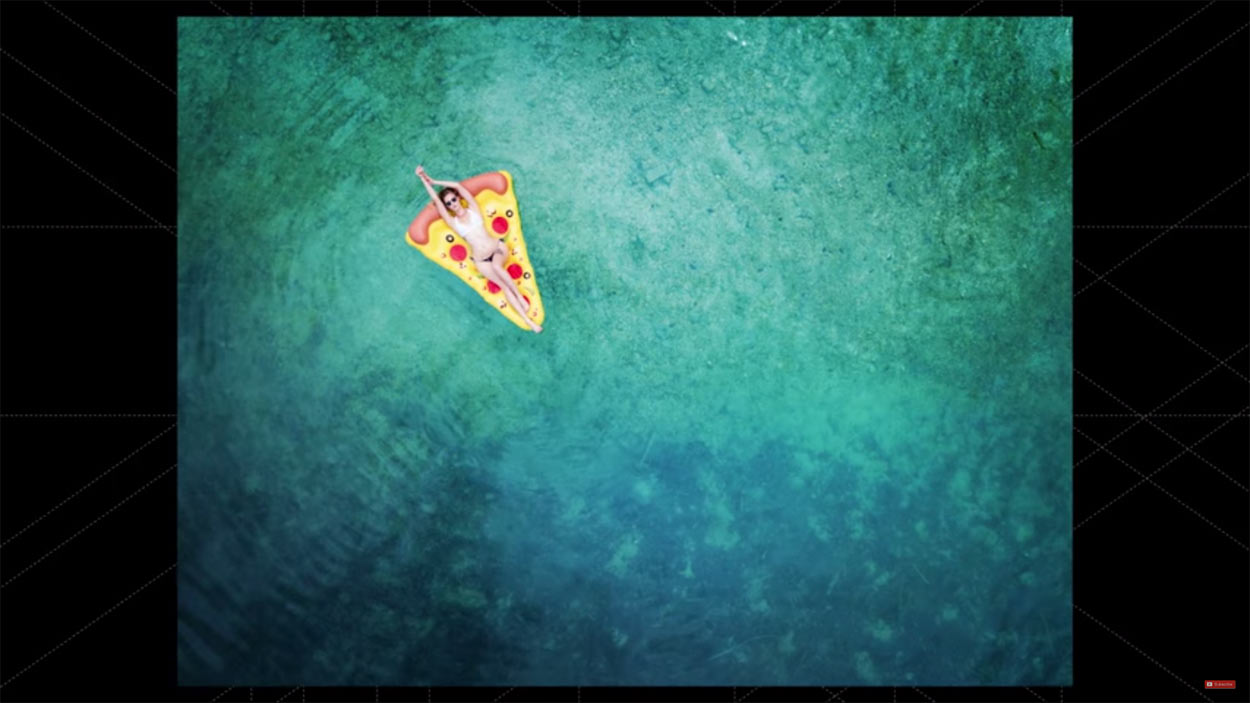
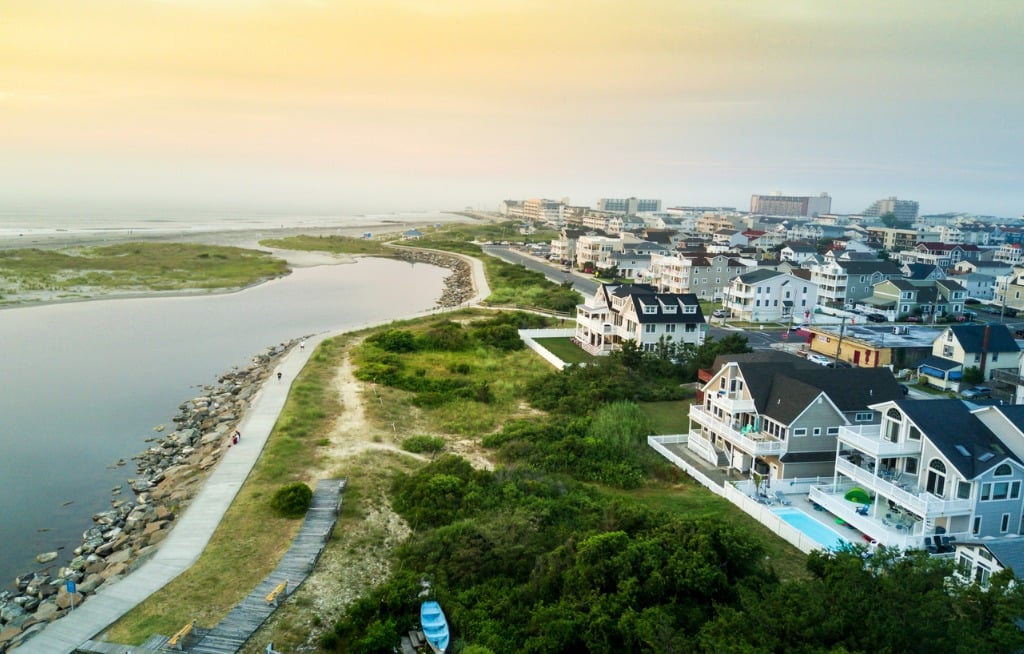
You can also create new composition in old areas (textures sometimes don’t present themselves from eye level), reach hard-to-photograph places, and capture scenes over water.
Just be sure you understand local drone regulations before you fly. If you’re not sure if it’s legal to fly a drone, don’t launch! Many people have gotten into serious trouble for flying drones where they shouldn’t.
This blog post about "Shooting Landscapes With a Drone" was first published on our website here https://www.photographytalk.com/shooting-landscapes-with-a-drone
This blog post about "Shooting Landscapes With a Drone" was first published on our website here https://www.photographytalk.com/shooting-landscapes-with-a-drone