I remember when I got my first camera.
Not to age myself, but it was back in the days of film.
It wasn't anything special, just a point-and-shoot 35mm, but I took it everywhere I went.


I learned the ins and outs of photography on that camera, and those lessons still guide how I shoot images to this day.
But there's something else I learned back then that was a valuable lesson.
Good photos deserve best canvas prints!

One of the things I liked so much about film photography is getting my 4x6 prints to see how my photos turned out.
And there were a few along the way that I felt were worthy of getting in a larger size.
I think that's something that's gotten lost a little bit for amateur photographers in the digital age.
There just seems to be this predisposition for taking all sorts of photos and then not really doing anything with them.
So, that being the case, I'd like to offer a few pointers for getting awesome prints of your awesome photos.
Calibrate Your Display and Select the Appropriate File Settings

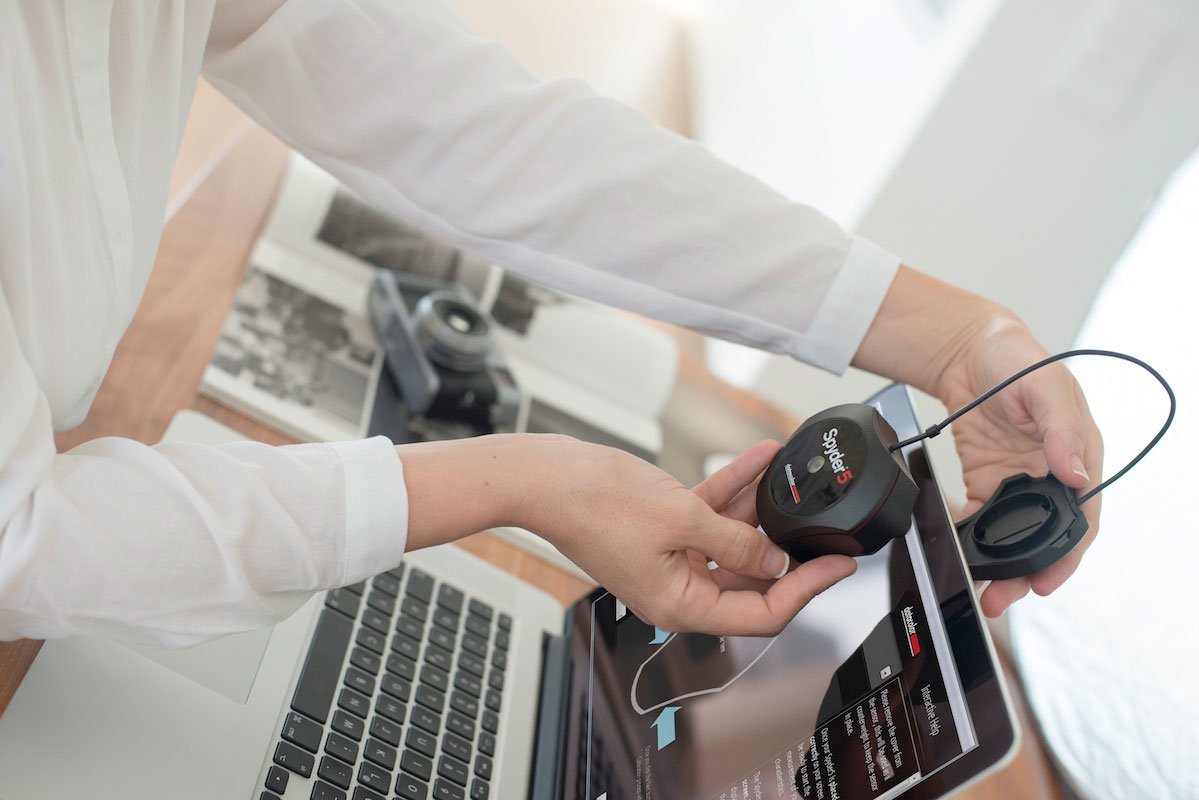
If you want to get the best images with true colors, you'll want to calibrate your computer display.
By calibrating the display, you're standardizing its colors and contrast, that way the prints that you order actually look like they do on your screen.
To calibrate your display, you'll need a calibration device like the Datacolor Spyder5 Express shown above.
If you aren't sure how to calibrate your display, check out the video below by Matt Granger for a quick tutorial. You can also let the lab do the color correcting...more on that in a bit.
Something else to bear in mind is the file type and quality that the lab requires to print your images at the best quality.
For example, 150ppi is a common resolution requirement for images uploaded to a lab. Likewise, many printers require images to be in the Adobe RGB 1998 workspace.
Also consider file size restrictions. Usually a lab can accept up to 100MB file sizes, most often in JPG or TIFF form.
It's best to check out the lab's printing requirements to ensure you're in line with what they need to create the best prints.
Choose the Right Lab

Back in the day, I had one option for getting my film developed - a one-hour photo booth in the local Wal-Mart.
It wasn't exactly a place you'd go when you wanted a fine art print...
However, today, there's no boundaries in terms of where the lab might be.
You can send your digital files to a lab on another continent and get your photos turned into art.
But for me, I stick right here at home in the good ol' USA and get my prints from Artbeat Studios.
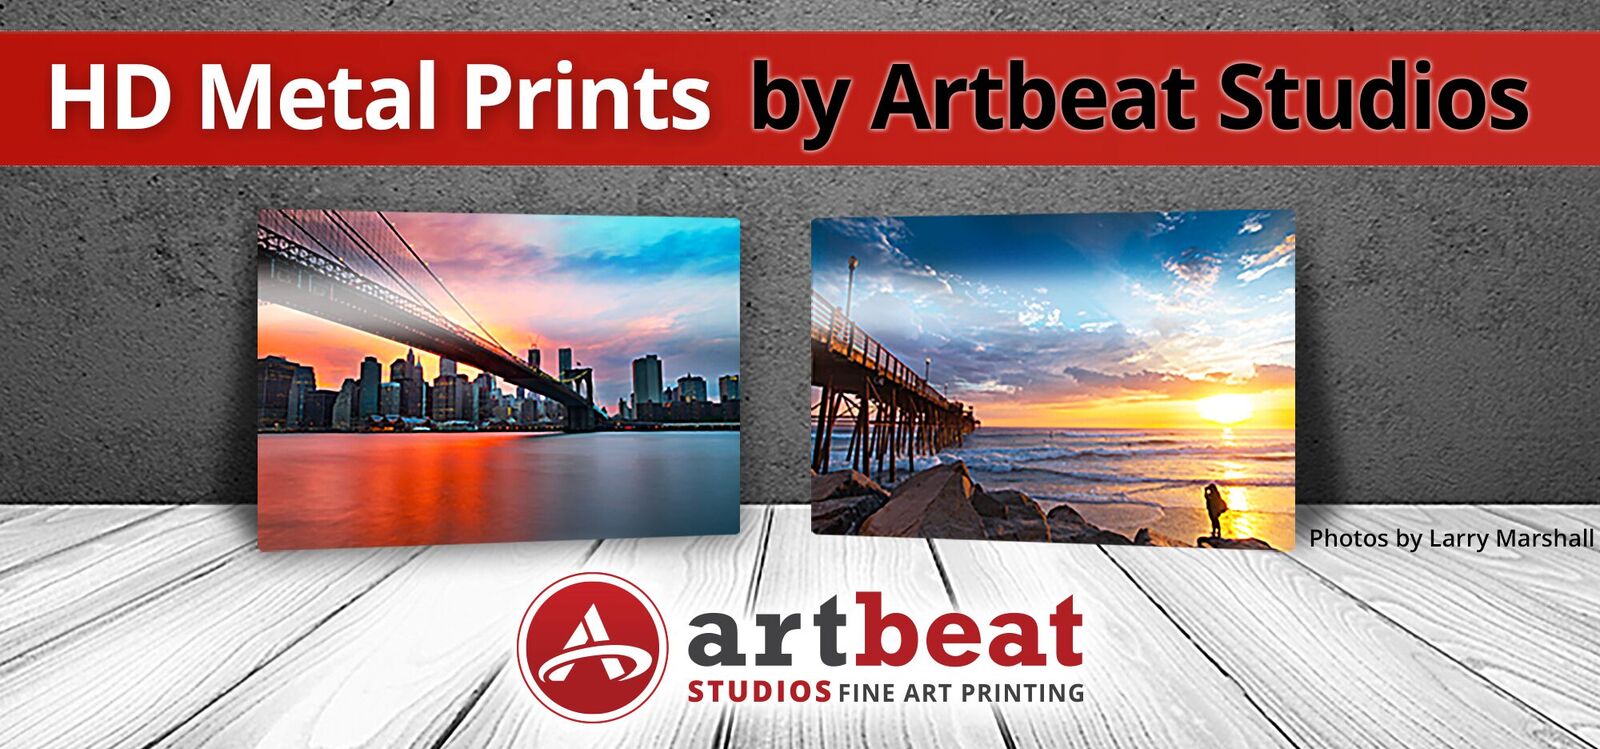
I'm particularly taken by their HD Metal Prints...

I enjoy taking landscape photos, and I have to say, it's hard to beat how my photos look on a metal print.
That's partly due to my incredible photographic capabilities (ha!)...
But what really sets them off is the high-quality prints that Artbeat Studios puts out.
These metal prints are made of ChromaluxeTM aluminum sheets, meaning my prints are of the highest quality. They resist fading and scratching, and because the print is heat infused right into the aluminum sheet, they're water resistant as well.
And the colors...WOW.

You want a lab like Artbeat Studios in charge of your prints because they color check everything on color-calibrated monitors. That means when you get your prints, the colors and contrast will absolutely knock your socks off.
Something else you want to look for in a lab is an array of options to customize the look of your prints.
For example, you want to be able to choose between a glossy and a matte finish or a gray or silver surface to help bring out the colors and depth of the photo.

You also want a lab that offers a variety of wall mounts, hangers, and mounting styles so you can customize how your prints hang on the wall and how they look as well.
The point is that your best images deserve a custom touch from a lab that specializes in putting out the very highest quality prints.
Give your prints the treatment they deserve by selecting the right lab to create prints that will last generations!
Learn More:
Consider the Aspect Ratio
Sometimes, you have a really great photo, but the problem is that the photo doesn't exactly adhere to the dimensions of prints that are available from a lab.
The easy way around this is to choose a lab that offers custom sizes.
Of course, you can also set the crop yourself to decide what parts of the image are in the final print and what gets left out.
Yet another option is to use a program like Photoshop or Lightroom to crop the image before you upload it to the lab's servers.
This gives you the ultimate control and allows you to size the image to the specific size of print that you'd like to get.
If you aren't sure how to crop and resize your images, have a look at the video above by Artbeat Studios.
With that, you have three critical steps to follow to get high-quality, eye-catching prints!
This article about "Canvas Prints" was first published on our website here https://www.photographytalk.com/beginner-photography-tips/guide-to-getting-awesome-prints
This article about "Canvas Prints" was first published on our website here https://www.photographytalk.com/beginner-photography-tips/guide-to-getting-awesome-prints