We all want to create breathtaking landscape photos, right?
But the trick is figuring out how to improve on the photos we take to get them to that breathtaking level...
Fortunately, you don't have to be an expert or a professional photographer to greatly improve your images. In fact, for some photographers, it's a dead simple process that really only requires a bit of time and patience.
That being the case, here's a few simple landscape photography tips that you can use to vastly improve the quality of your photos.
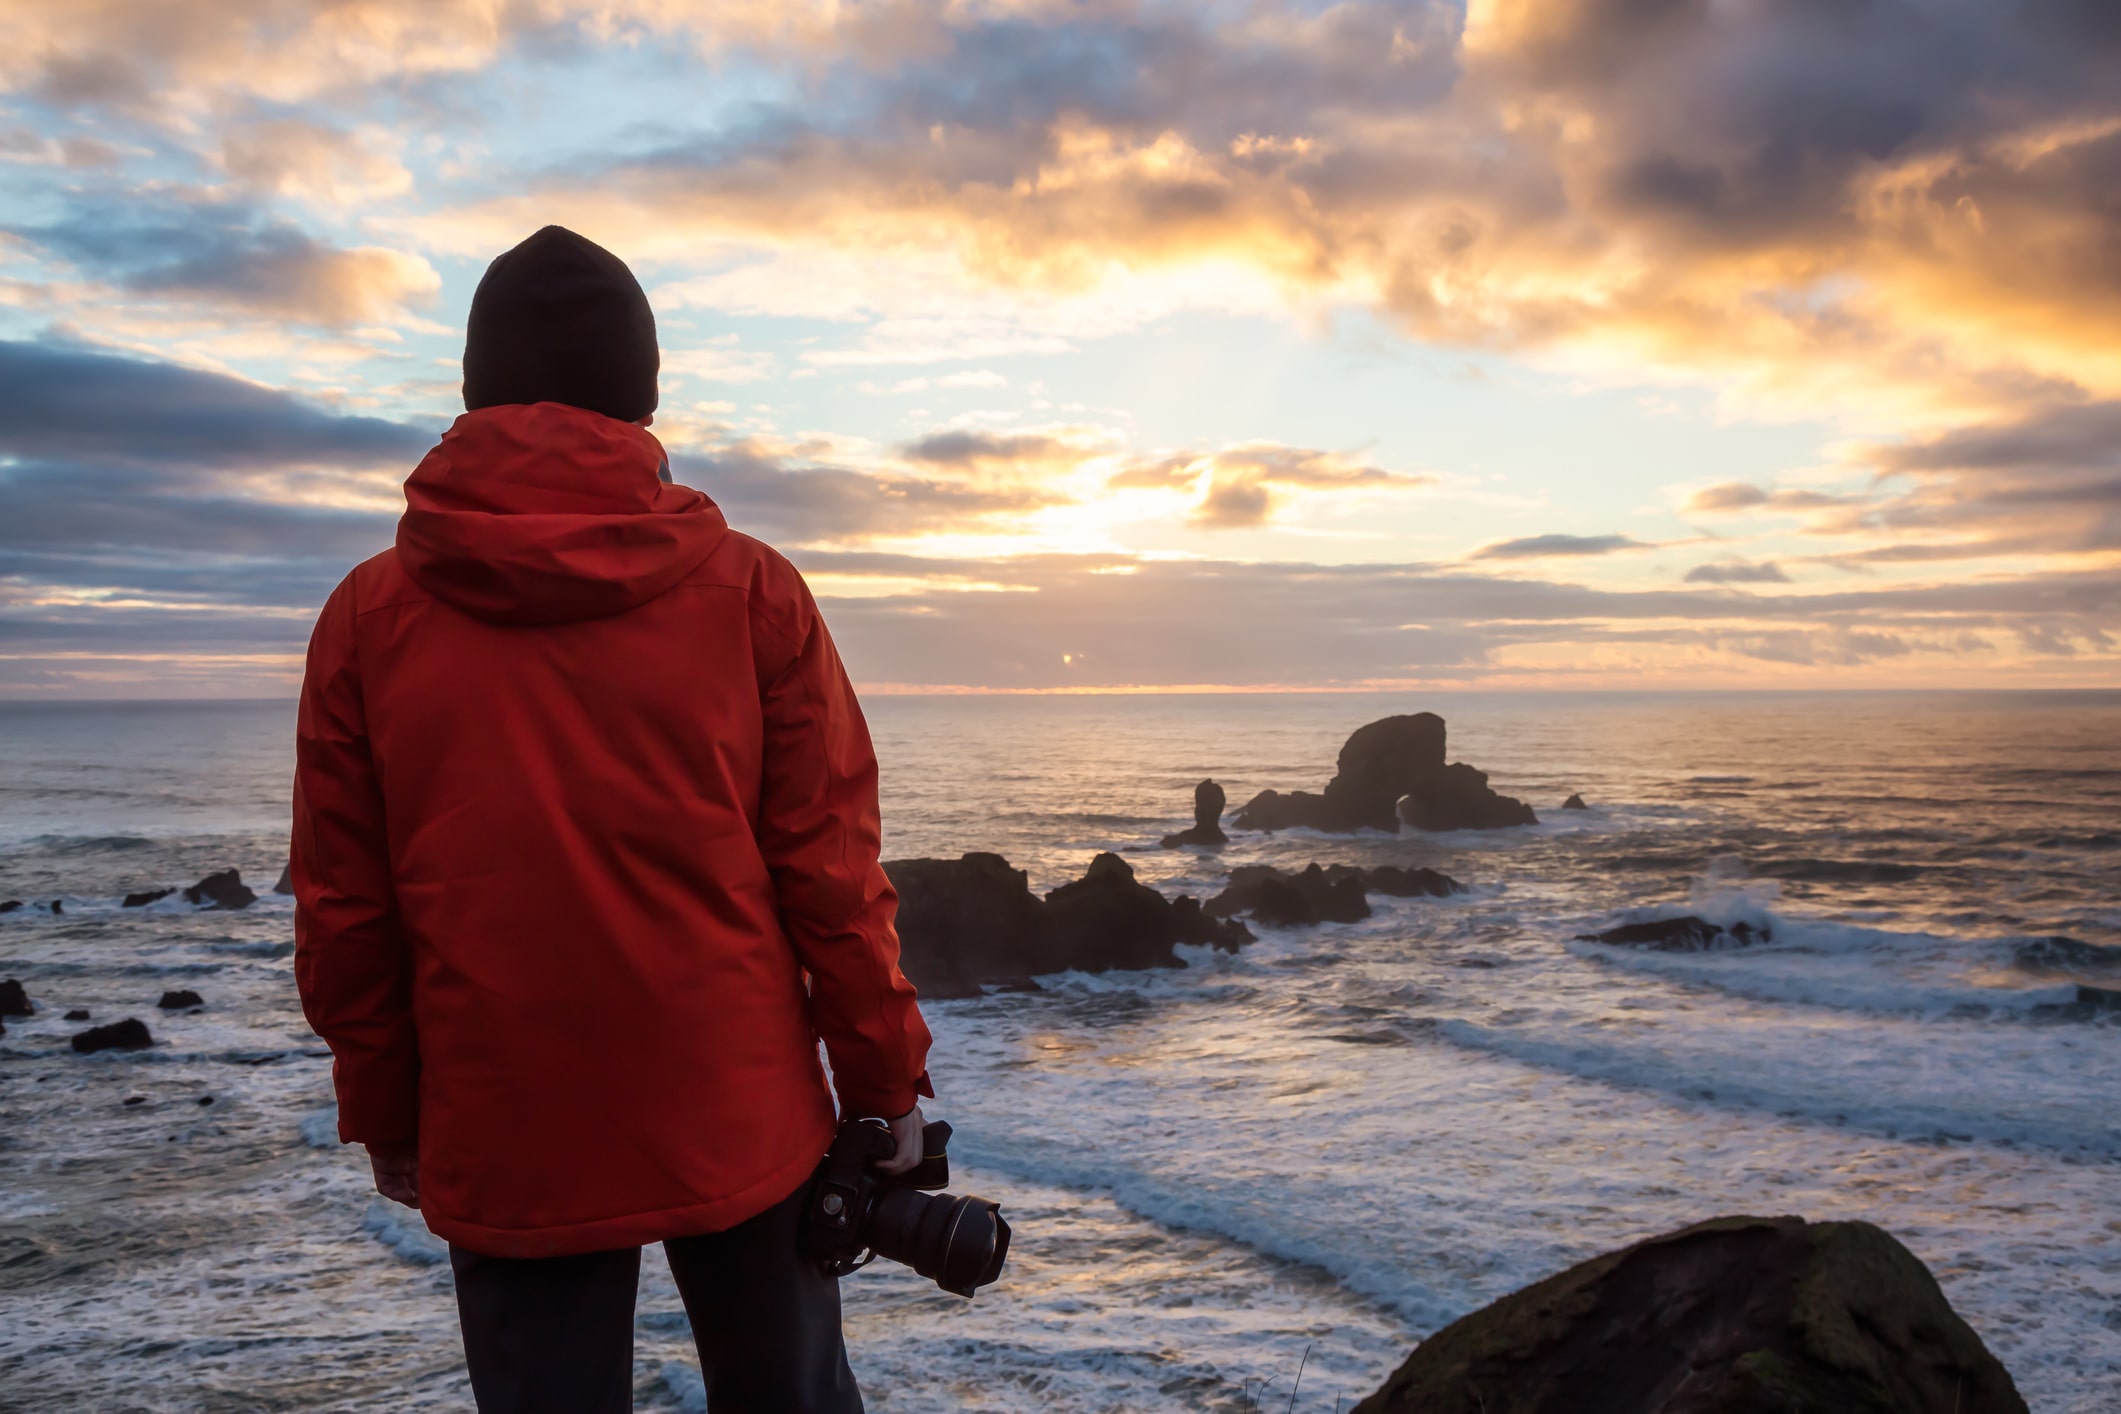
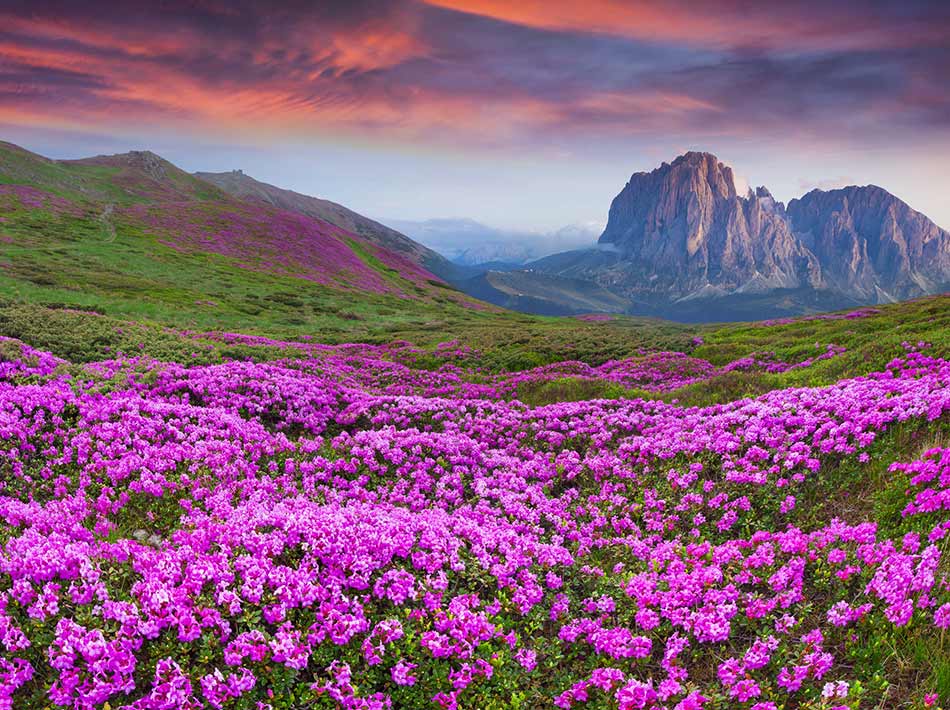
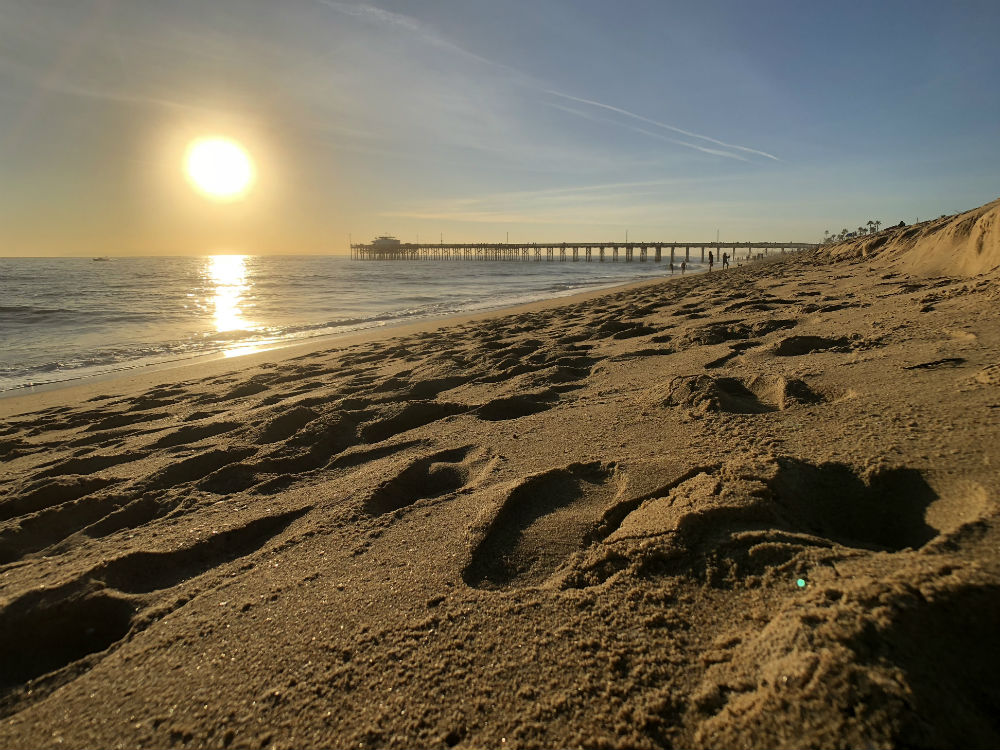
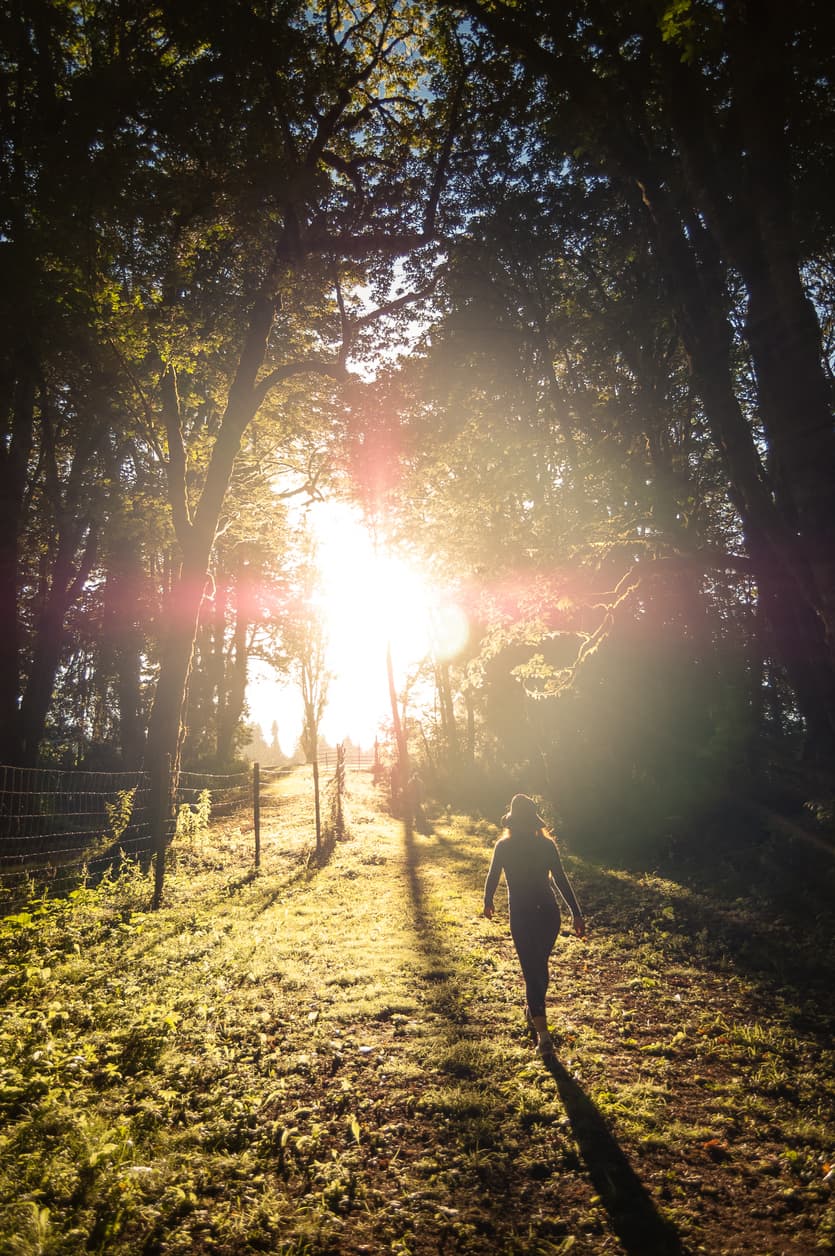
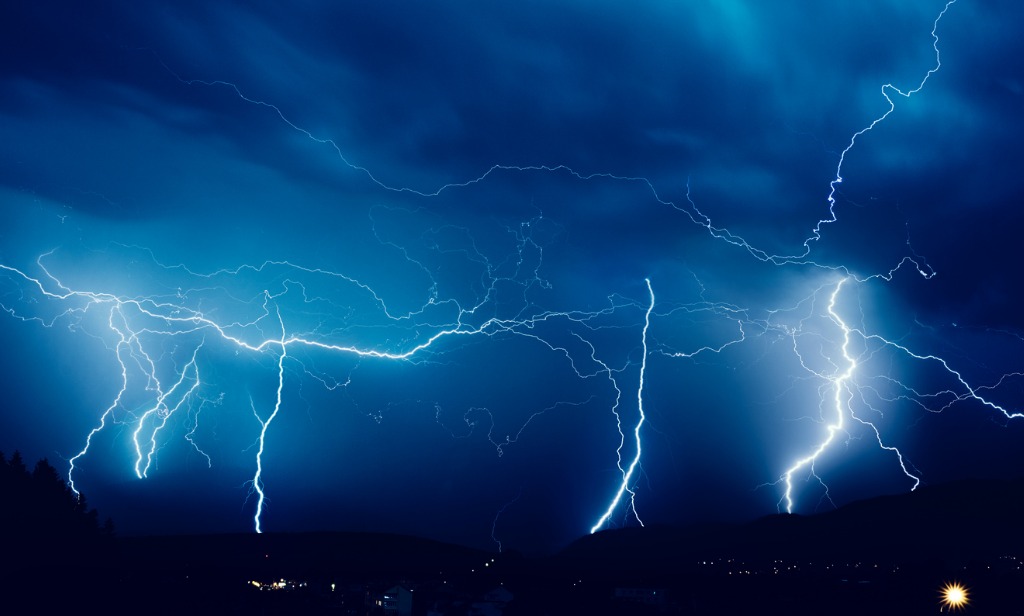
 Image Credit: Kevin Vandivier
When I was in high school, we had the chance to take immersion-based language courses. That meant having a block class that was 90-minutes long every day for a semester.
I took French, and learned the language far faster than my friends that took the traditional 45-minute daily course for a year.
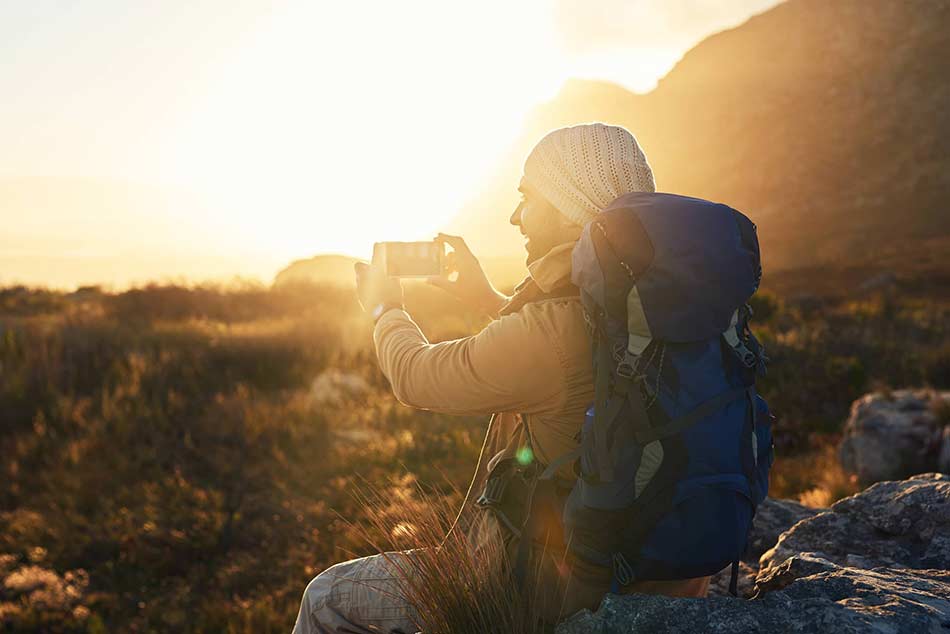
That kind of immersion learning is beneficial for all sorts of things - photography included - which is why immersing yourself in learning new techniques and skills in a workshop format is such a great way to improve your photography.
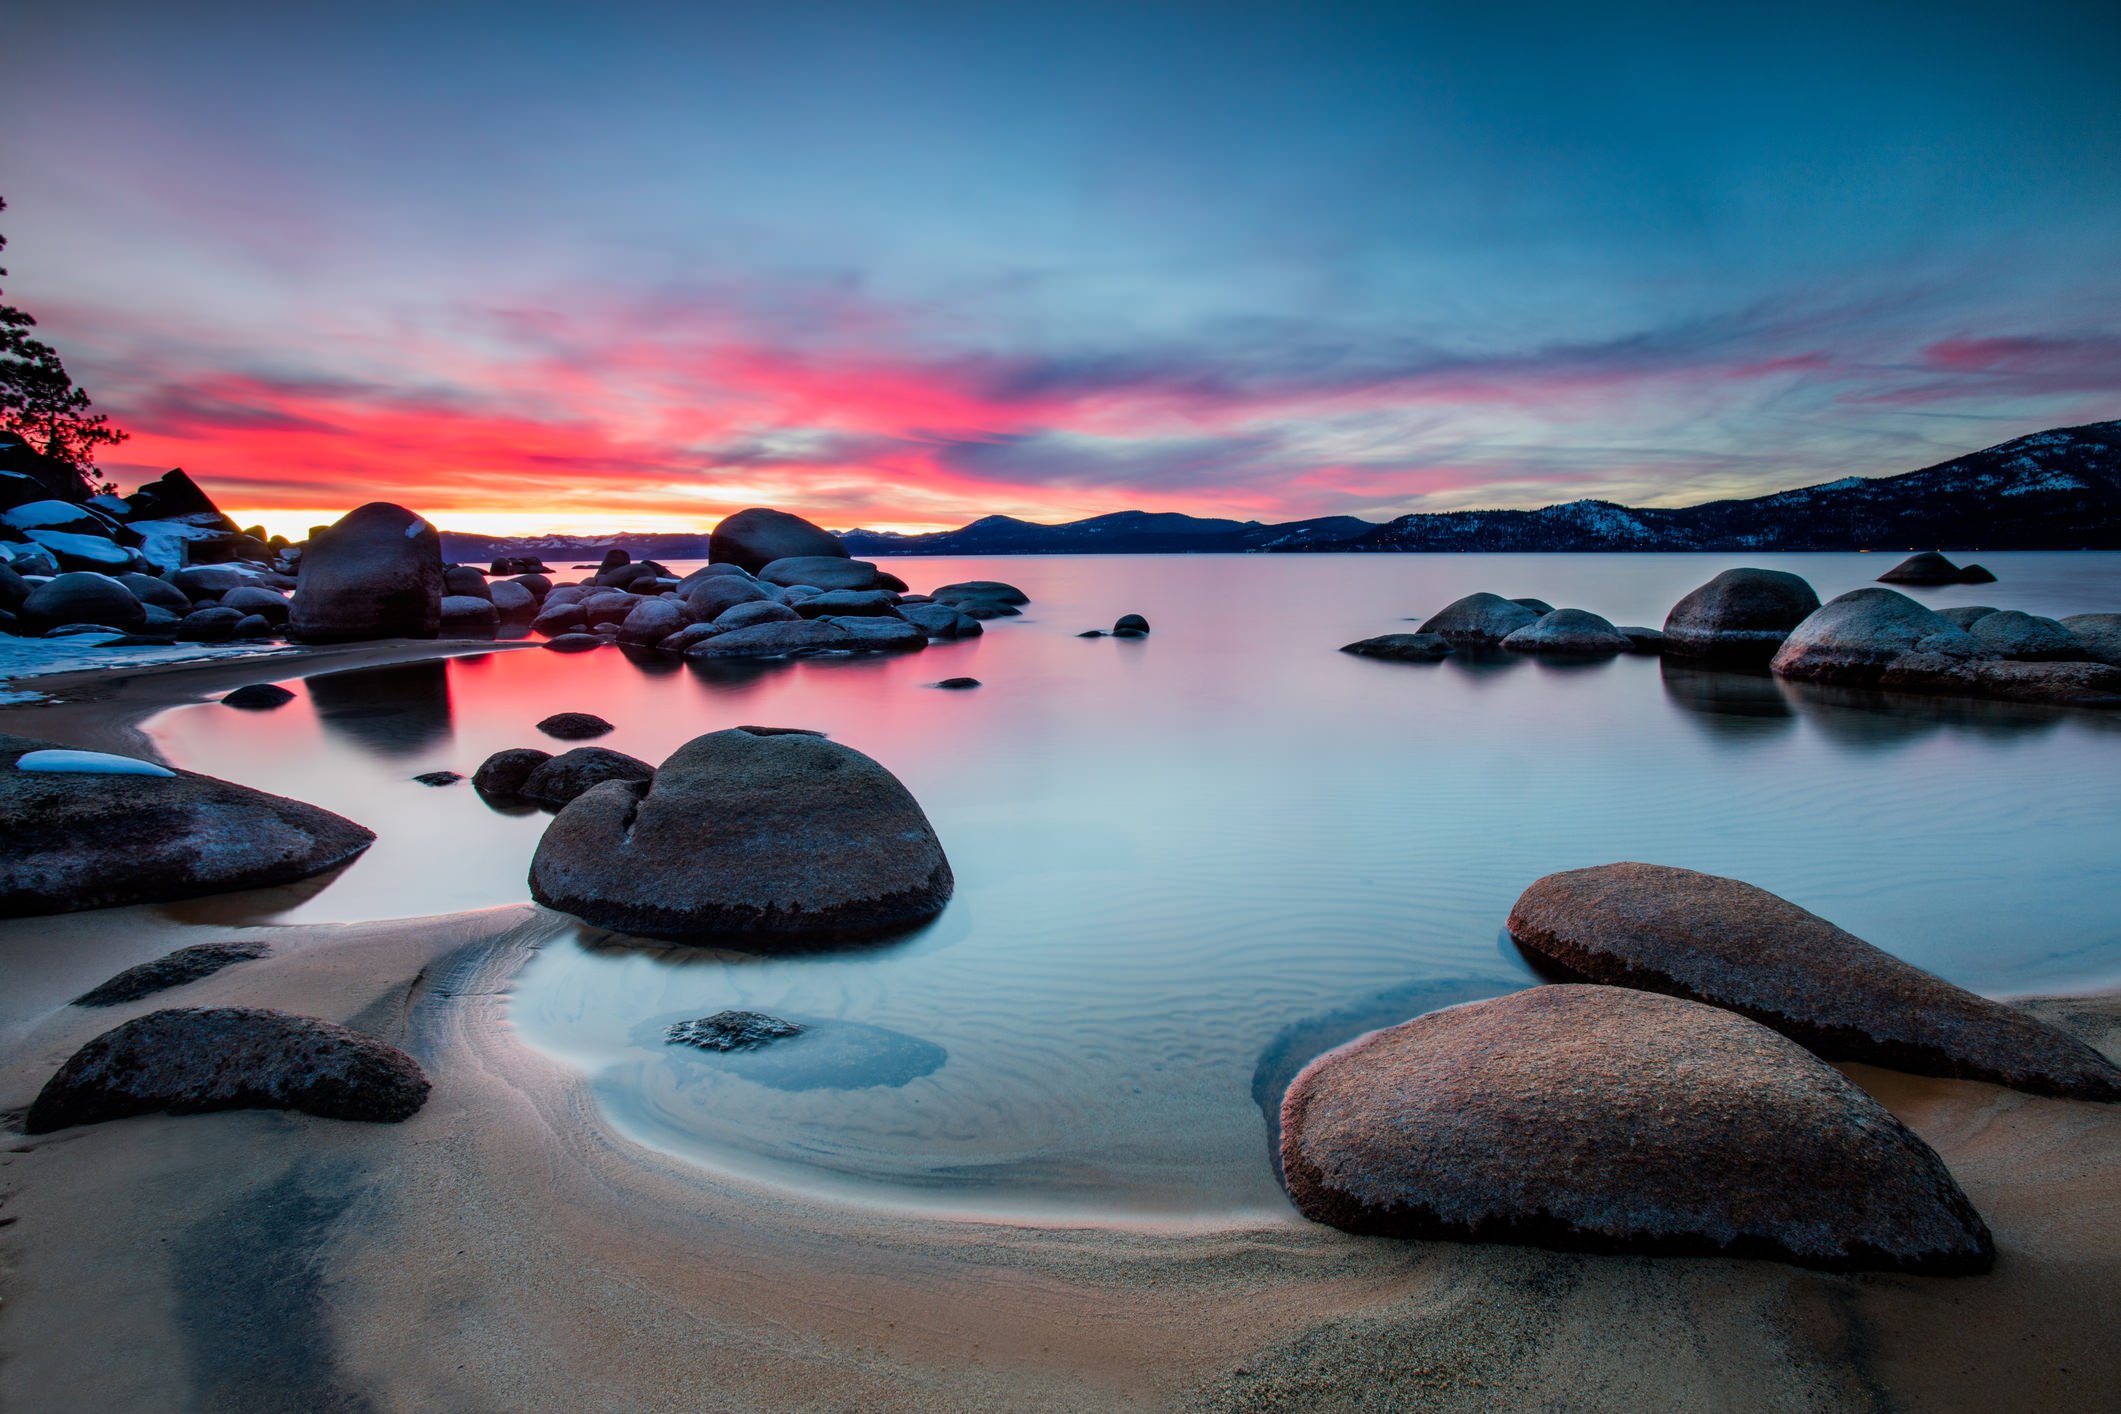
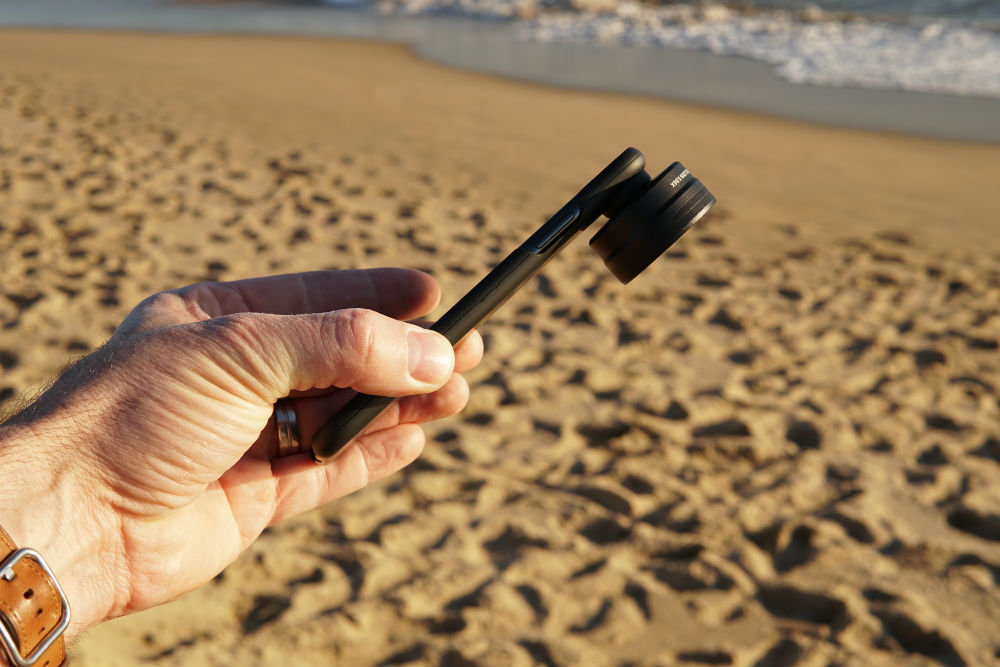
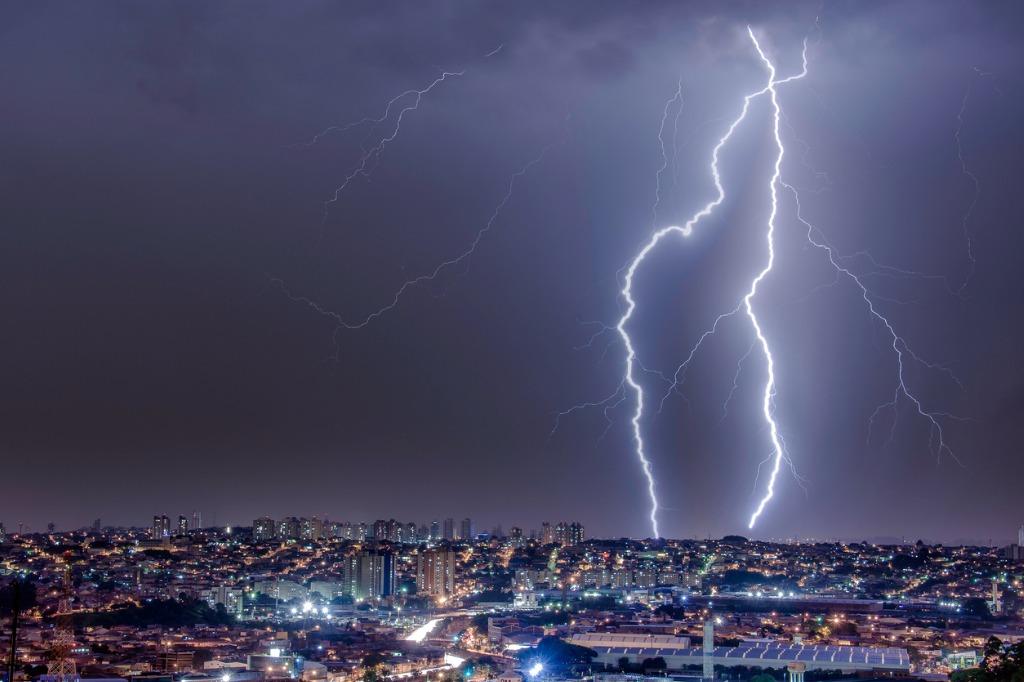
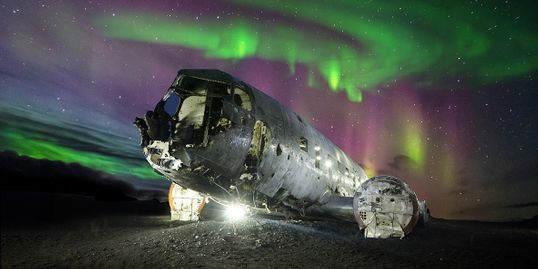 Image Credit: Kevin Vandivier
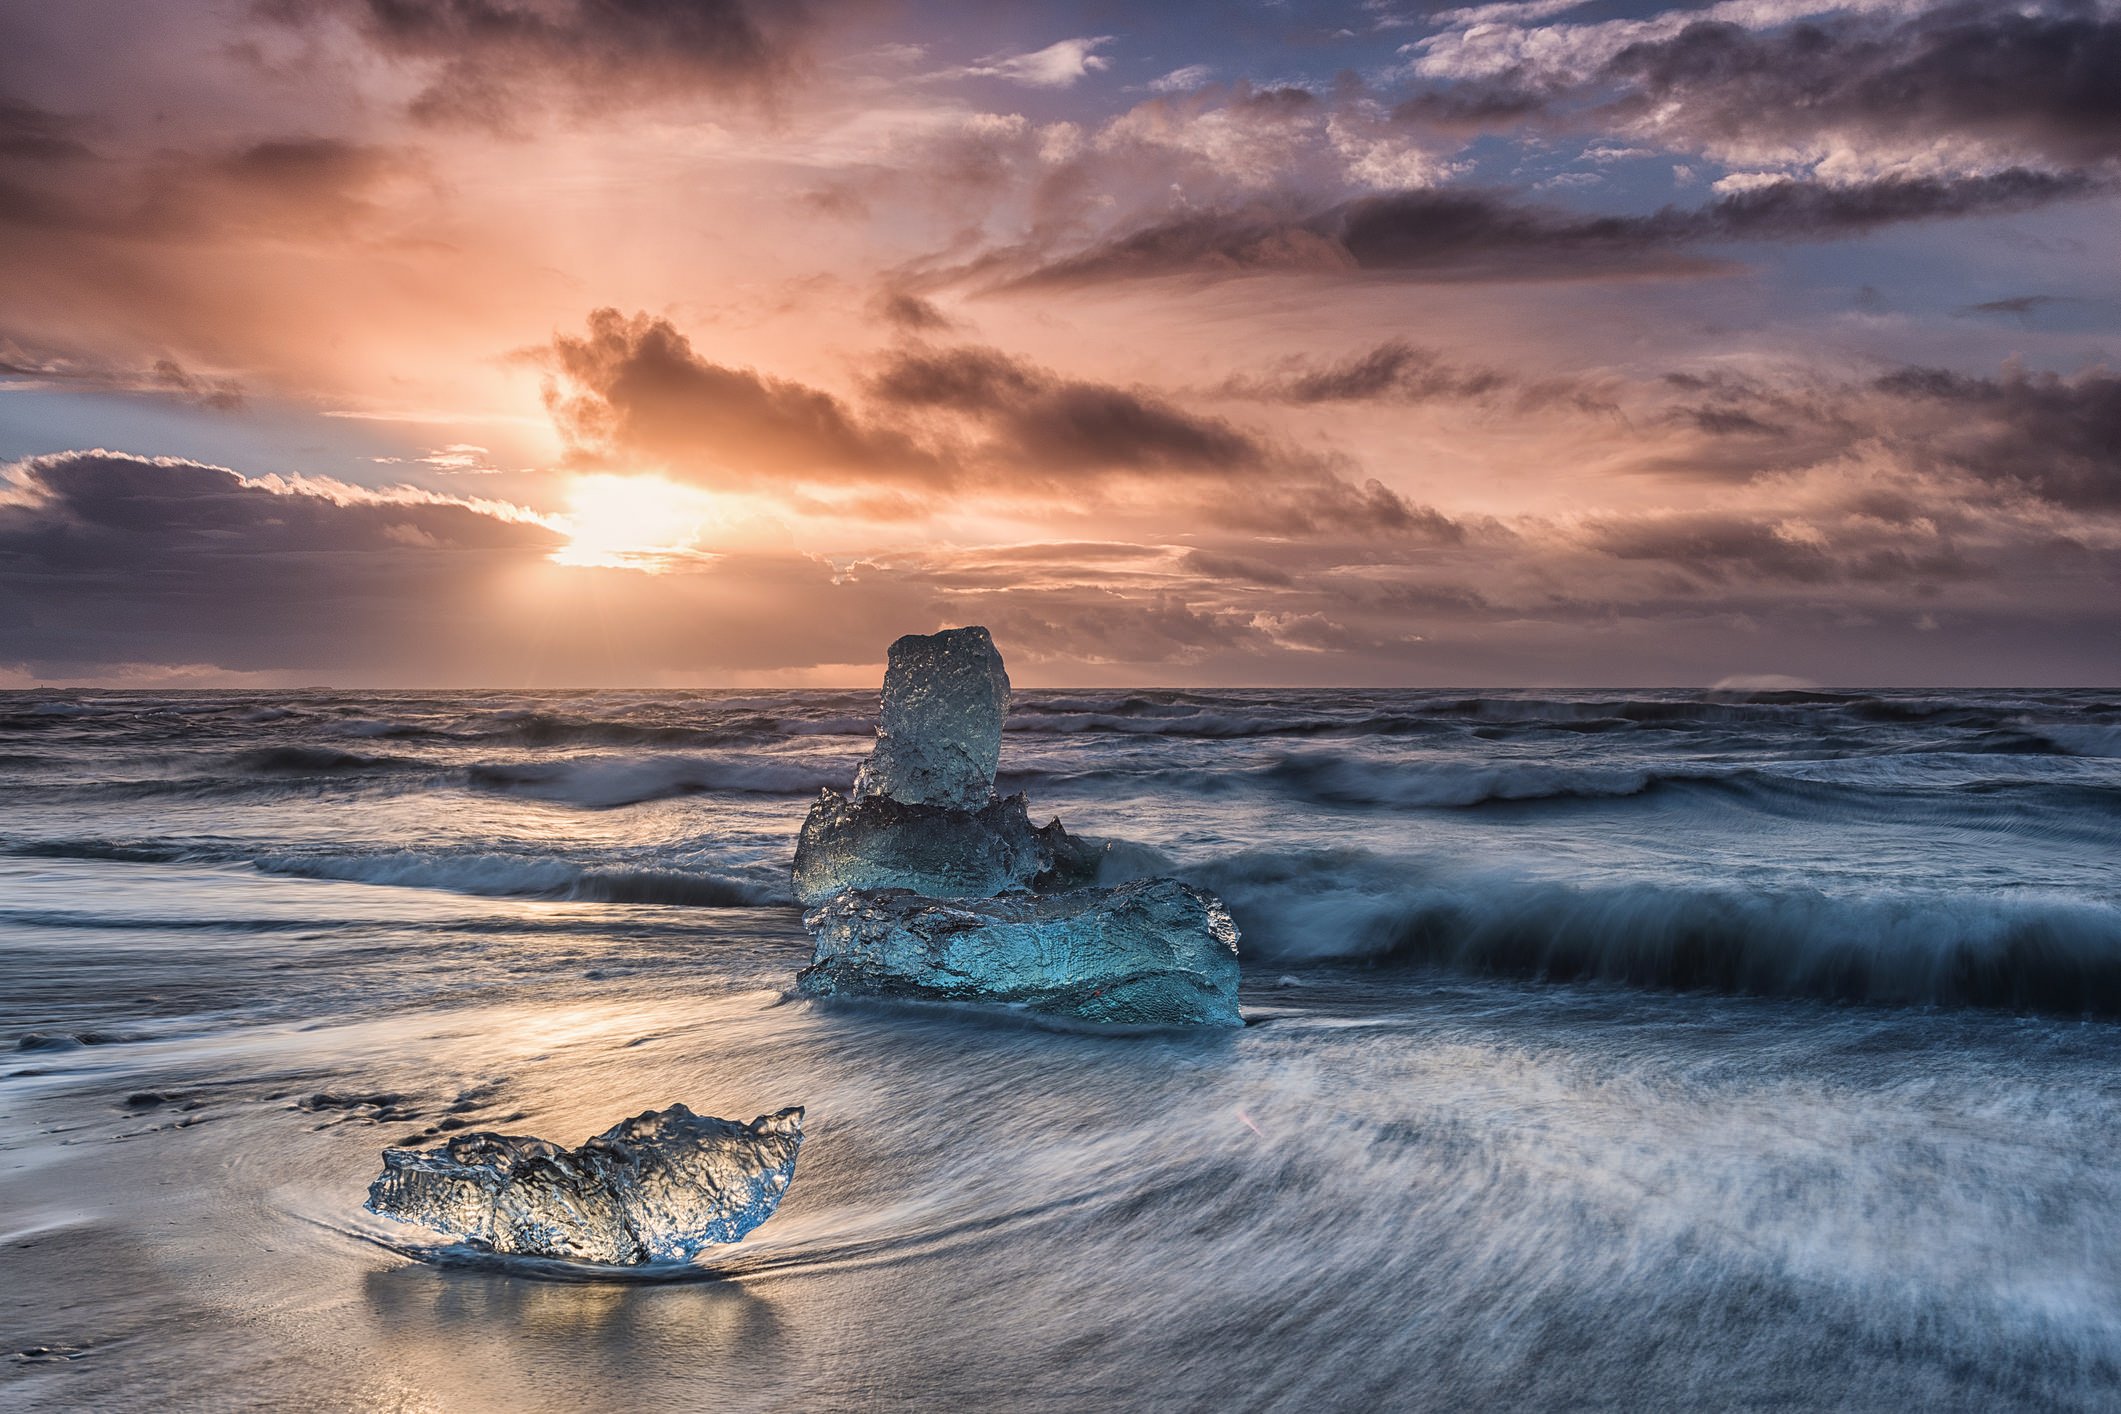
I'm an especially big proponent of taking part in on-location photography workshops.
Companies like National Photographic Adventures, for example, put you in a gorgeous location like Monument Valley, the Grand Tetons, Iceland, or Glacier National Park where you get to develop your photography skills in the midst of some of the most beautiful landscapes on earth.
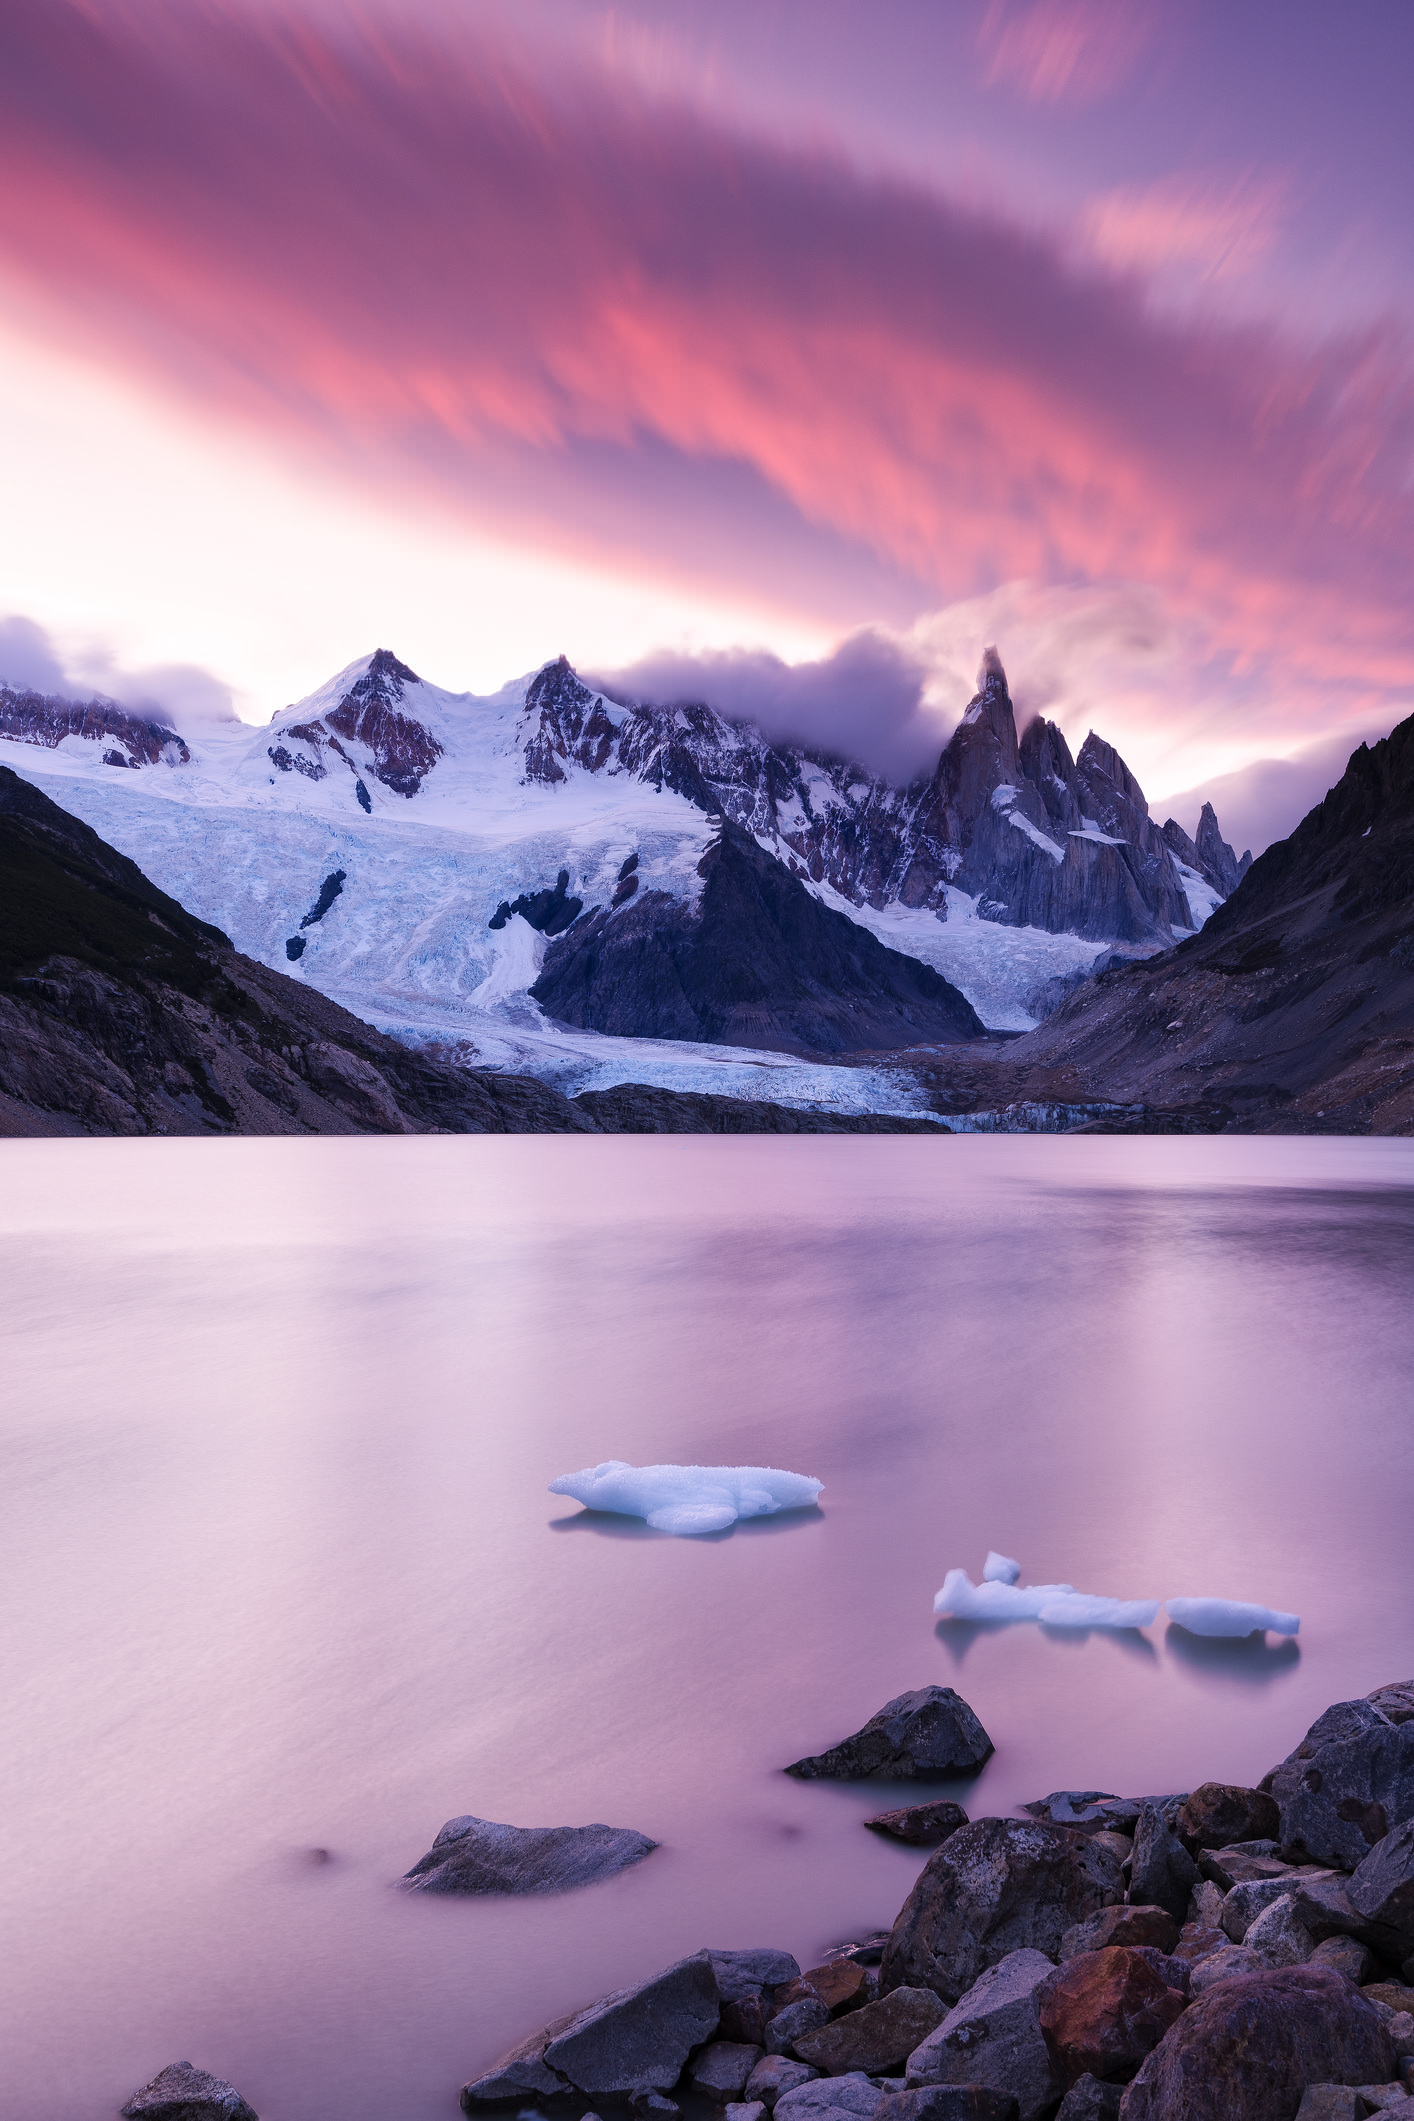
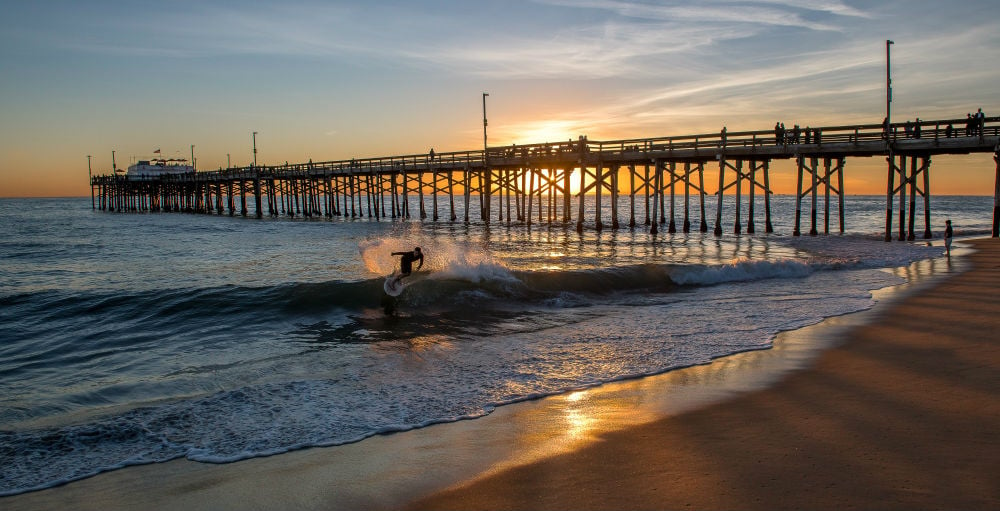
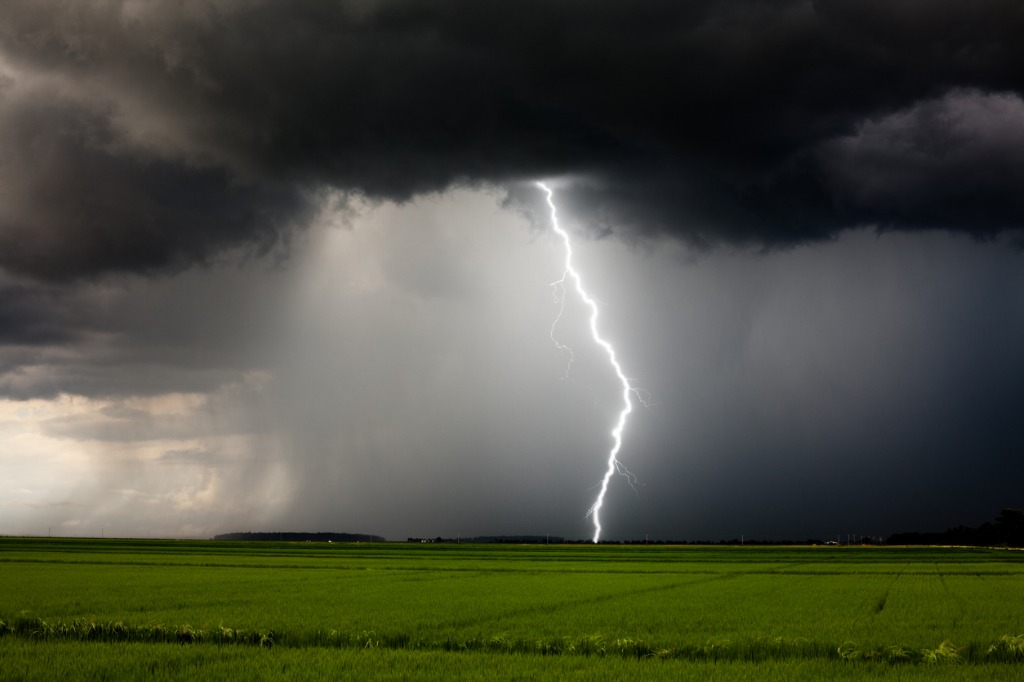
 Image Credit: Kevin Vandivier
Better still, on-location workshops like these put you elbow-to-elbow with a professional teacher that can give you one-on-one learning time because group sizes are limited.
You also benefit from getting to know other photography enthusiasts, sharing your work with one another, and getting quality feedback on your photos.
So, beautiful scenery? Check. In-depth learning opportunities? Check. Making connections with other photographers? Check!
Sounds like a great way to improve your photography to me.
Shoot in Aperture Priority Mode
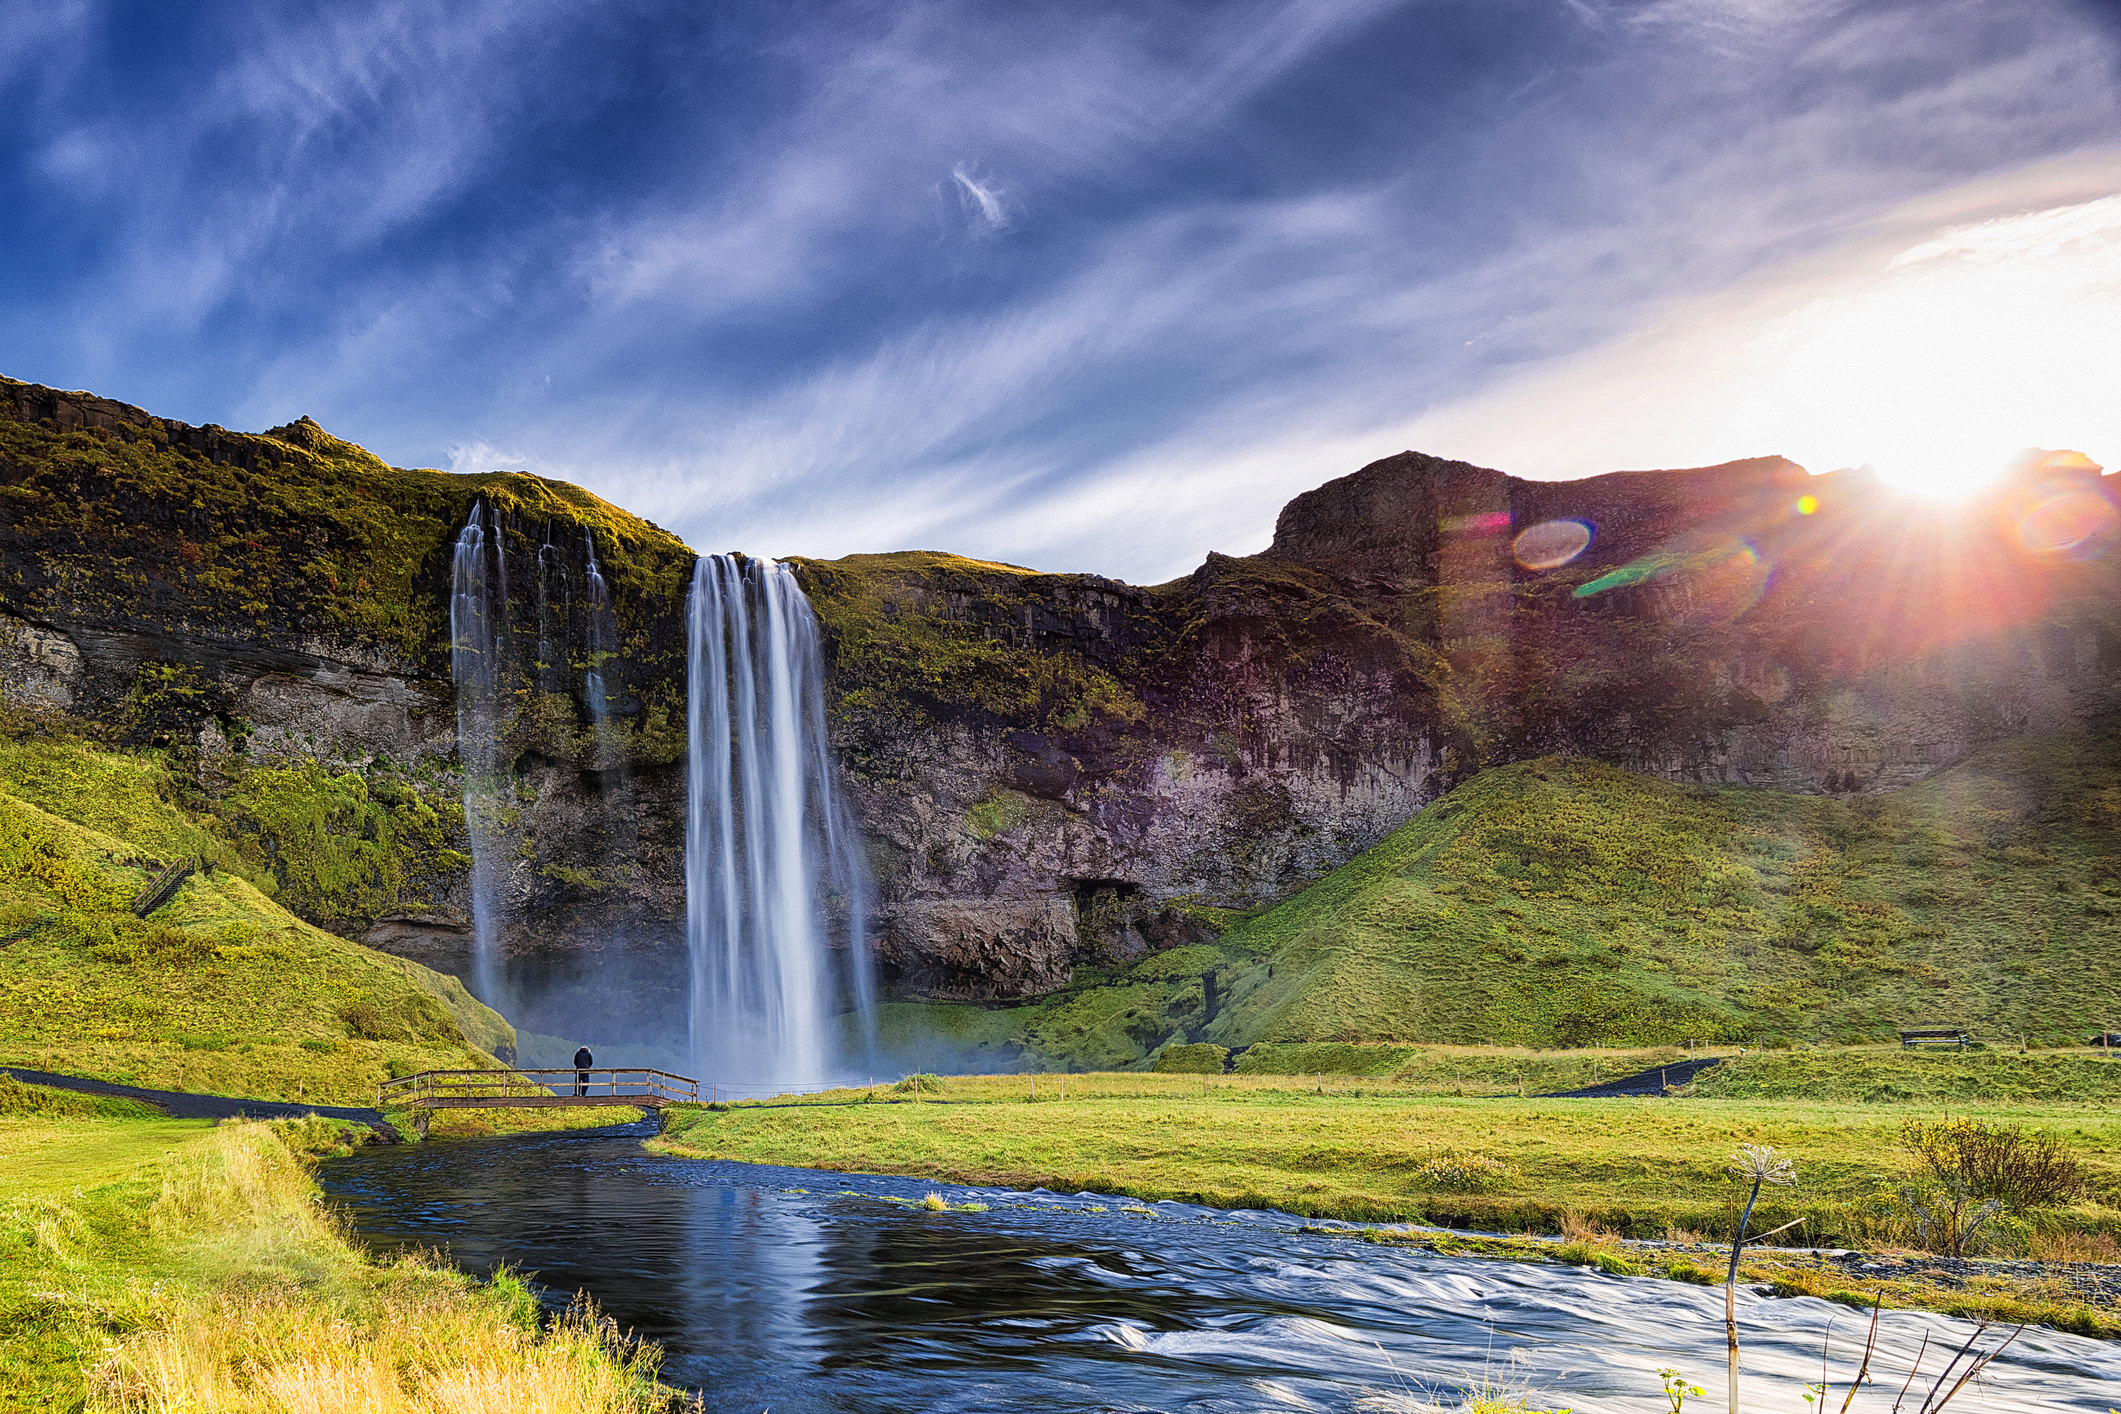
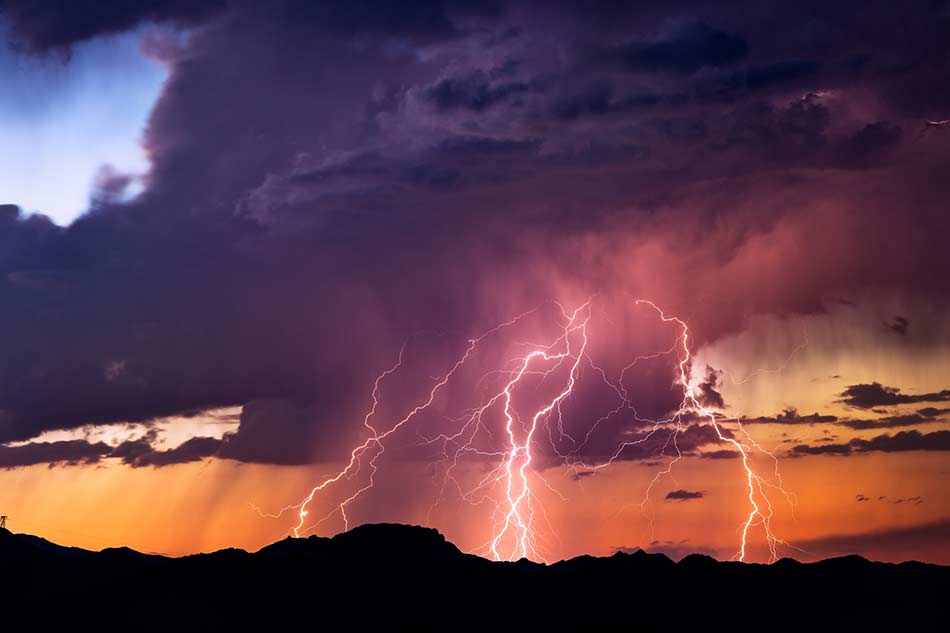
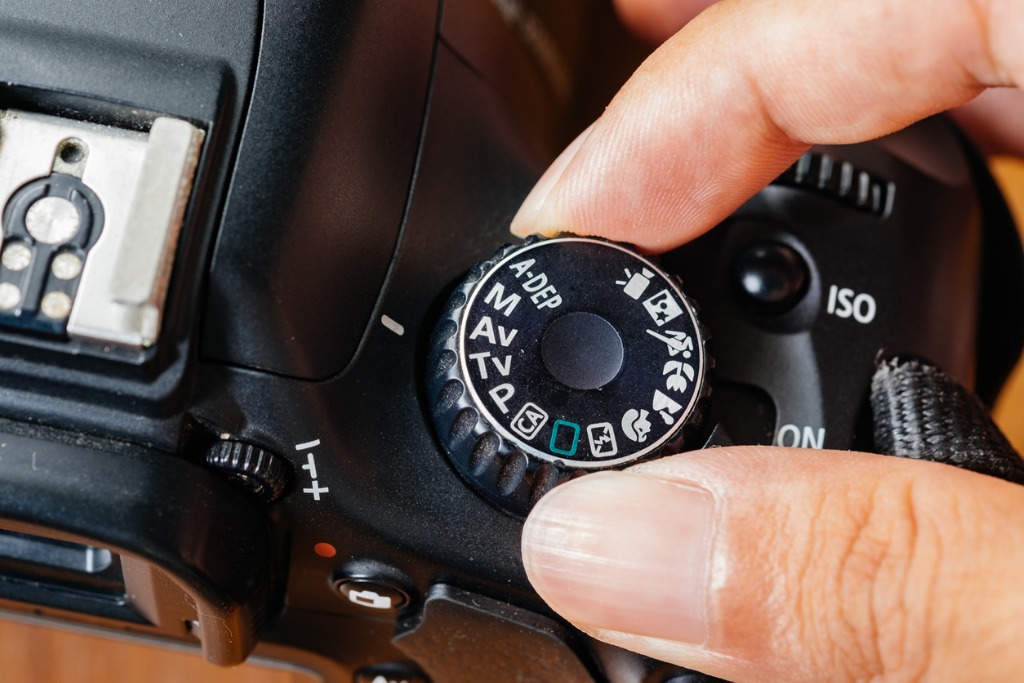 Image Credit: Bhanupong Asatamongkolchai via iStock
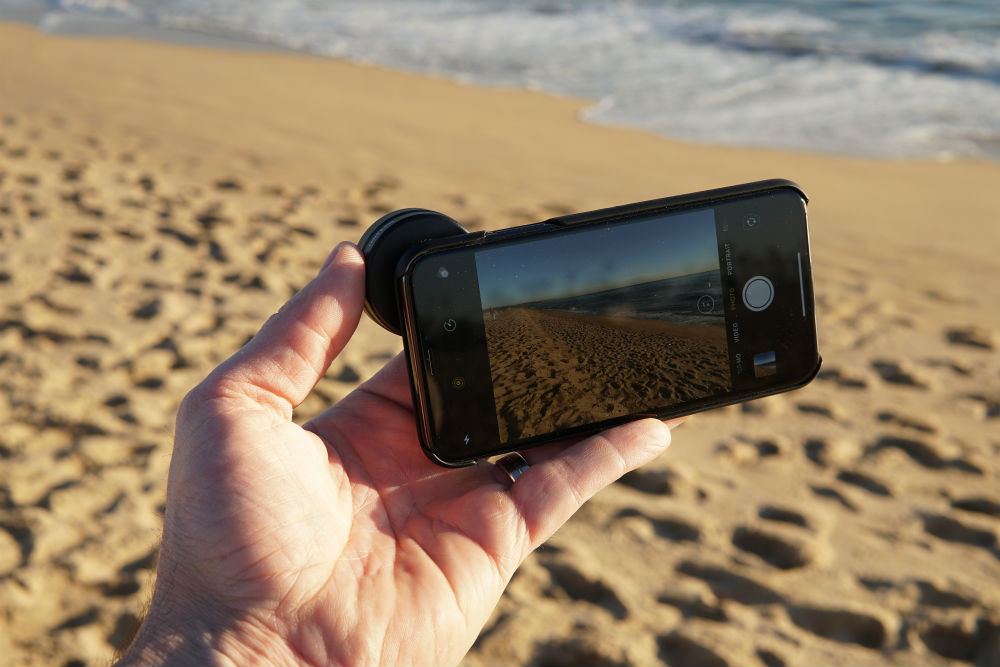
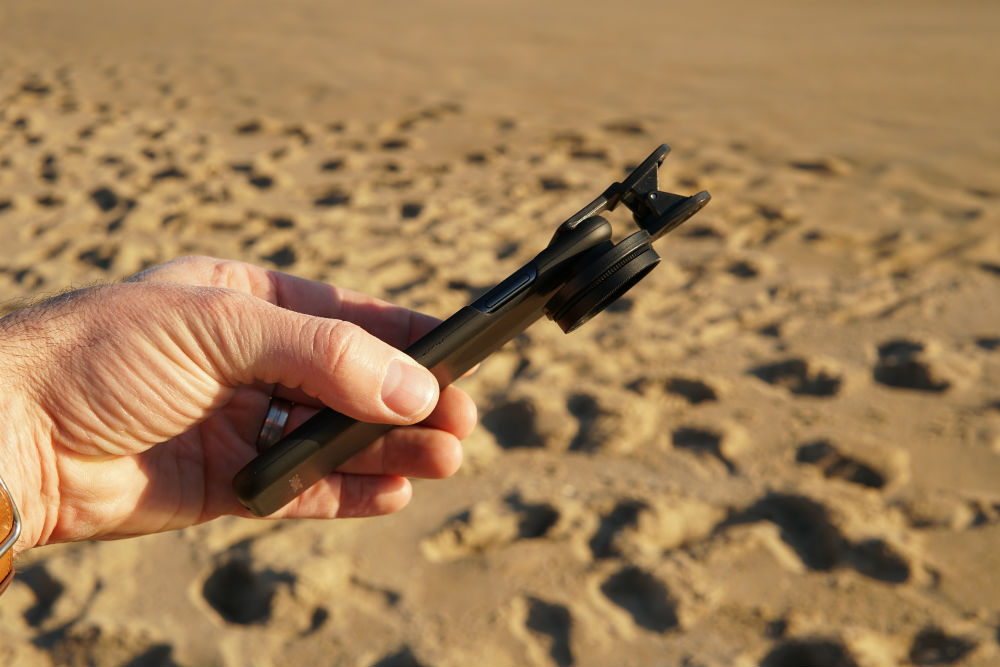
If you're not quite to the point where you feel comfortable shooting in manual mode, but you want to escape the clutches of shooting in full auto mode, aperture priority mode is a great compromise.
Using aperture priority mode (A or Av on your camera's dial) allows you to retain control over the aperture for landscape and ISO settings while the camera controls the shutter speed.
Without having to remember all three camera settings, instead, you can focus on just two. And, really, you can set the ISO in most situations and worry only about the aperture.
With less brain power devoted to trying to figure out all the exposure settings, you can instead concentrate on other aspects of getting a great shot like framing, composition, and lighting.
Use That Histogram

When you start out in photography, you often get into the habit of checking the exposure of the images you take by looking at them on the camera's LCD.
The problem with doing so is that the LCD is not a good representation of the exposure levels of an image.
Not only is the LCD difficult to see in some situations (like bright sunlight) but it's also not intended to be a means of inspecting shadows and highlights.
Instead, to improve your landscape photography, get into the habit of using your camera's histogram.
As you can see in the chart above, the histogram is a graphical representation of the brightness of pixels in a photo.
That means that there's no mistaking if a photo is overexposed, underexposed, or just right, and that, in turn, means that you'll have better-exposed photos because you can take action based on the histogram's data to rectify exposure problems.
Simplify Your Photos
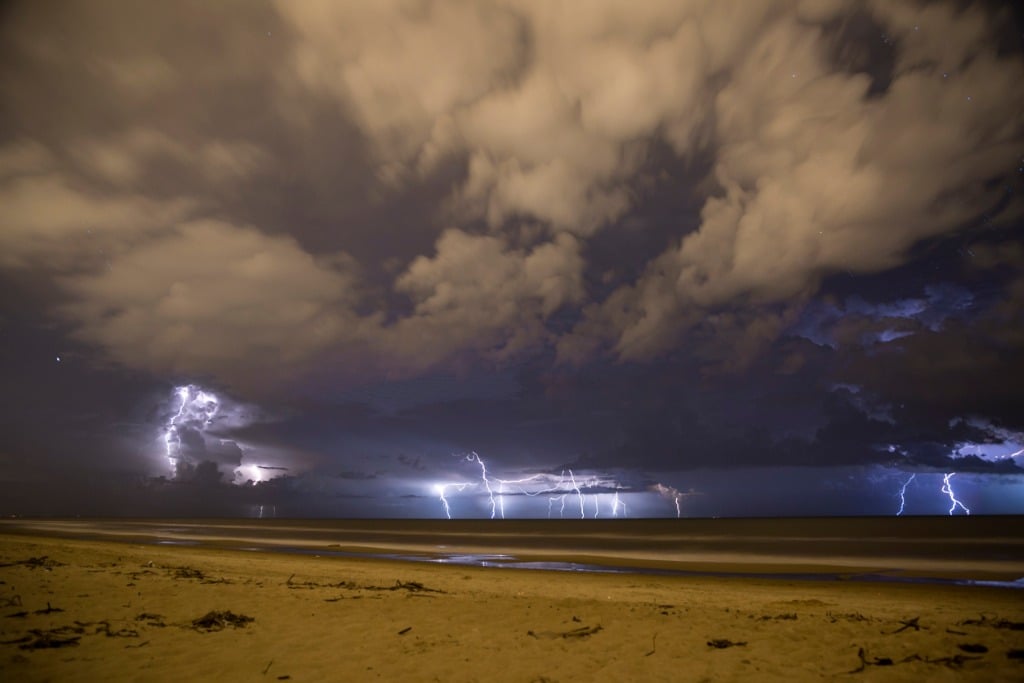
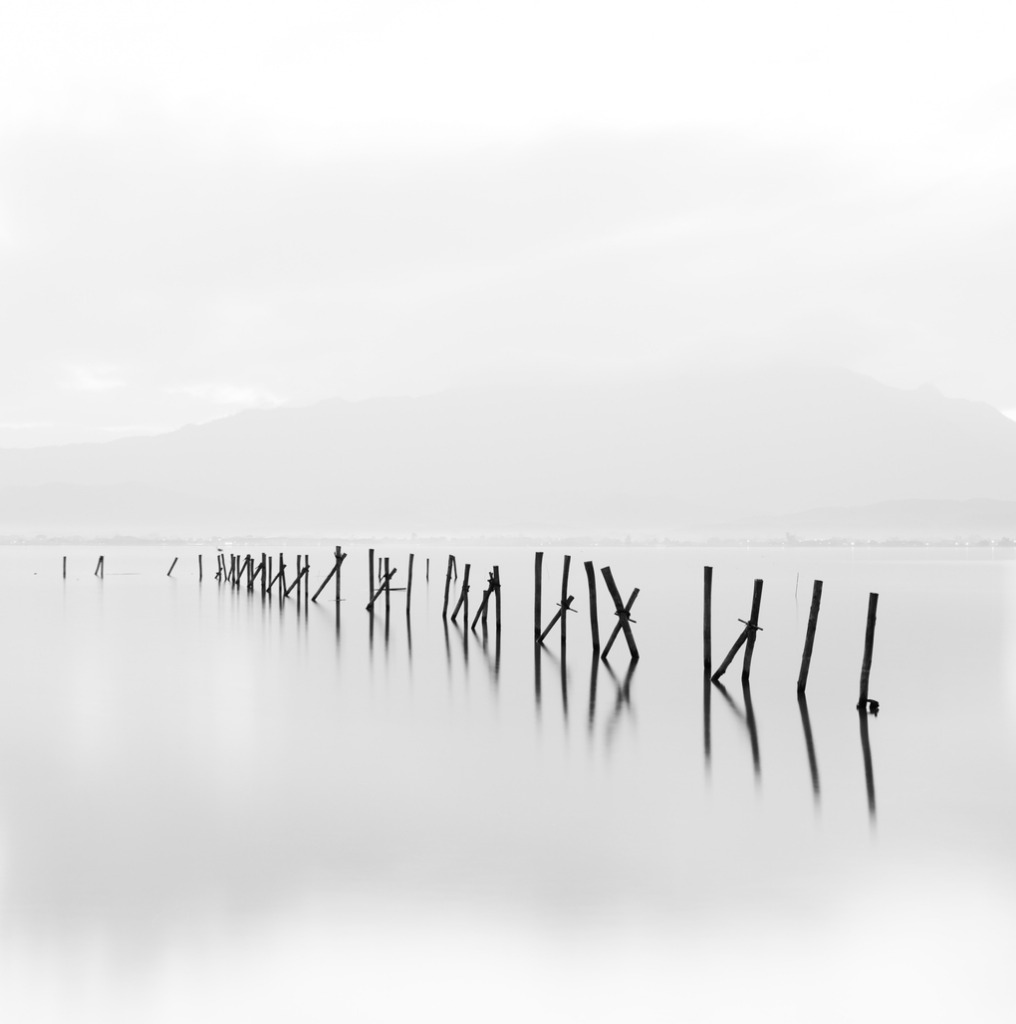 Image Credit: musicphone1 via iStock
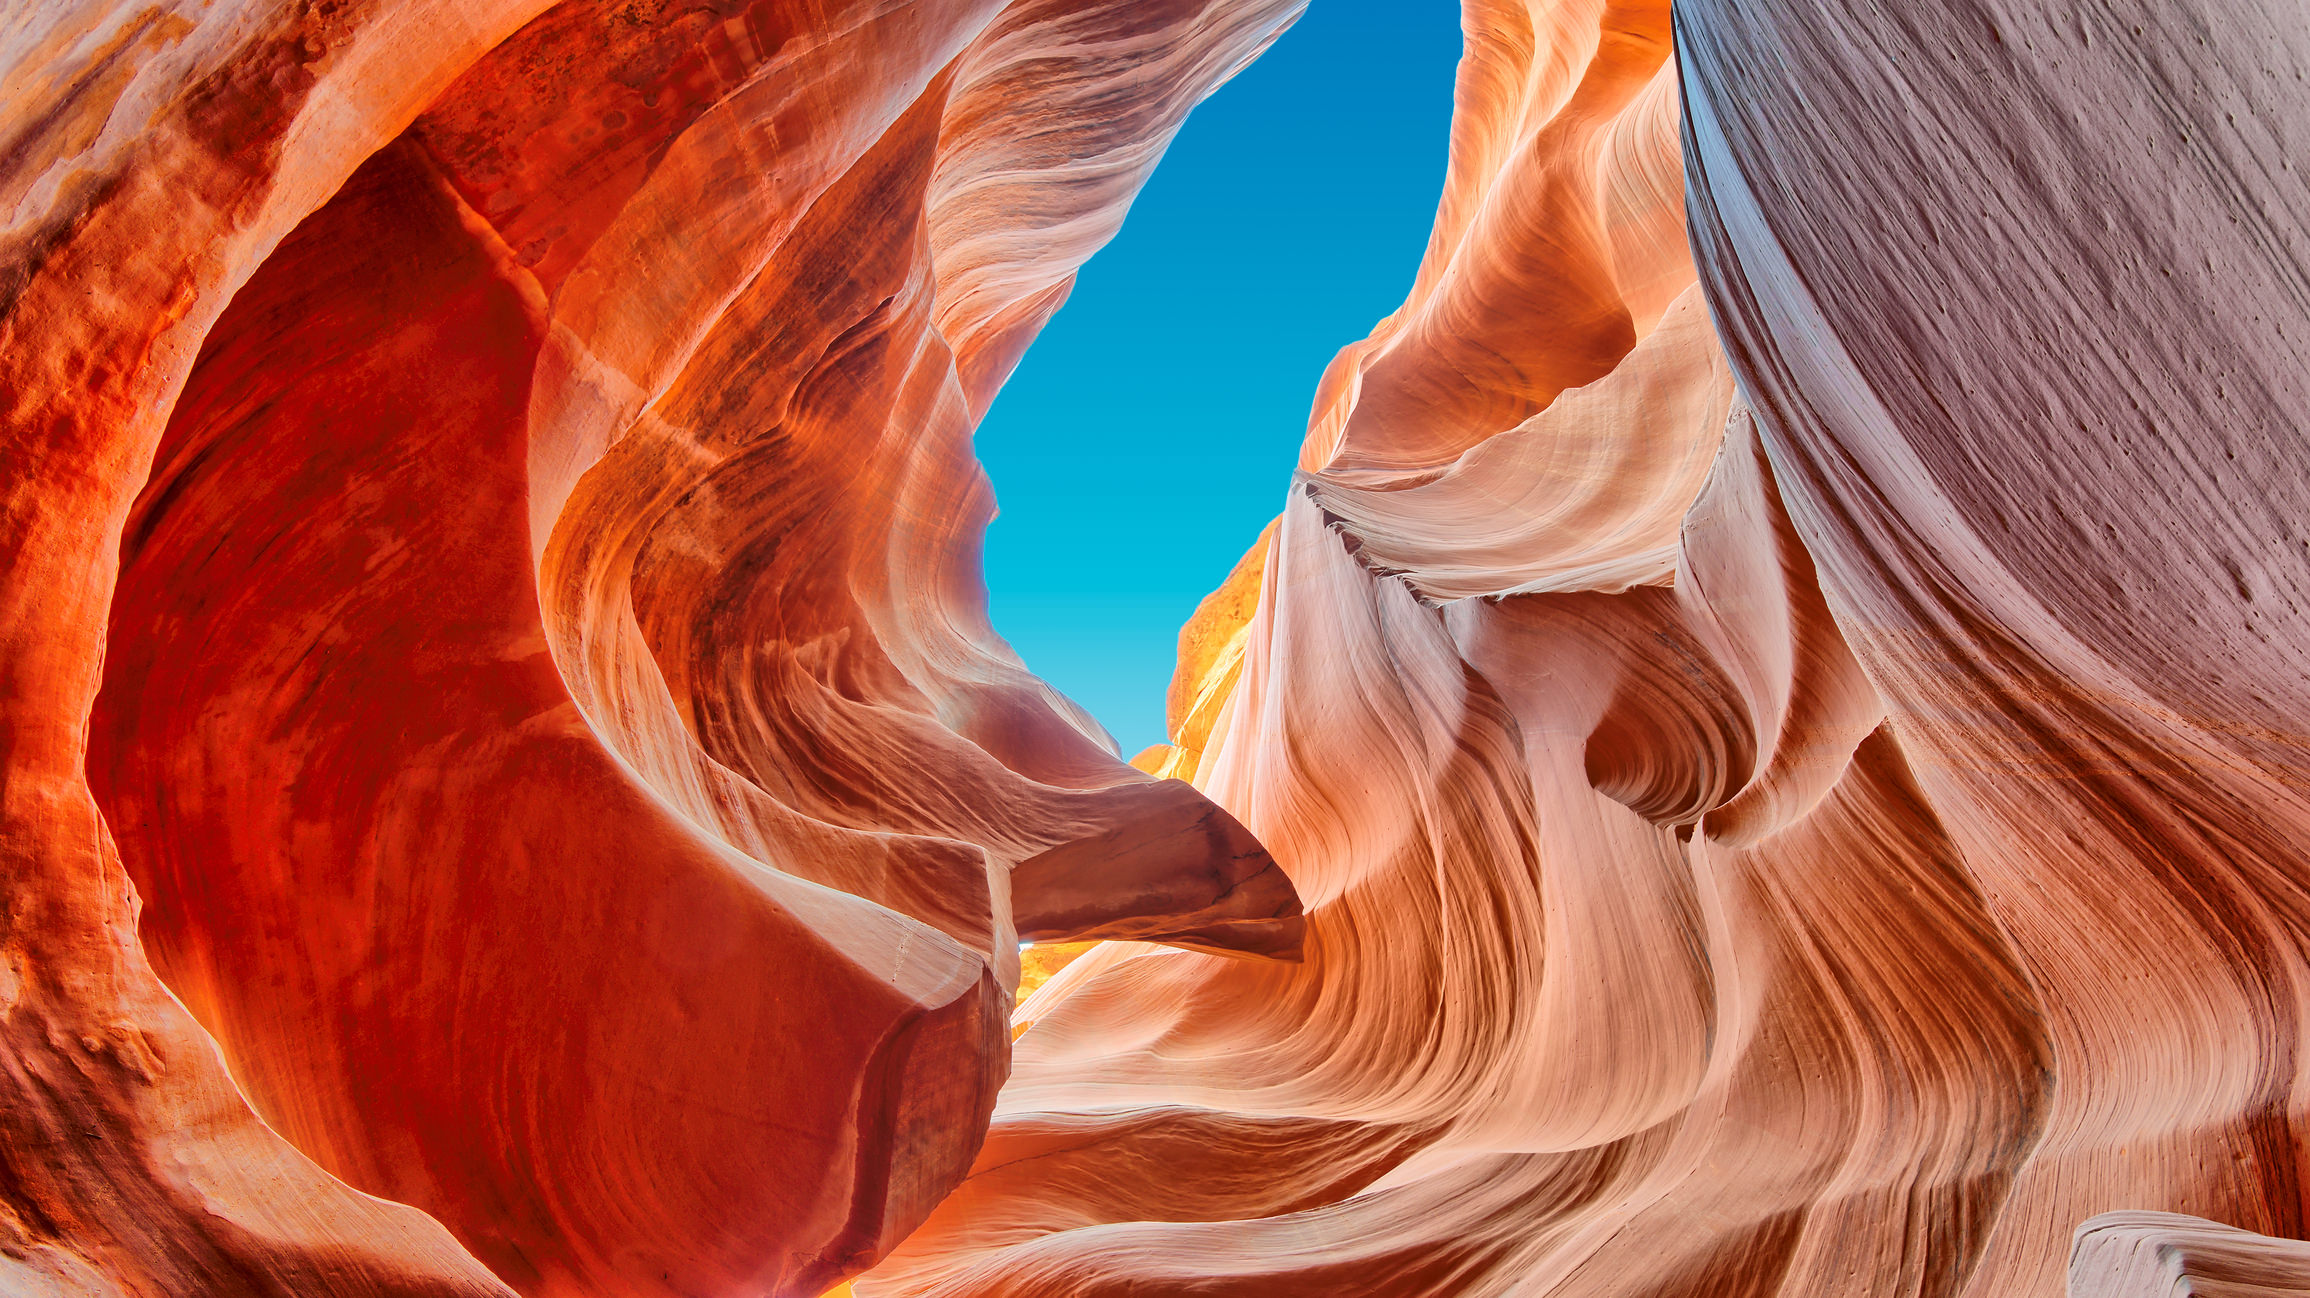
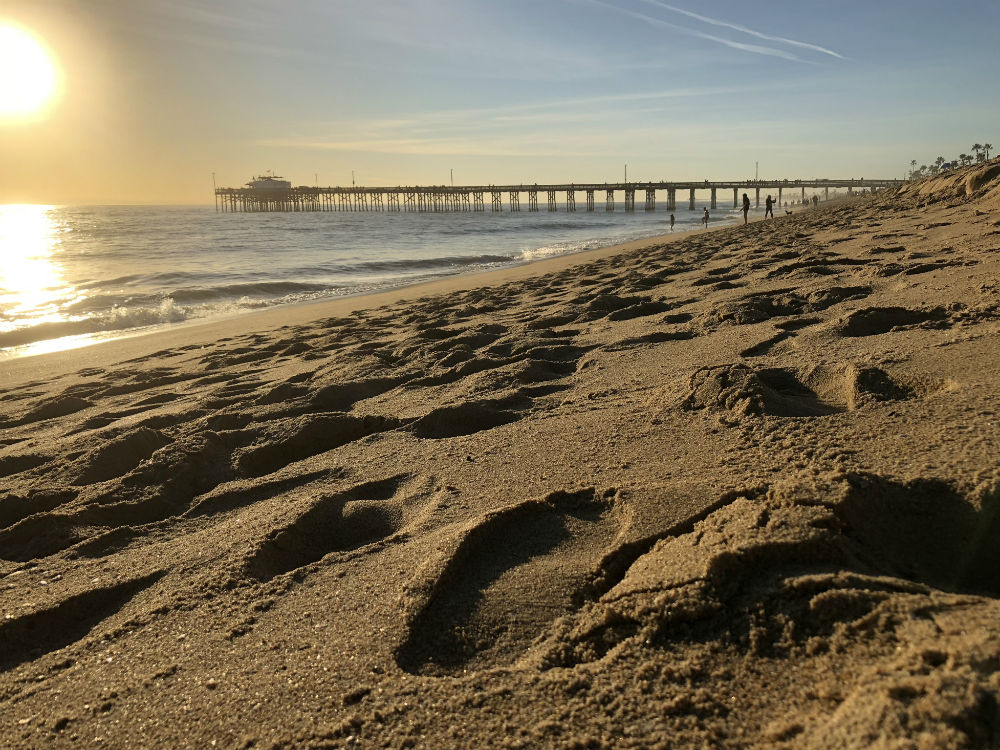
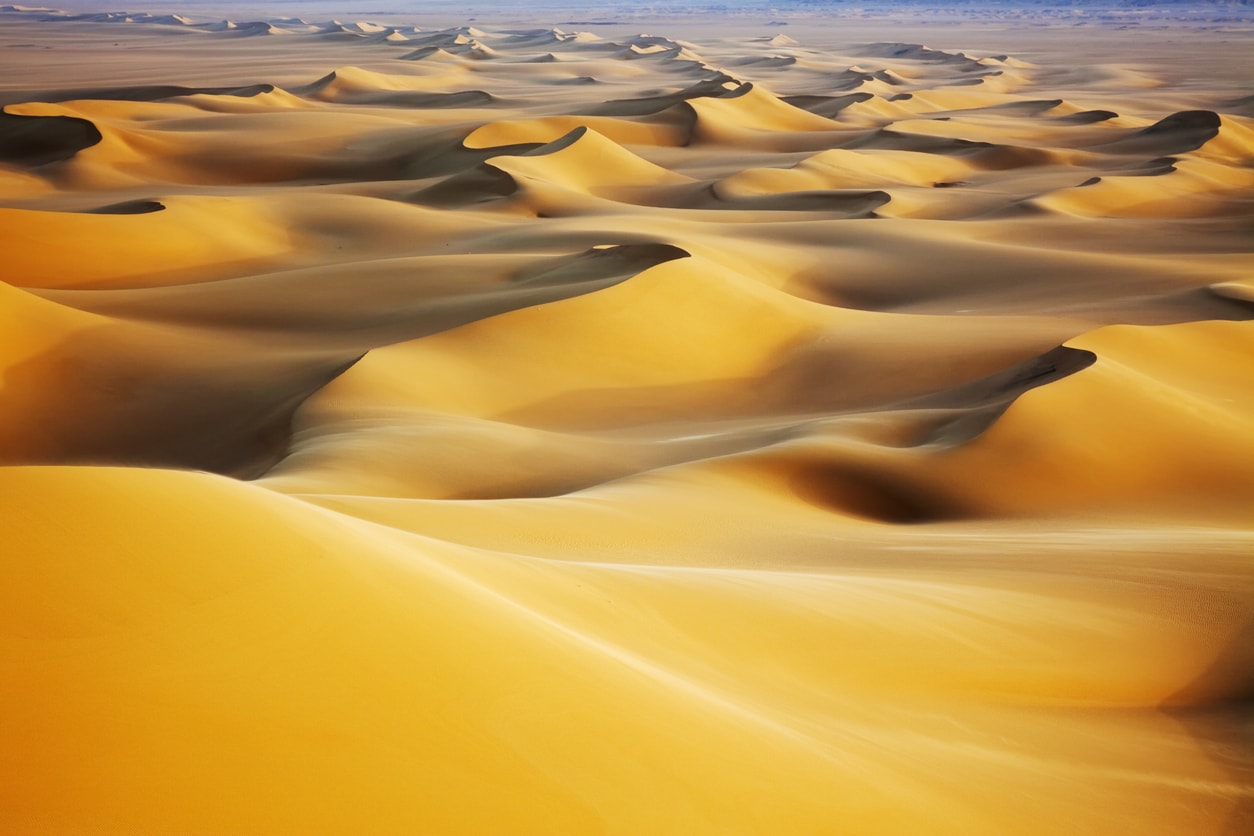
The last piece of advice I'd like to give is to simplify your photos.
Though this sounds easy to do, in landscape photography - in which there is so much detail everywhere you look - it can actually be quite difficult to create a simplified image.
But the simpler a composition is, often, the more powerful that composition is as well.
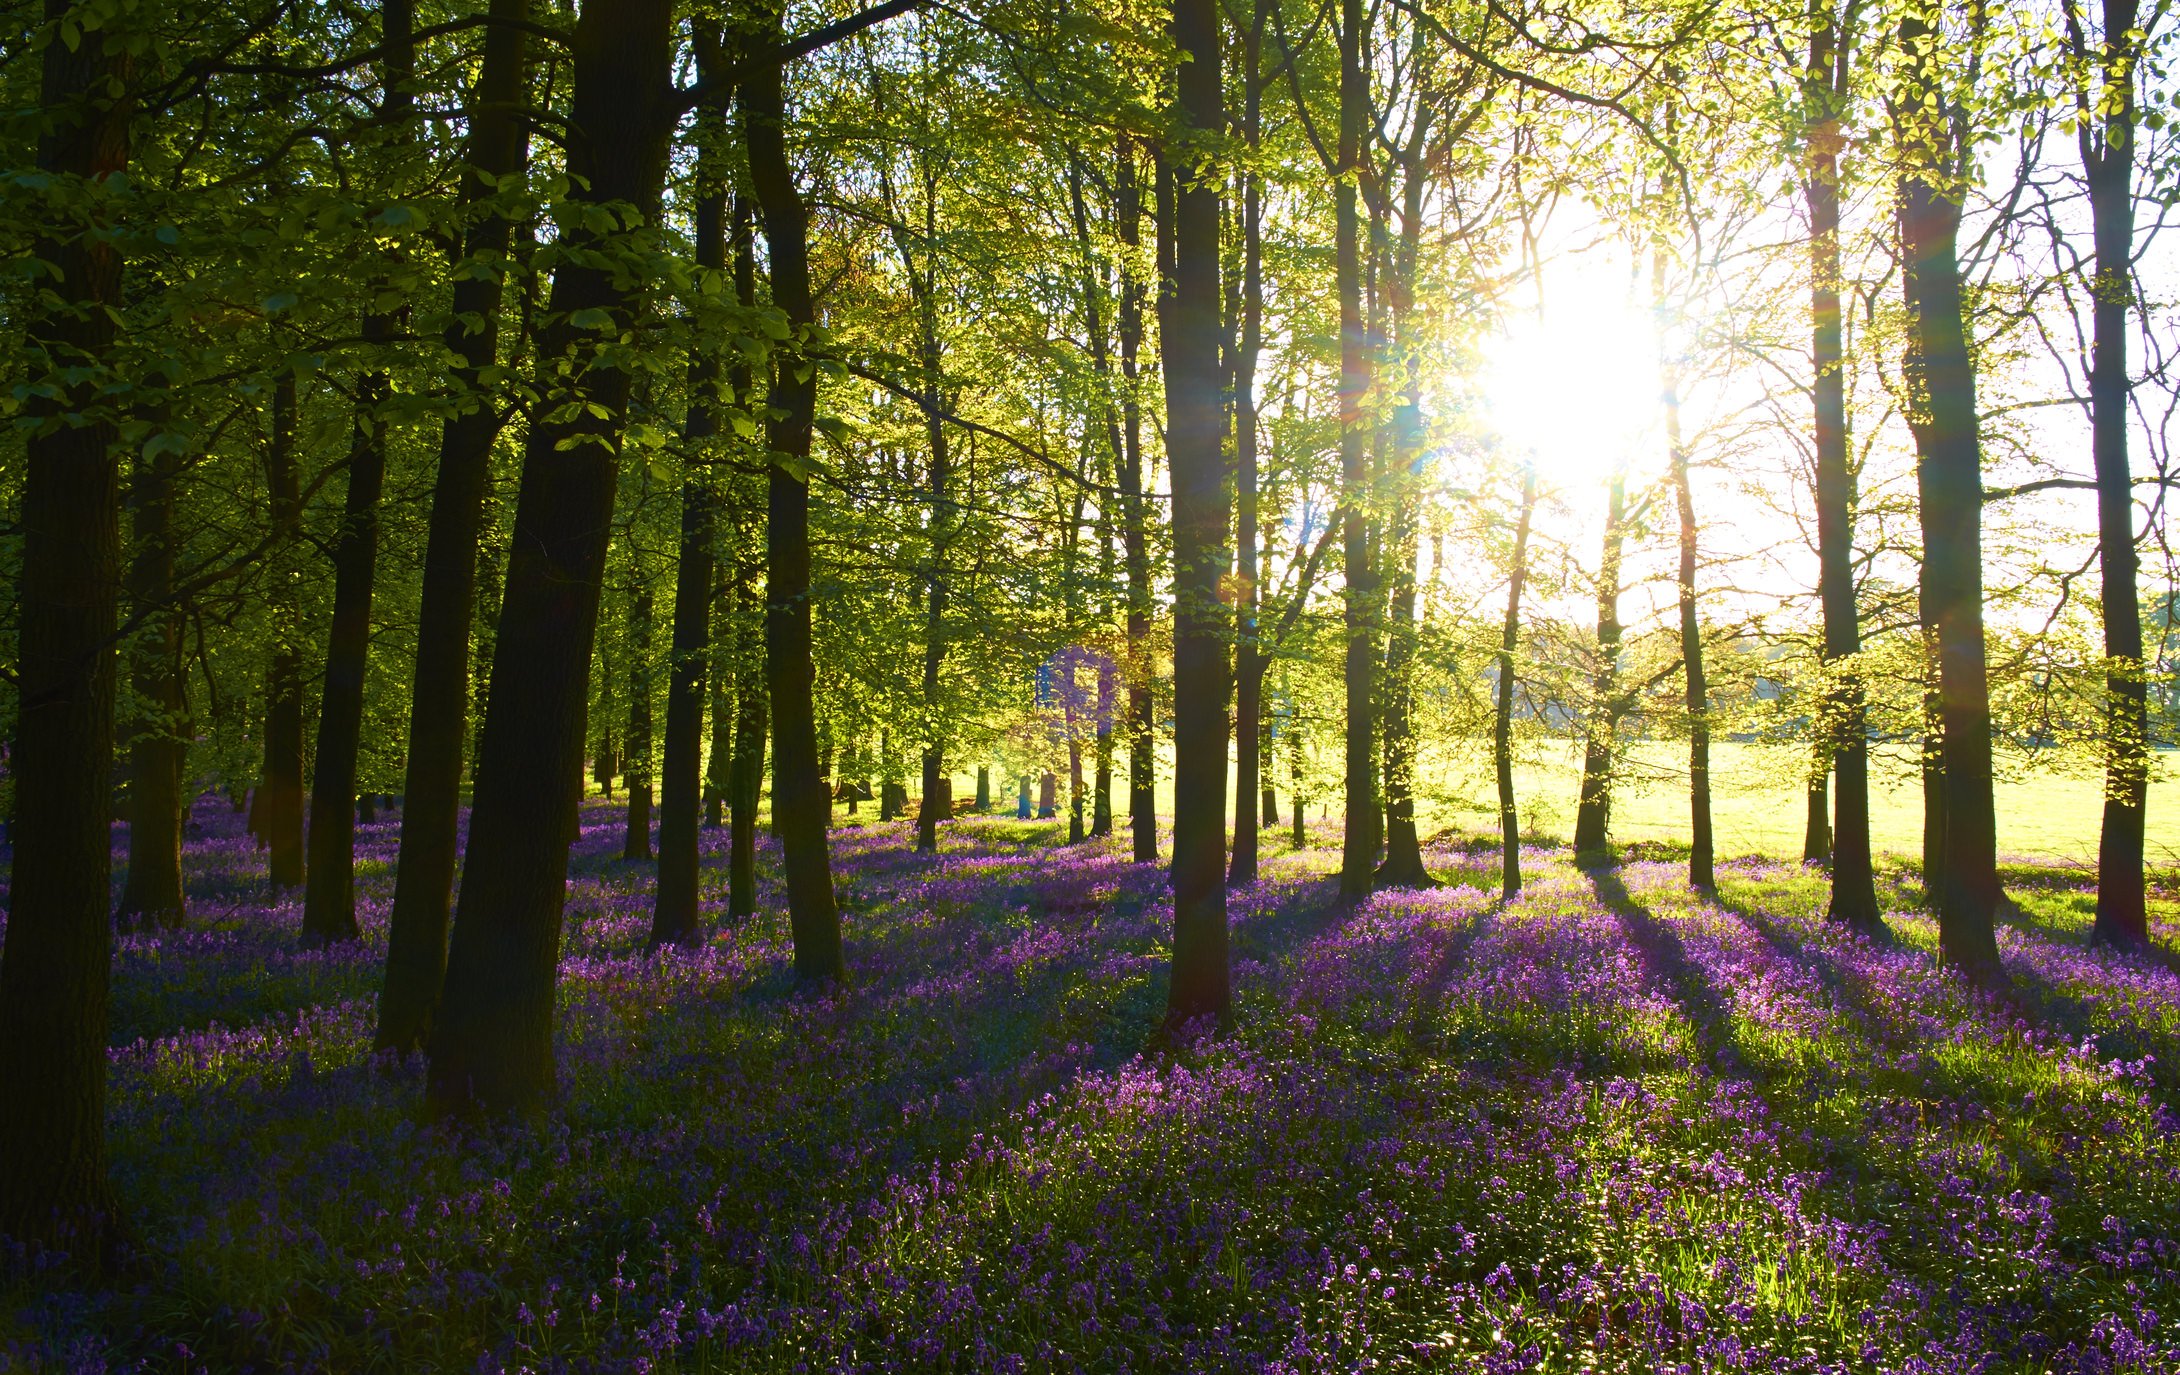
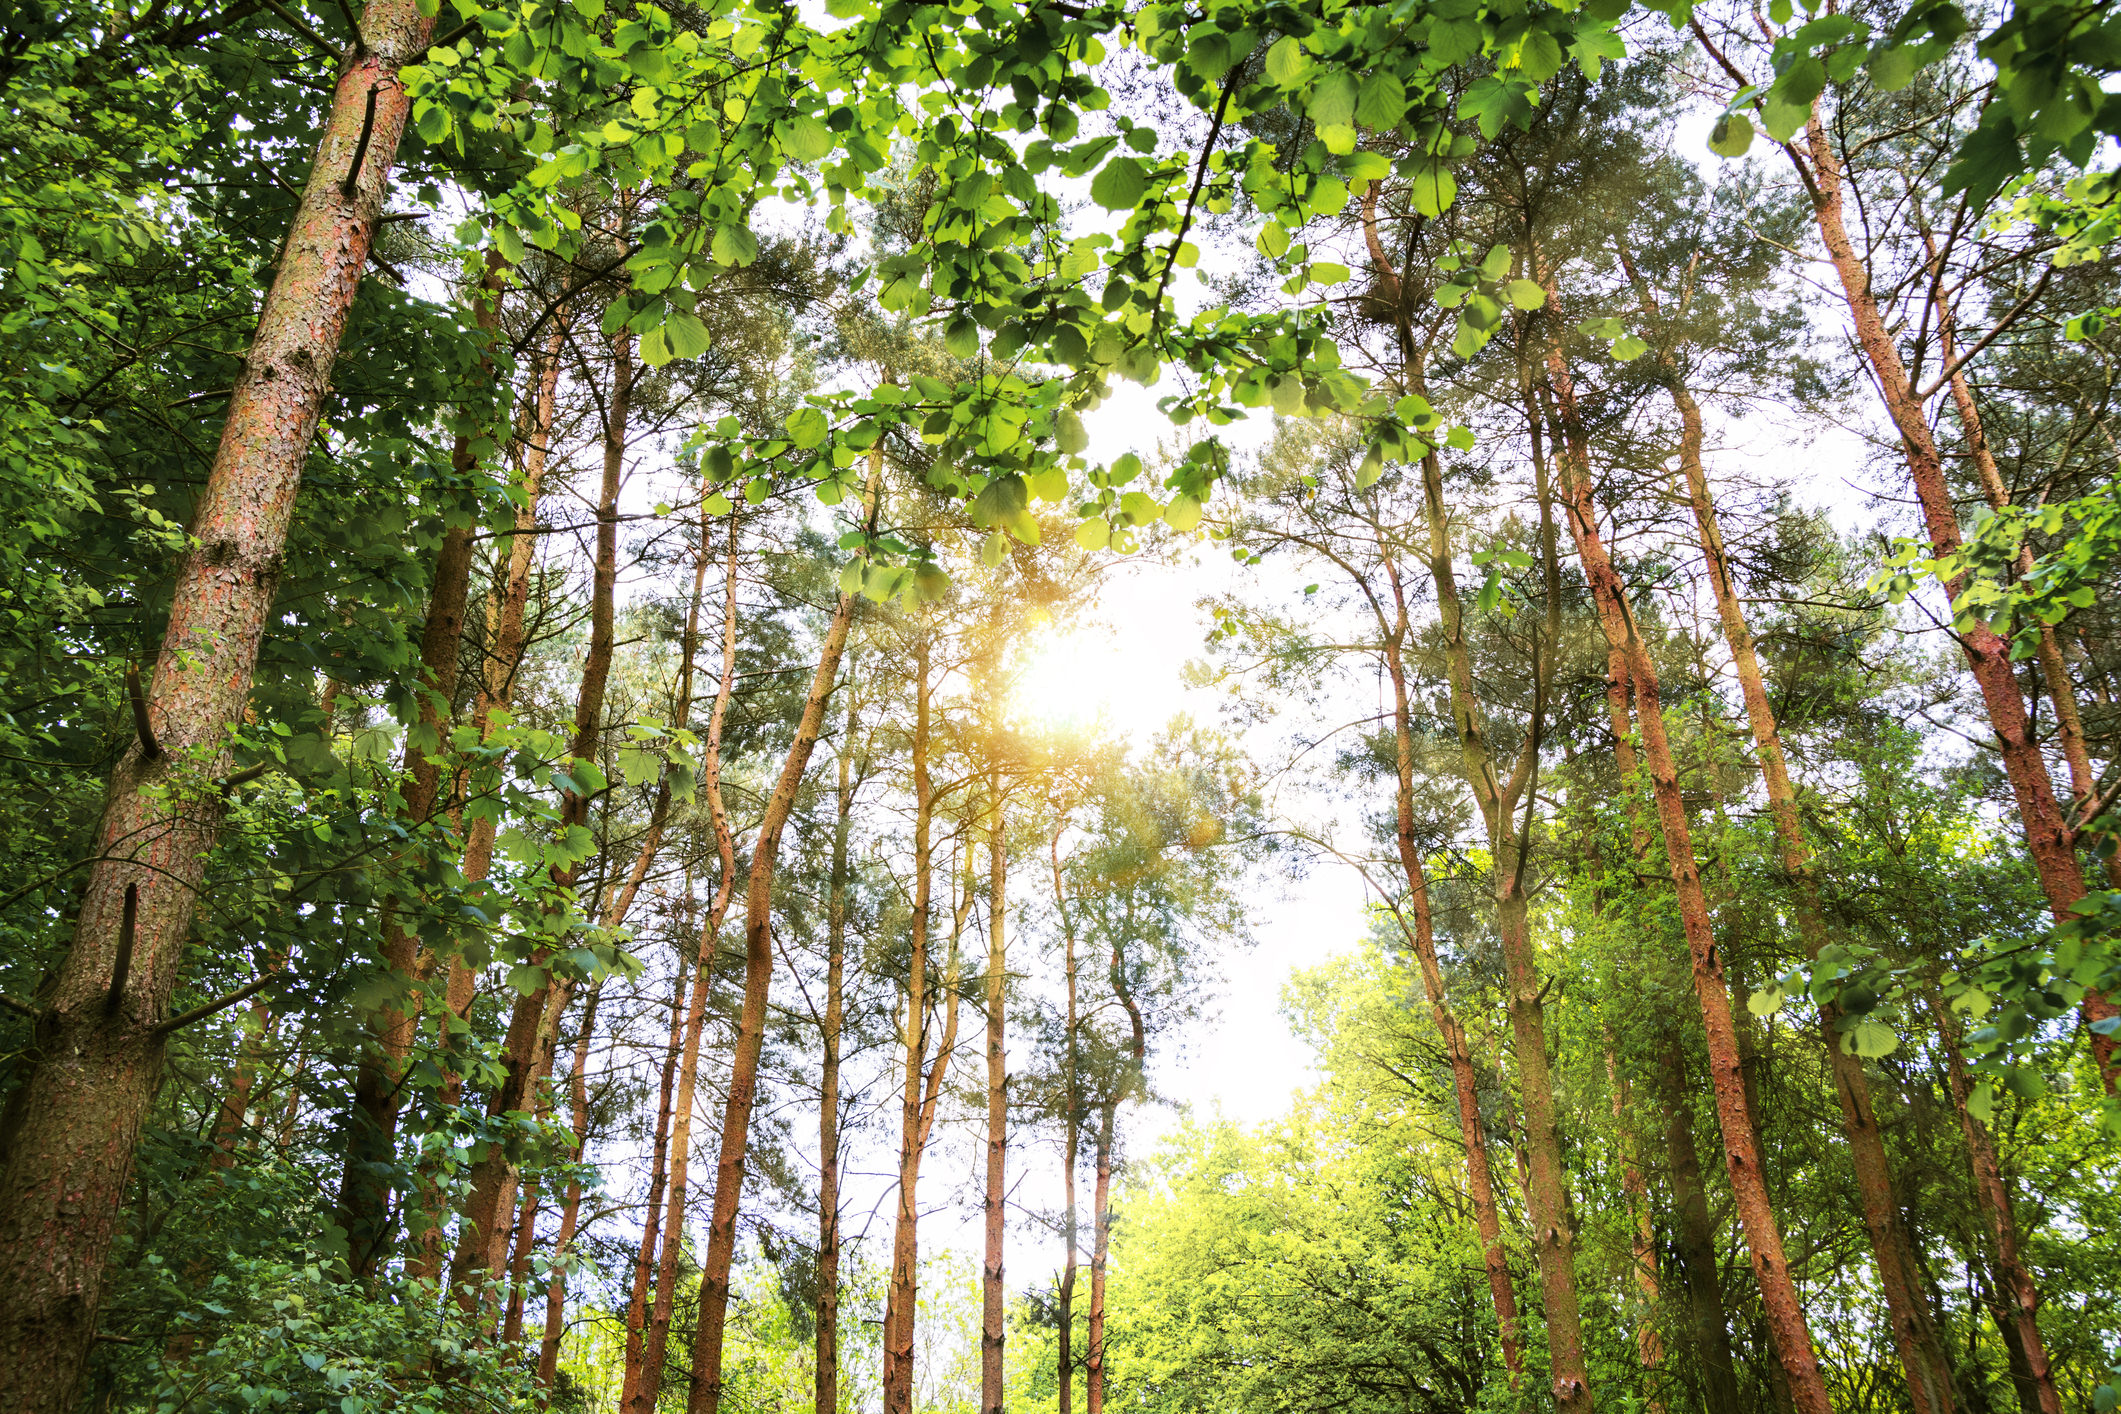
A key practice for simplifying your landscape compositions is to consider what it is about the scene that you like most, and make it the focal point of the shot.
Is it an interesting mountain peak? The color of the rocks under the surface of the water in a river? The way the light filters through the trees?
Whatever it is about the landscape that draws your attention the most, make it the subject of your shot, work to cut everything else out of the image, and you'll likely end up with a much stronger composition that has more visual appeal.
This blog post about the topic "Simple Landscape Photography Tips With Huge Benefits for Your Photos" was first published on our website here https://www.photographytalk.com/landscape-photography/8819-simple-landscape-photography-tips-with-huge-benefits-for-your-photos