Your home video studio can be as sophisticated as you want it to be without costing a fortune or heating up your place with lighting gear for video that uses incandescent or quartz bulbs. Our lighting options for video are numerous.
There are several types of home video studio lighting available for us to choose from, with LED lighting gear for video being at the top of my list. Learn more about home photography on our website PhotographyTalk.com.
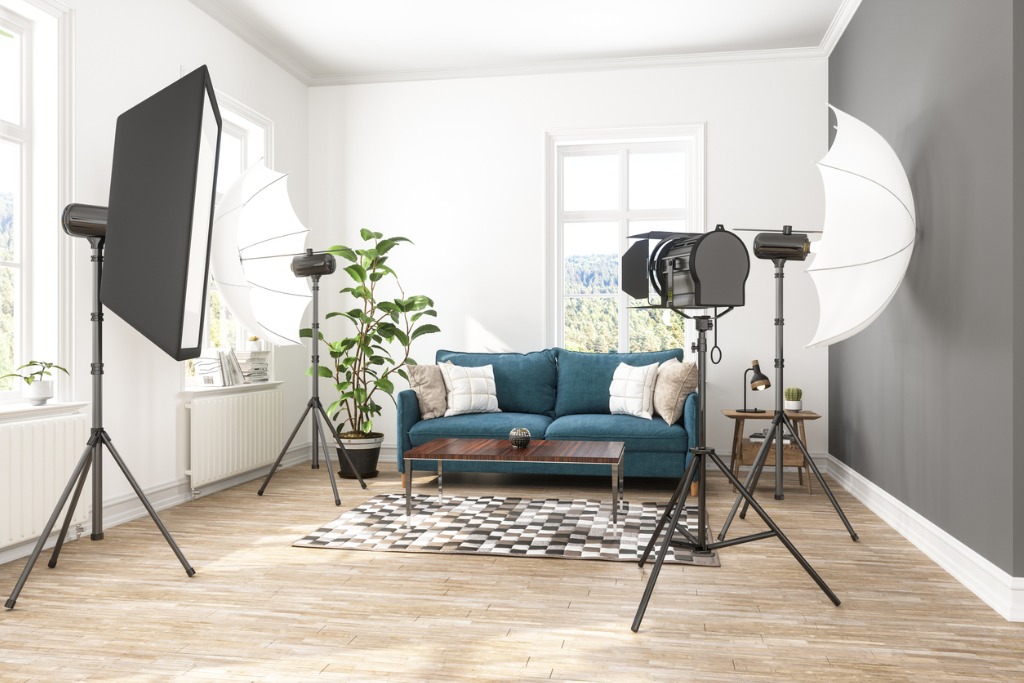
Why LED? Several reasons, power efficiency, much cooler operating temperature, and good control over brightness levels and color temperature. The cool operating temps and the precise control of power and color make LEDs great choices as home video studio lighting.
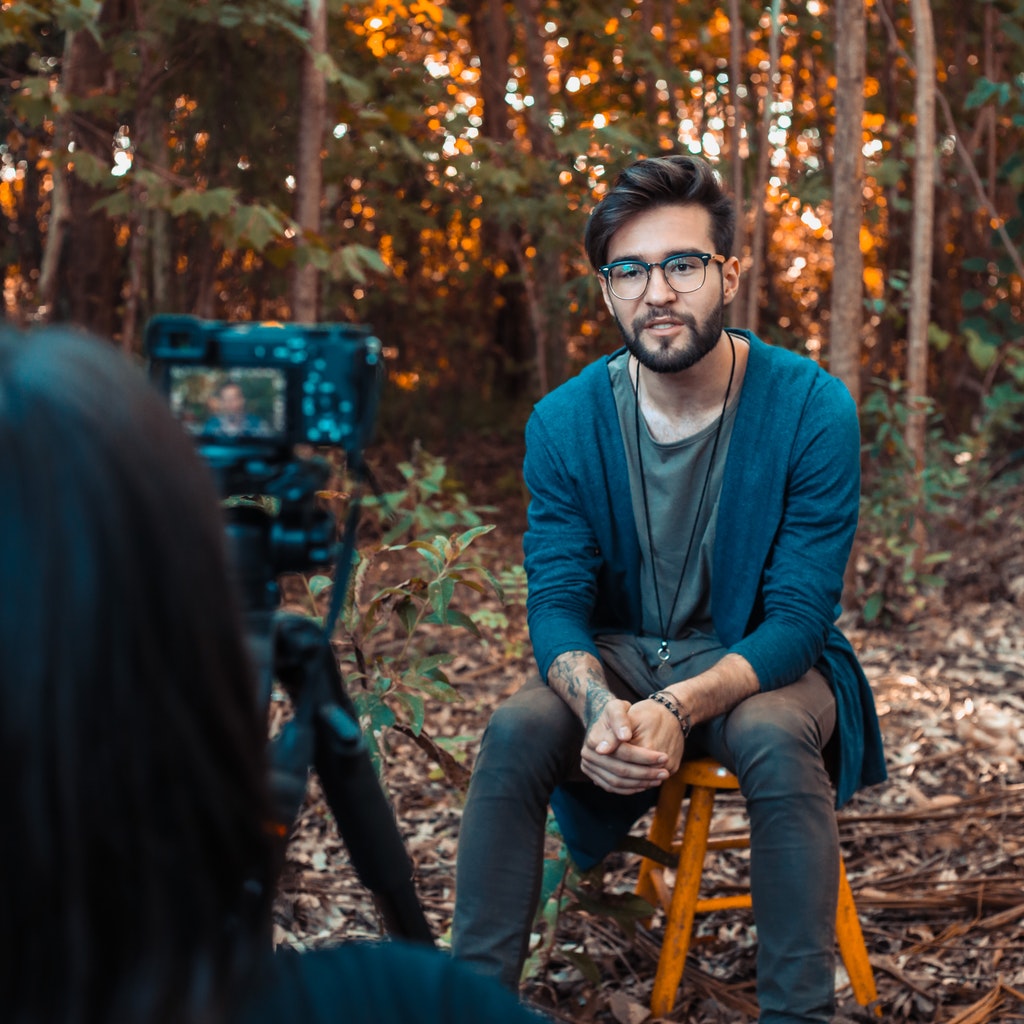
Ikan Professional Video Production Equipment & Accessories
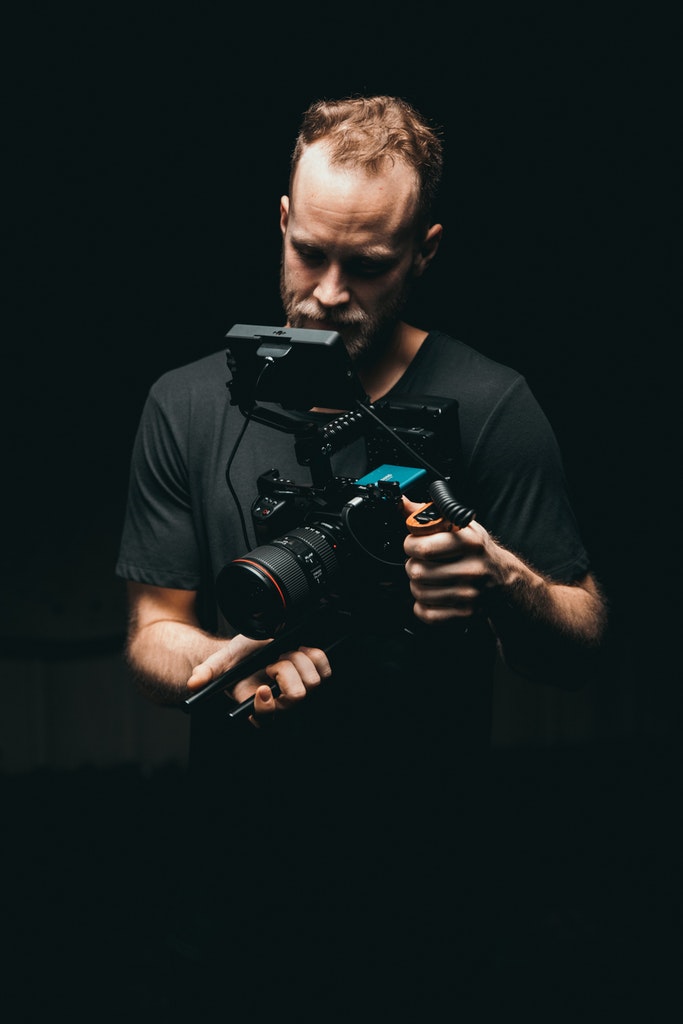
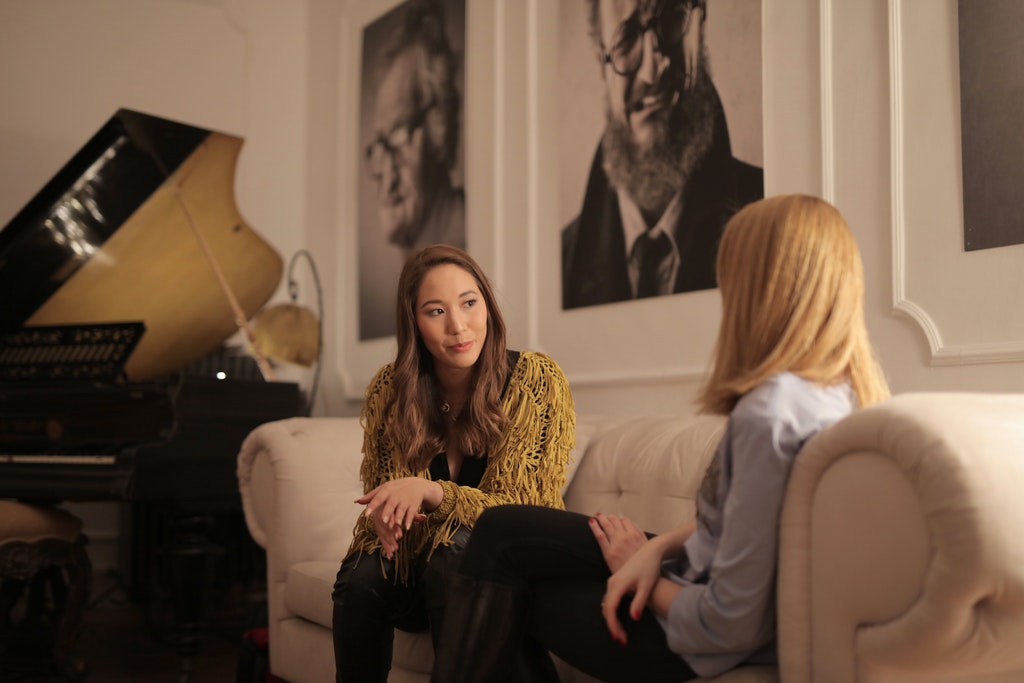
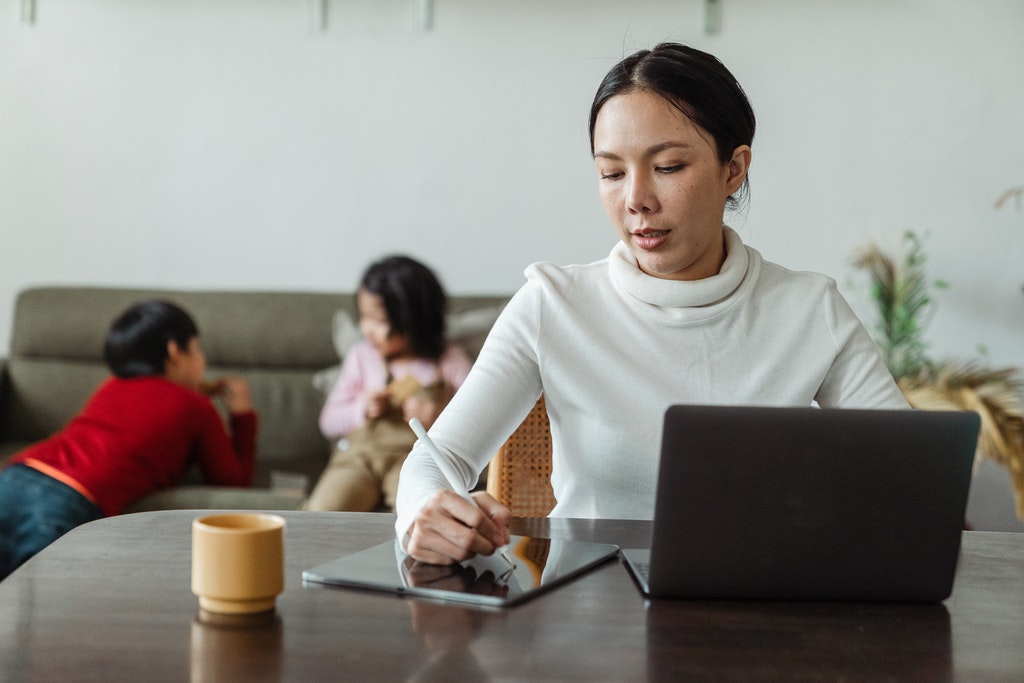
Photo by Kyle Loftus from Pexels
In order to find the proper equipment for specific A/V and videography needs, I’ve found specialty retailers often have a wider variety of better equipment than you see in general electronics stores.
Ikan Pro Video has the big things like lighting, filters, gimbals, and camera supports, plus those hard-to-find accessories that make video production workflow easier like cords, adapters, brackets, and other things. You can also check photography project ideas.
Here are three things I found on Ikan that could work for your own home video studio.
Lyra Half x 1 Bi-Color Studio & Field Light
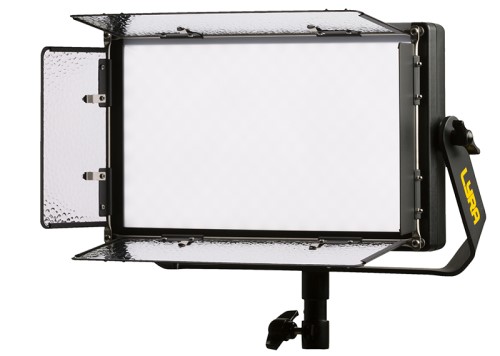
One of the soft panel lights from Ikan, the Lyra Half x 1 Bi-Color Studio & Field Light provides a soft wrap of light with adjustable brightness level and color adjustment available from 3200K to 5600K.
The light beam is a wide 110-degree angle that can be the main light, a solo light, or part of a light bank for large video studios. LED bulbs are consistent in the color setting regardless of the bright level setting and are also very cool in operation which helps in home studio applications.
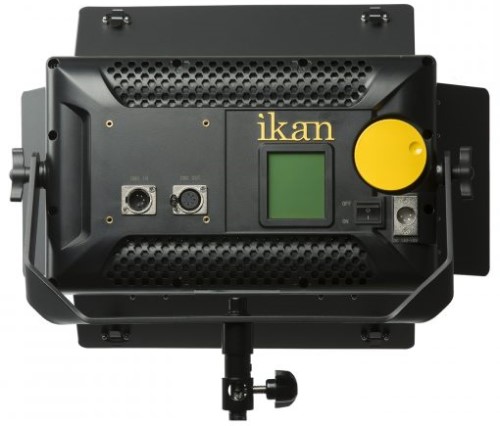
One of the features of this light is that it can be controlled via DMX. DMX is digital control of effects and lighting that can be accessed from a centralized control and can even be pre-programmed which is a great option for smaller one or two-man operations.
DMX is one of the better features of lighting gear for video in small studios. Controlling or pre-programming your light or light bank frees you up for other things like sophisticated camera operations that can add interest to your home studio video productions.
Helia 150 Watt 4-Inch Fresnel Bi-Color LED Studio Light
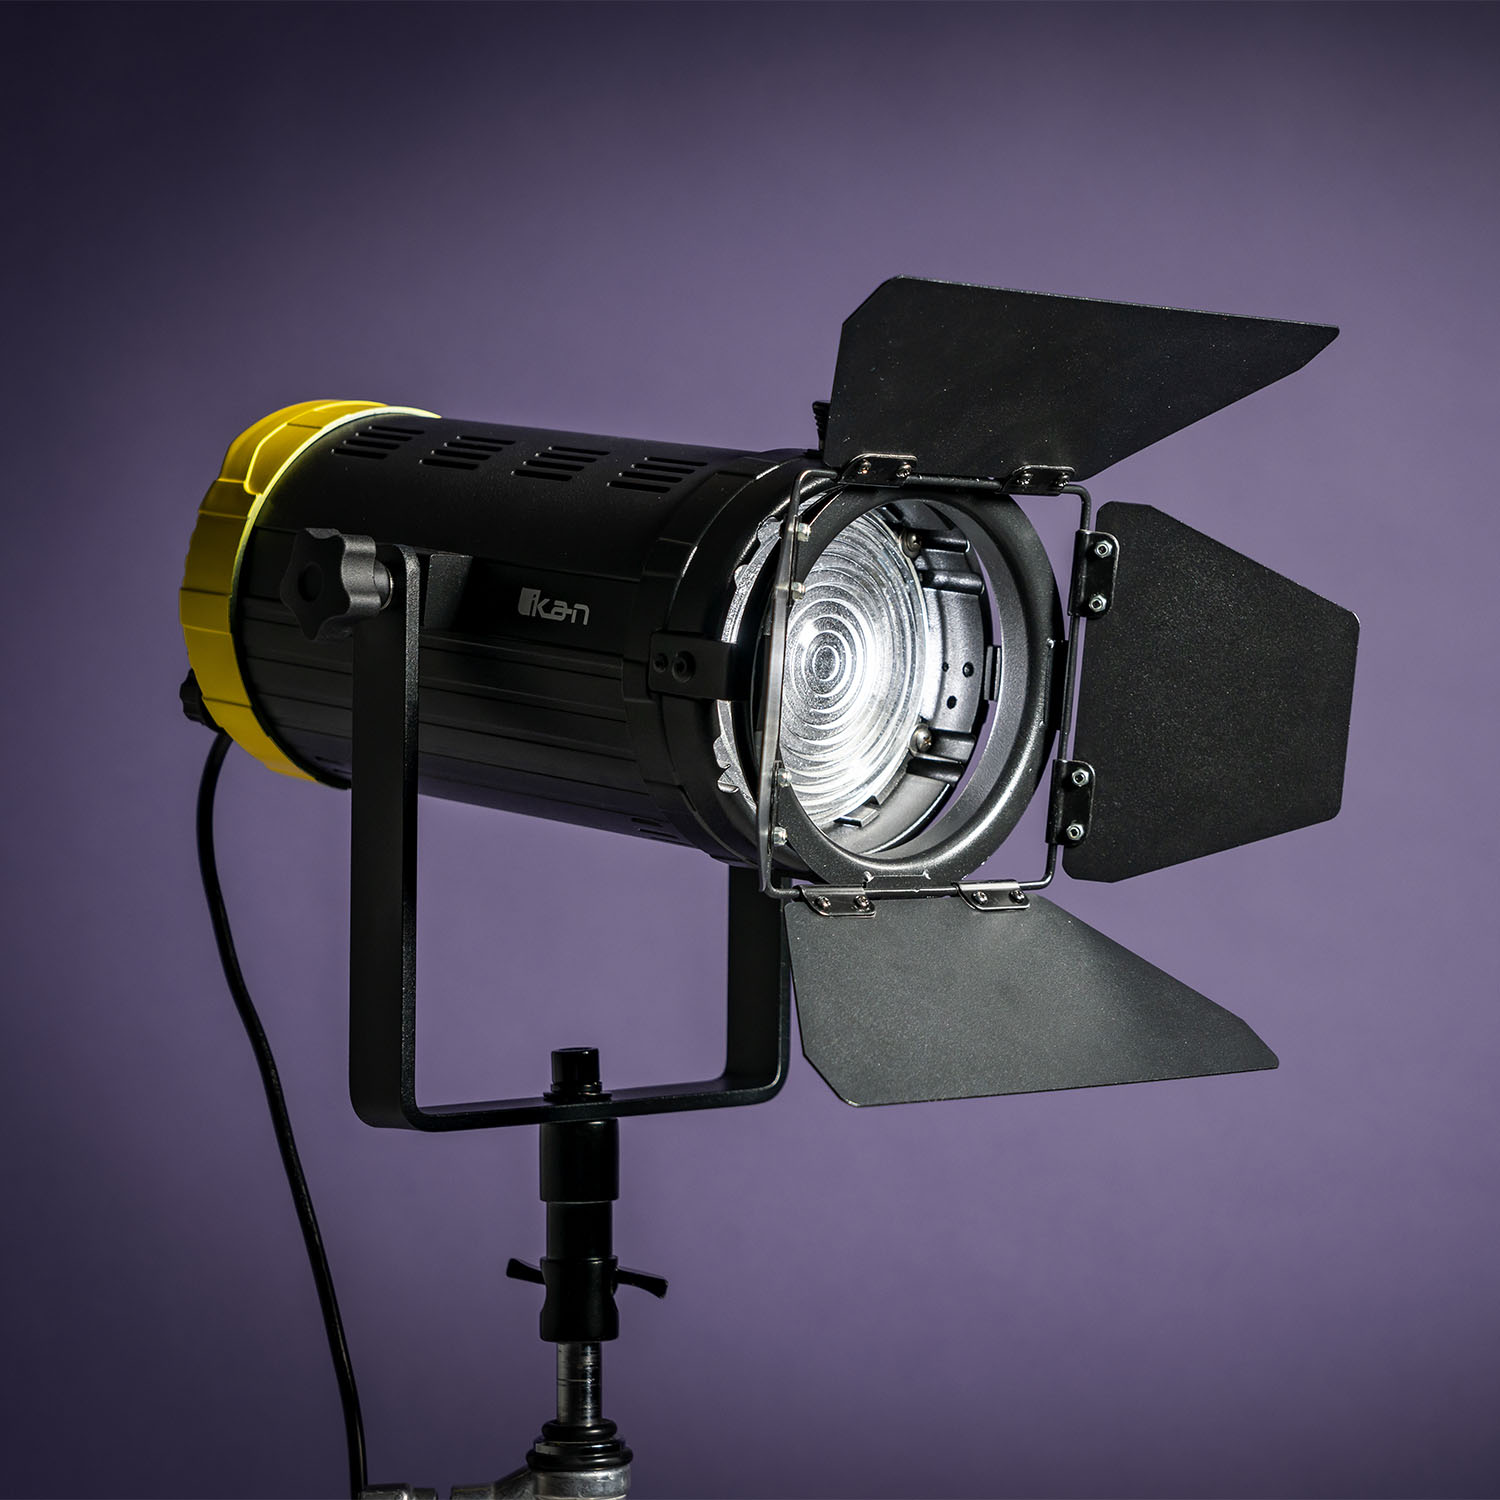
A fresnel light that is equally at home in a small studio or as part of a large production, the Helia 150 Watt 4-Inch Fresnel Bi-Color LED Studio Light is lightweight, very bright, and can be focused from a 70-degree angle to a tight 20-degree beam.
As part of a home video studio lighting setup, this light can be operated on its own or as part of a DMX controlled system. The LED bulbs are switchable from 3200K to 5600K so you can balance them with other lights in your studio. You can also view another post about creative photography ideas at home.
A fresnel lens on studio lights adds so much versatility to your home video studio lighting gear that you will wonder how you managed without one. A light like this can be used as an individual light source for spotlighting portions of the scene or to add light intensity to other video lighting configurations.

The secret to how a fresnel adds that light quality is the lens focuses the light emitted, just like a photographic lens focuses light coming in. The focused light from a fresnel has little loss on the edges of the beam, it’s a pretty hard edge, so you can plan certain effects around that light quality, too.
Fresnel lensed lights using bulbs other than LEDs produce so much heat that they are virtually unusable in small studio applications. The cooler running LED bulb lights make this a non-issue, so you can comfortably use this light in a spare room of your home or office that you set up as a home video studio.
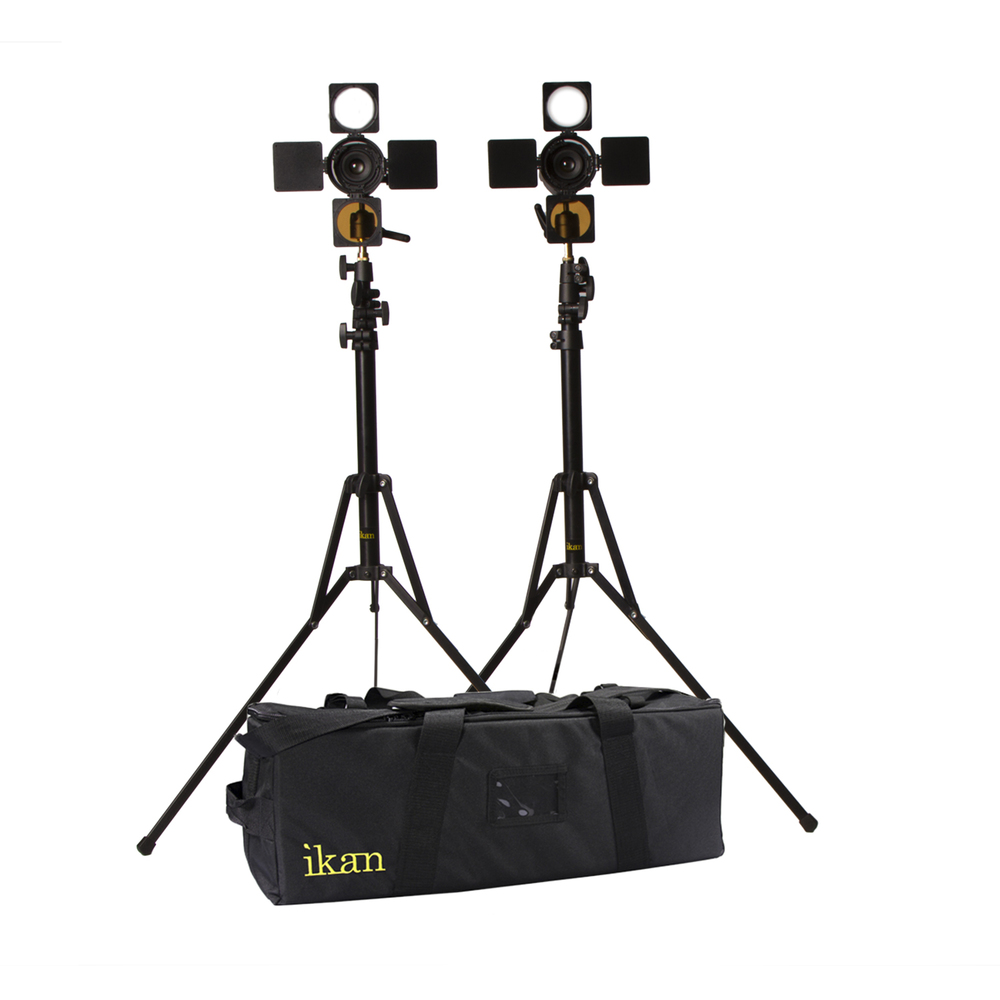
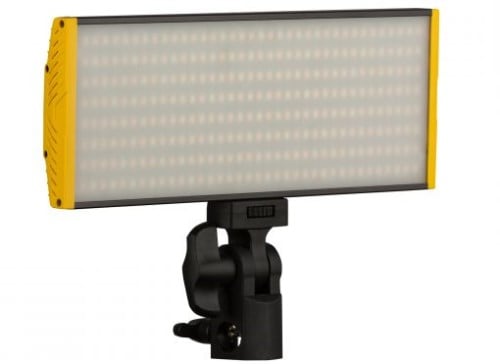
Onyx 30W Bi-Color 2-Point LED Light Kit
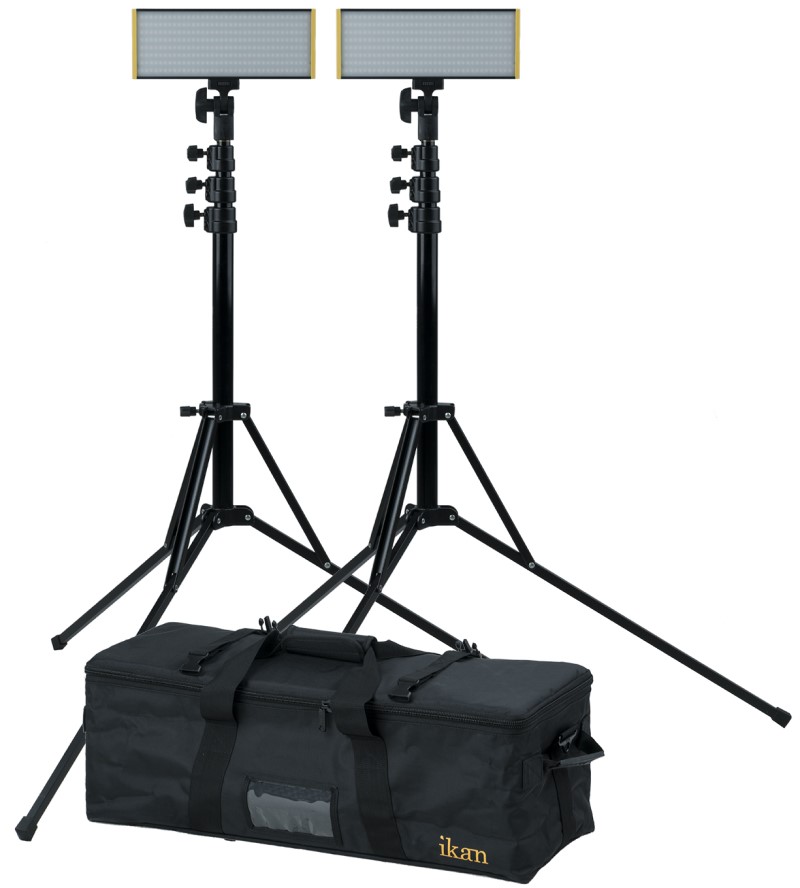
For anyone considering setting up a home video studio and wondering what types of home video studio lighting gear to obtain, consider a kit like the Onyx 30W Bi-Color 2-Point LED Light Kit with 2 lights, stands, and a nice carrying case.
One of the fantastic features of this complete light kit is that the lights can be battery-powered, which opens up on-location video productions with excellent light quality.
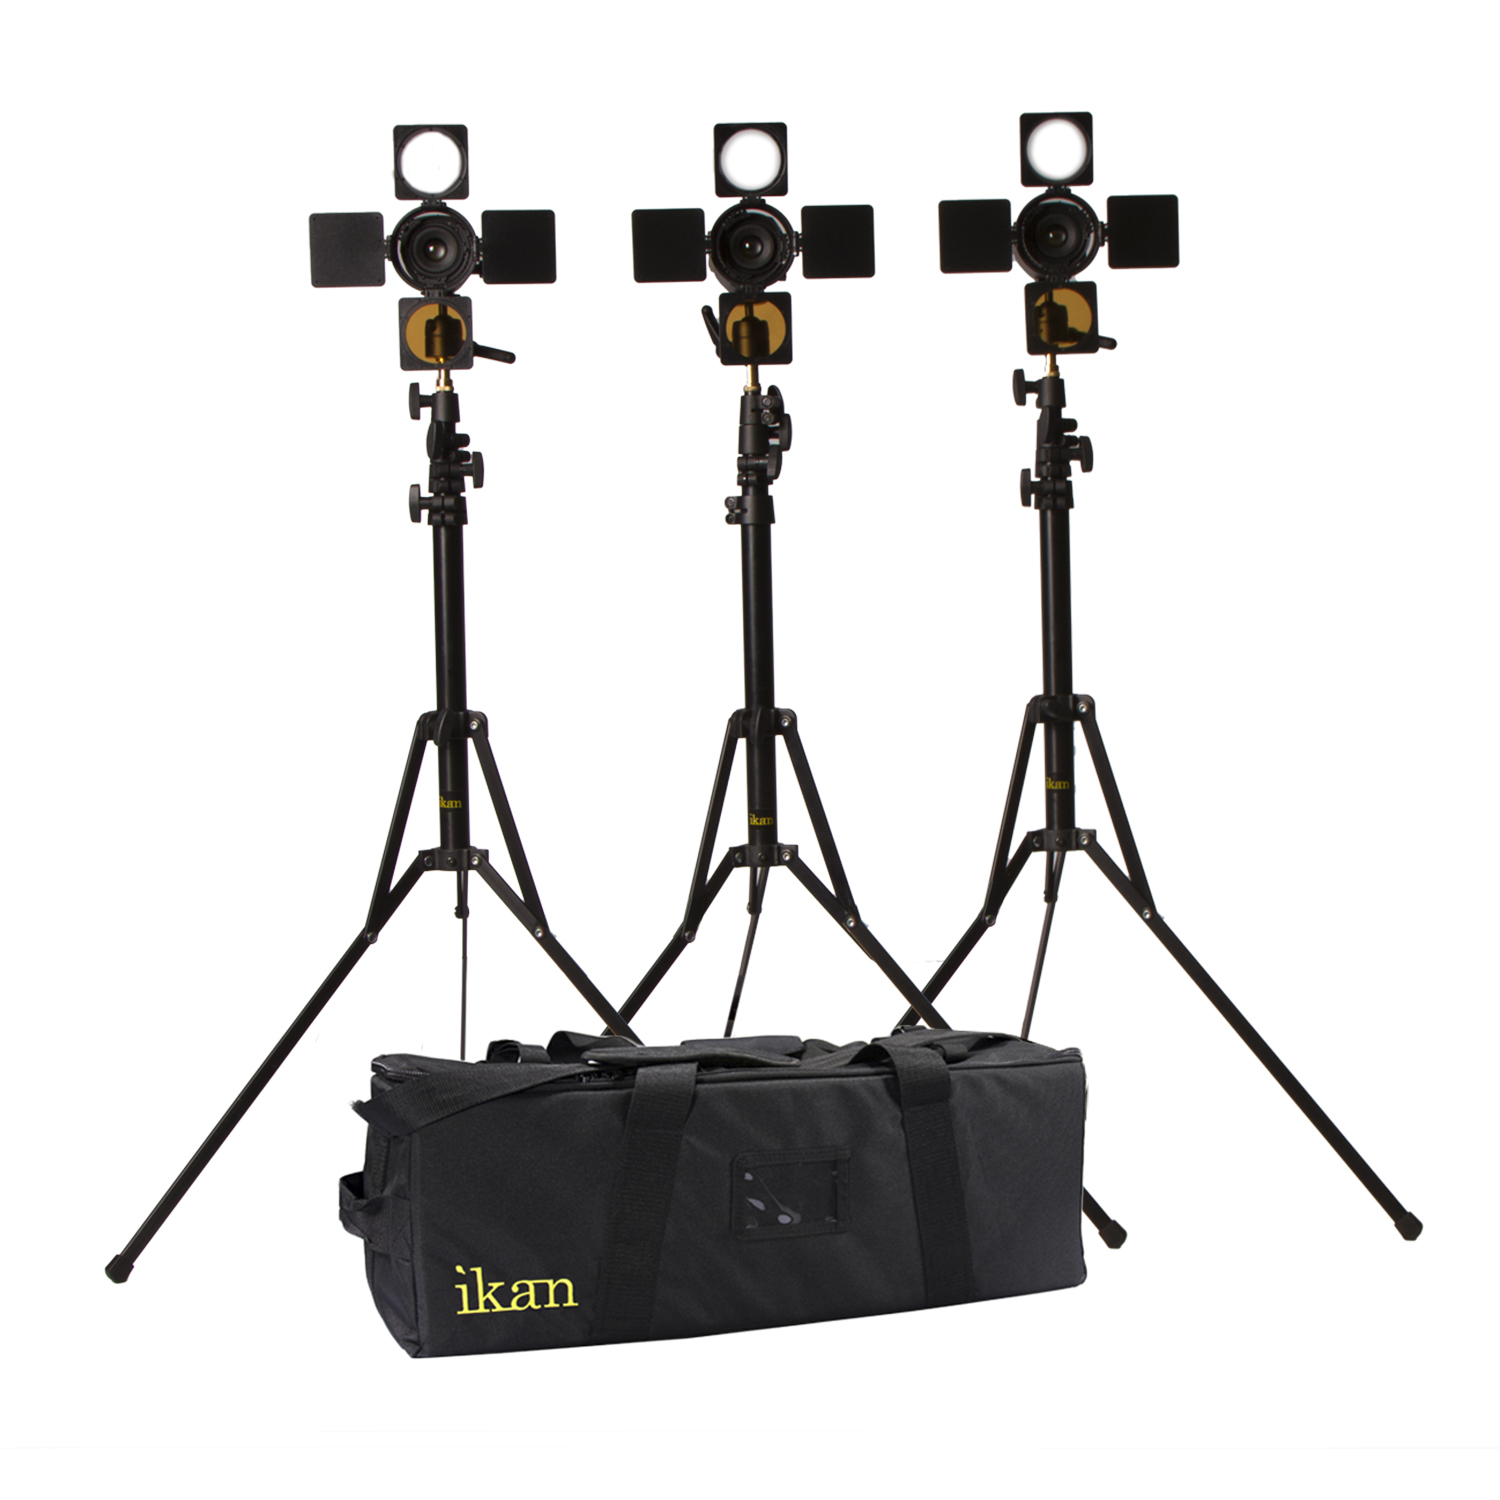
First and foremost, these are good lights. The light quality is beautiful, with just the right mix of hard with soft. So you can easily modify them either way with simple accessories such as diffusers or barn doors, depending on which way you want to go.
As beginner lighting gear for video, this is an excellent kit. It also works as part of a larger home video studio lighting configuration. The one feature I wish it had was DMX control capability, but with the simple to operate buttons and the clearly read digital rear display that isn’t a deal-breaker because these LED lights are very high quality.
Having the option of mounting one directly to the camera and not being tied down by power cords adds to the versatility of the kit as part of a larger system. So if you start out with a fine kit like this one you can incorporate them into any other lighting gear for video that you may end up with.
As a beginner home video studio lighting kit, as an on-location light kit, or as part of a larger set up, this is a good choice.
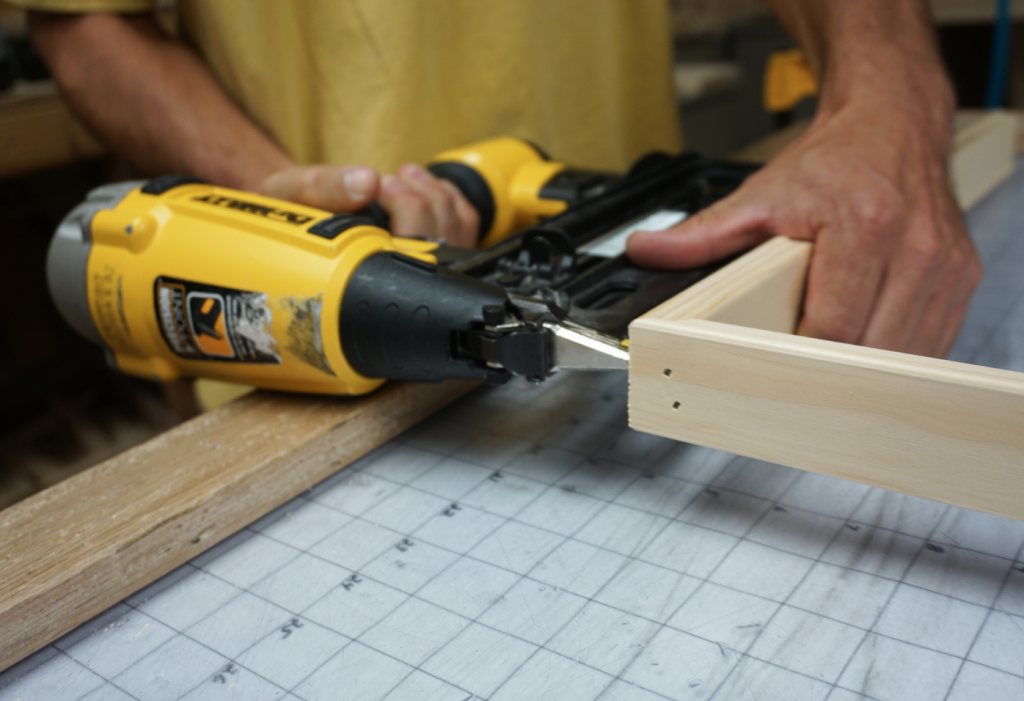
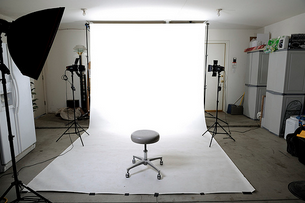
How Full Featured Do You Want Your Studio To Be?
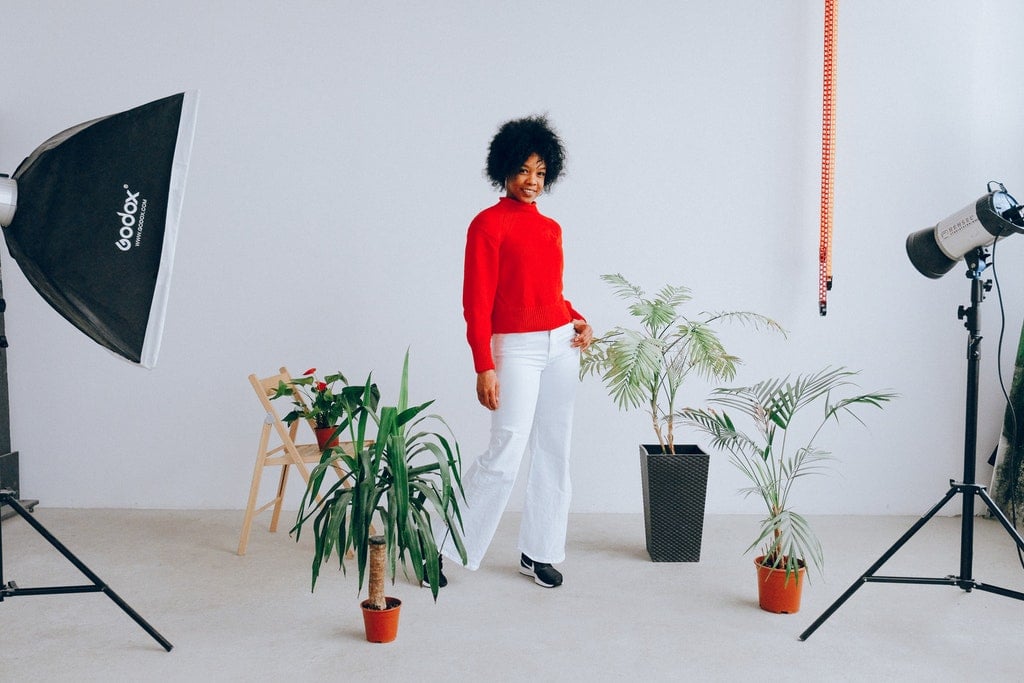
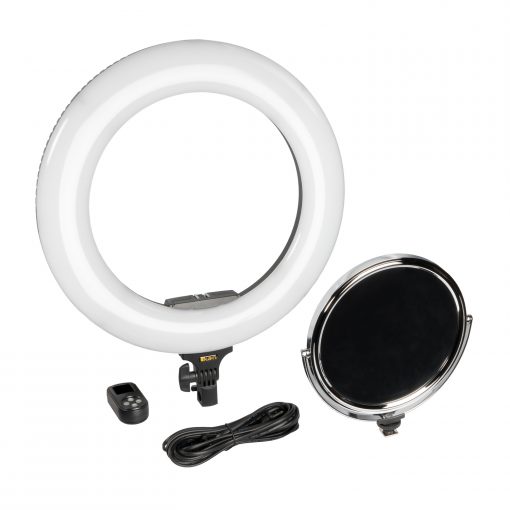
Photo by Anna Shvets from Pexels
The lighting options for video are truly outstanding with the availability of DMX control, cool LED bulbs, battery power, fresnel lens focusing, and extremely high quality. Your home video studio will certainly not be lacking the ability to light scenes creatively.
This post about "Lighting Options for Your Home Video Studio" was first published on our website here https://www.photographytalk.com/lighting-options-for-your-home-video-studio