PhotographyTalk is the all about talking photography to celebrity photographers. Those who are tops in their respective photography fields. You can catch up with PhotographyTalk at www.photographytalk.com.
Showing posts with label home photography. Show all posts
Showing posts with label home photography. Show all posts
It's no secret to anyone that photography is an expensive activity. The basic cost of a camera and a lens will set you back a few hundred dollars if you're a beginner , but if you're a little more serious you could put some pretty big holes in your budget.
Any you will soon find that the party really starts after you buy a camera. There's tons of useful stuff out there, but it all costs money. So what about DIY stuff? Well, the unfortunate truth is that not all of us are good at it. Quite frankly, I suck at putting things together with my own hands. But I found this cool video from photographer Leo Rosas and the folks at COOPHthat was very helpful and I believe it will be for other photographers too. You can also check another post about photography at home on our website PhotographyTalk.com.
I often struggle with the inability to carry a tripod with me all the time, so when I found out I can solve that problem with a simple string, I had to see for myself. I put it to the test and the truth is you do need to use the string a few times to get used to it, but after some practice it works almost as good as an actual aluminum tripod.
You also probably never thought about shaping the bokeh of your lens. Well, it's a whole lot easier than you think. And so is crafting your own flash diffuser, but don't let me spoil the surprise. Enjoy the video and start crafting!
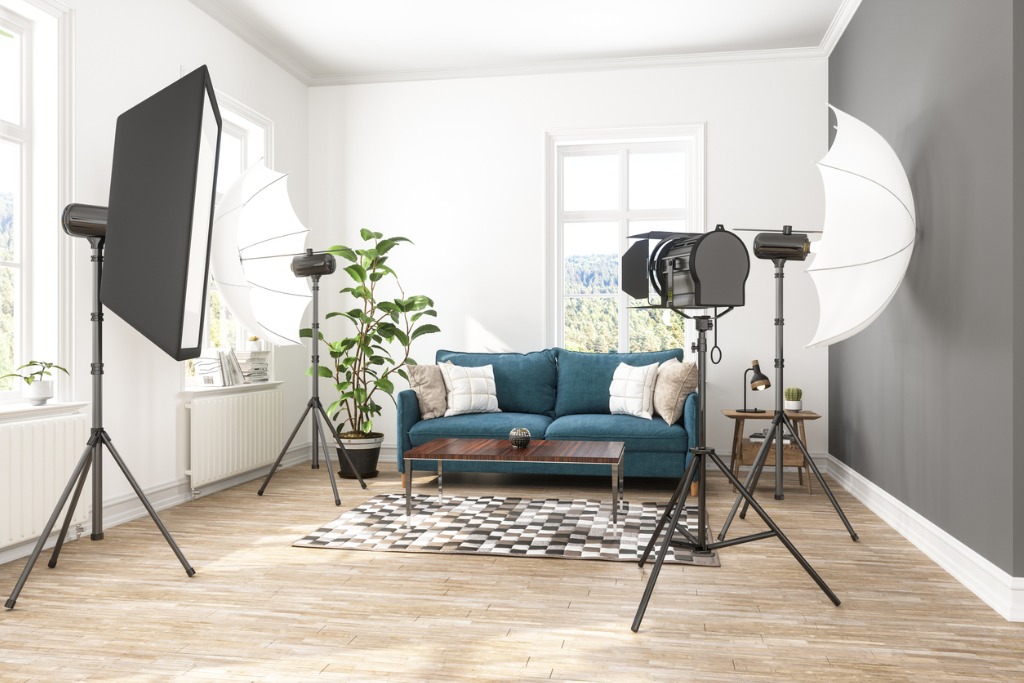
Your home video studio can be as sophisticated as you want it to be without costing a fortune or heating up your place with lighting gear for video that uses incandescent or quartz bulbs. Our lighting options for video are numerous.
There are several types of home video studio lighting available for us to choose from, with LED lighting gear for video being at the top of my list. Learn more about home photography on our website PhotographyTalk.com.
Why LED? Several reasons, power efficiency, much cooler operating temperature, and good control over brightness levels and color temperature. The cool operating temps and the precise control of power and color make LEDs great choices as home video studio lighting.
Ikan Professional Video Production Equipment & Accessories
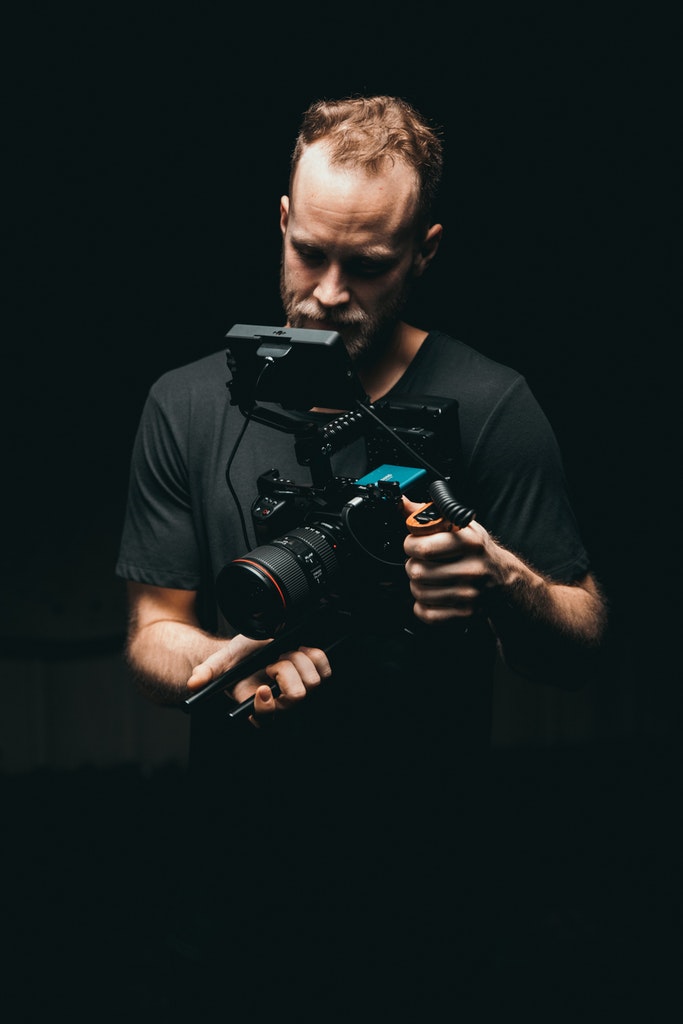
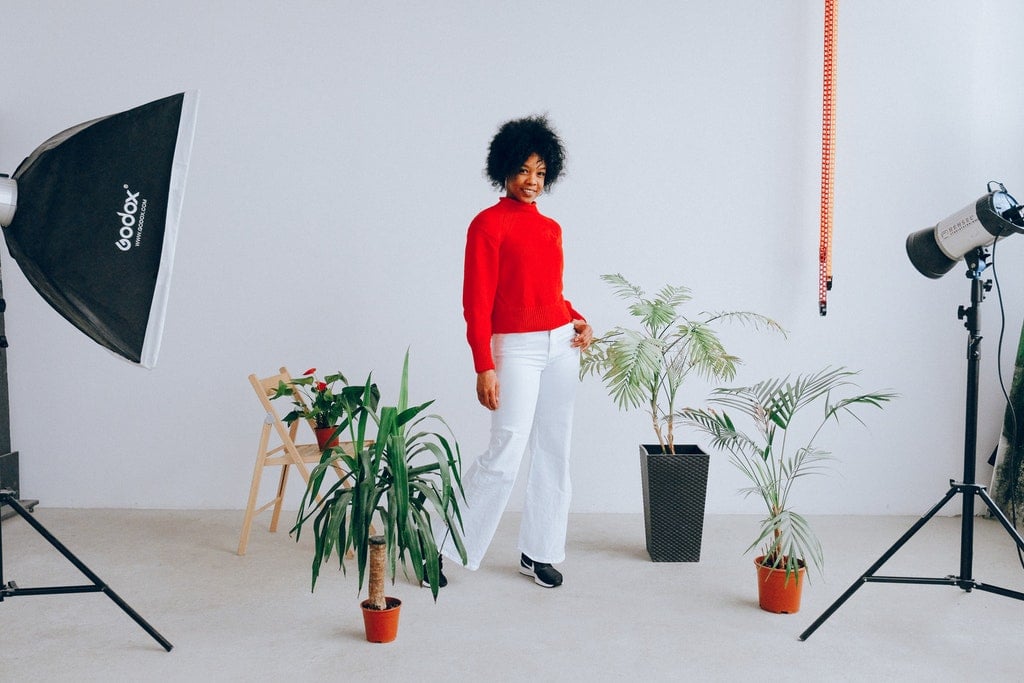
Photo by Kyle Loftus from Pexels
In order to find the proper equipment for specific A/V and videography needs, I’ve found specialty retailers often have a wider variety of better equipment than you see in general electronics stores.
Ikan Pro Video has the big things like lighting, filters, gimbals, and camera supports, plus those hard-to-find accessories that make video production workflow easier like cords, adapters, brackets, and other things. You can also check photography project ideas.
Here are three things I found on Ikan that could work for your own home video studio.
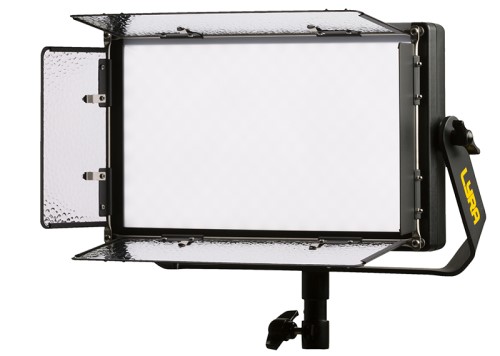
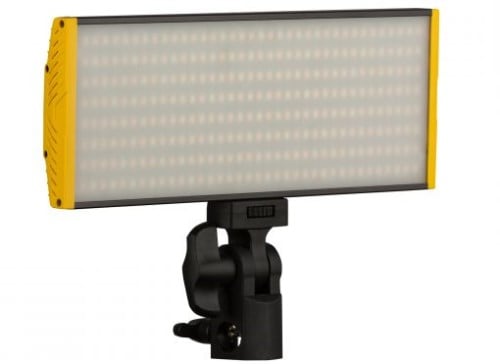
Lyra Half x 1 Bi-Color Studio & Field Light
One of the soft panel lights from Ikan, the Lyra Half x 1 Bi-Color Studio & Field Light provides a soft wrap of light with adjustable brightness level and color adjustment available from 3200K to 5600K.
The light beam is a wide 110-degree angle that can be the main light, a solo light, or part of a light bank for large video studios. LED bulbs are consistent in the color setting regardless of the bright level setting and are also very cool in operation which helps in home studio applications.
One of the features of this light is that it can be controlled via DMX. DMX is digital control of effects and lighting that can be accessed from a centralized control and can even be pre-programmed which is a great option for smaller one or two-man operations.
DMX is one of the better features of lighting gear for video in small studios. Controlling or pre-programming your light or light bank frees you up for other things like sophisticated camera operations that can add interest to your home studio video productions.
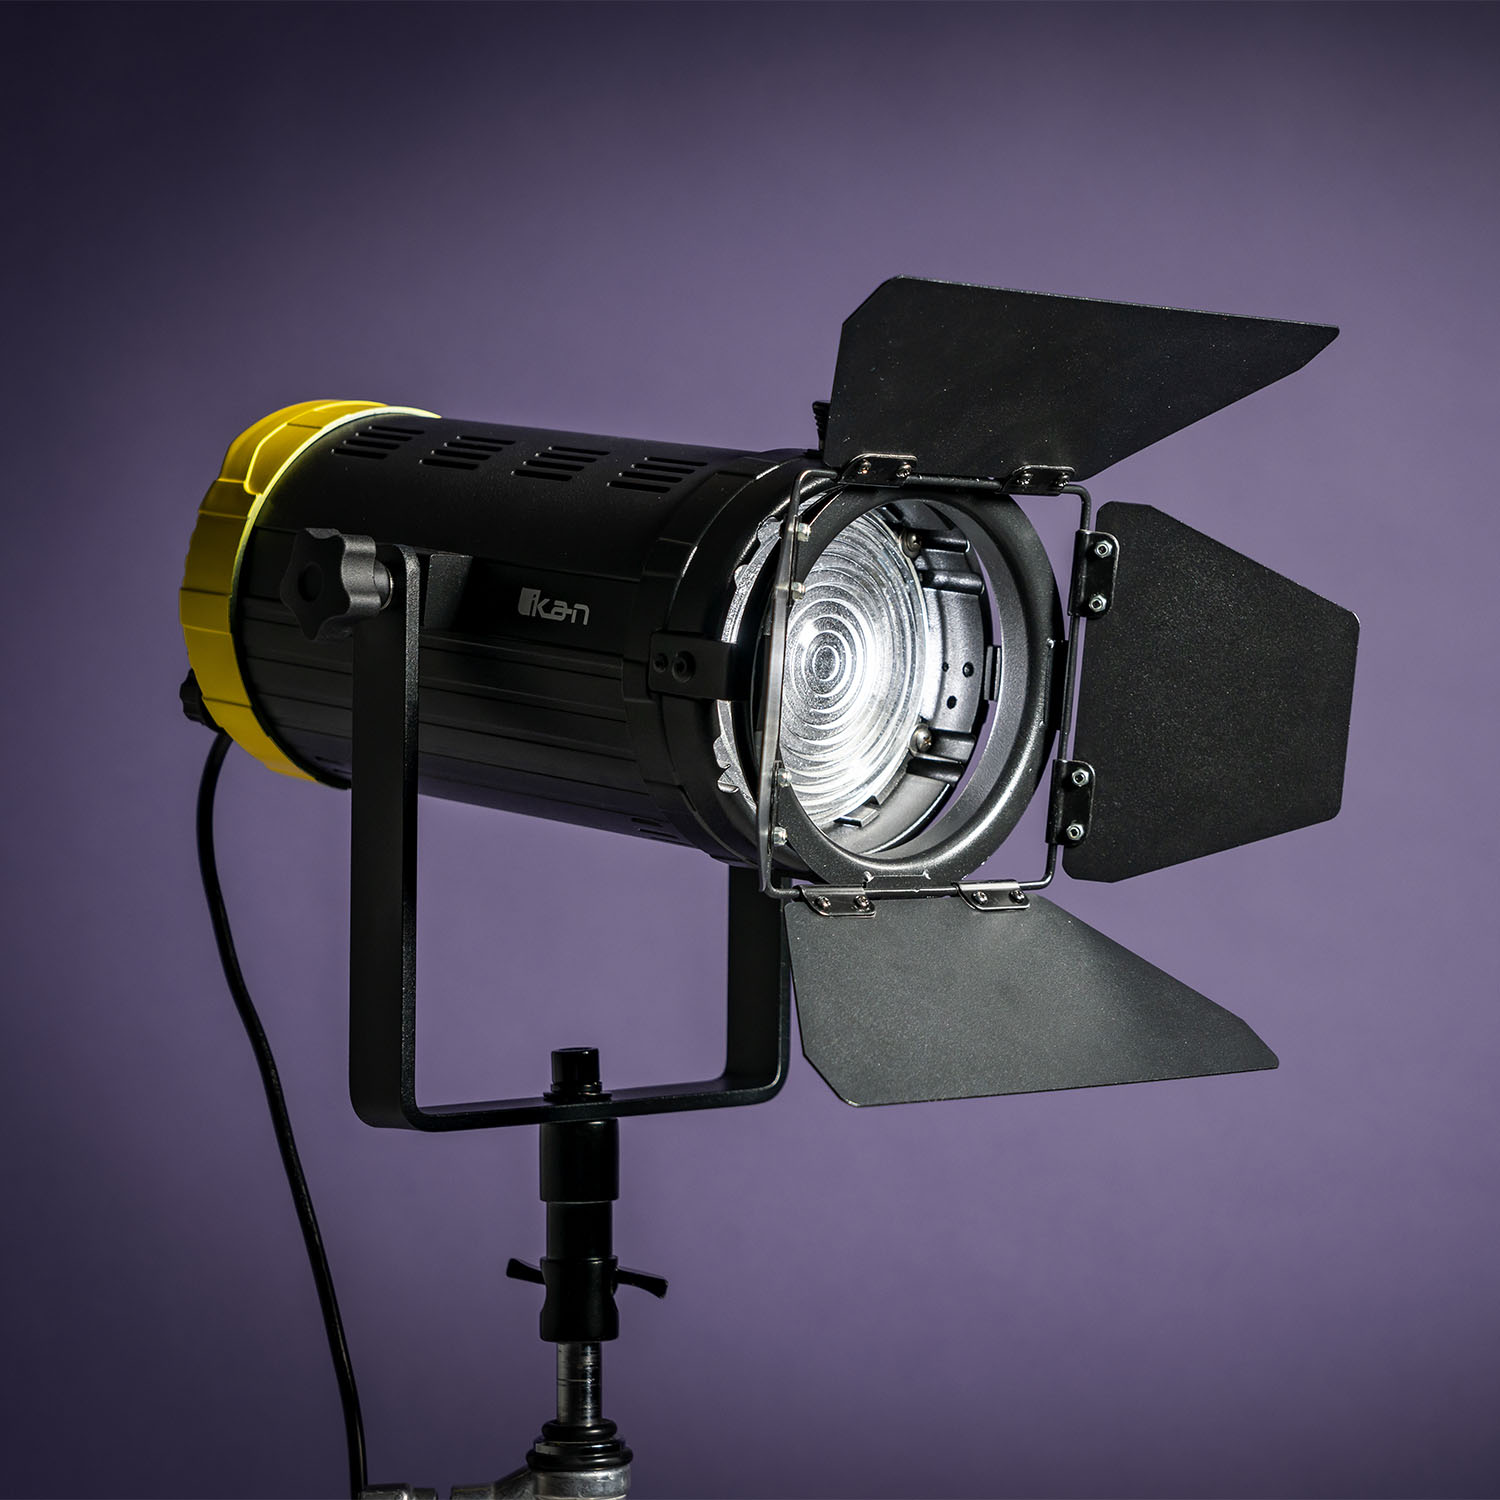
Helia 150 Watt 4-Inch Fresnel Bi-Color LED Studio Light
A fresnel light that is equally at home in a small studio or as part of a large production, the Helia 150 Watt 4-Inch Fresnel Bi-Color LED Studio Light is lightweight, very bright, and can be focused from a 70-degree angle to a tight 20-degree beam.
As part of a home video studio lighting setup, this light can be operated on its own or as part of a DMX controlled system. The LED bulbs are switchable from 3200K to 5600K so you can balance them with other lights in your studio. You can also view another post about creative photography ideas at home.
A fresnel lens on studio lights adds so much versatility to your home video studio lighting gear that you will wonder how you managed without one. A light like this can be used as an individual light source for spotlighting portions of the scene or to add light intensity to other video lighting configurations.
The secret to how a fresnel adds that light quality is the lens focuses the light emitted, just like a photographic lens focuses light coming in. The focused light from a fresnel has little loss on the edges of the beam, it’s a pretty hard edge, so you can plan certain effects around that light quality, too.
Fresnel lensed lights using bulbs other than LEDs produce so much heat that they are virtually unusable in small studio applications. The cooler running LED bulb lights make this a non-issue, so you can comfortably use this light in a spare room of your home or office that you set up as a home video studio.
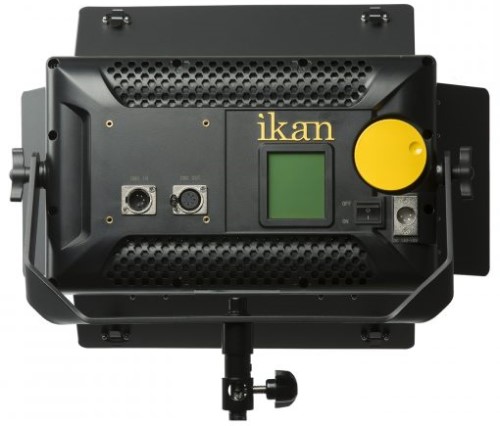
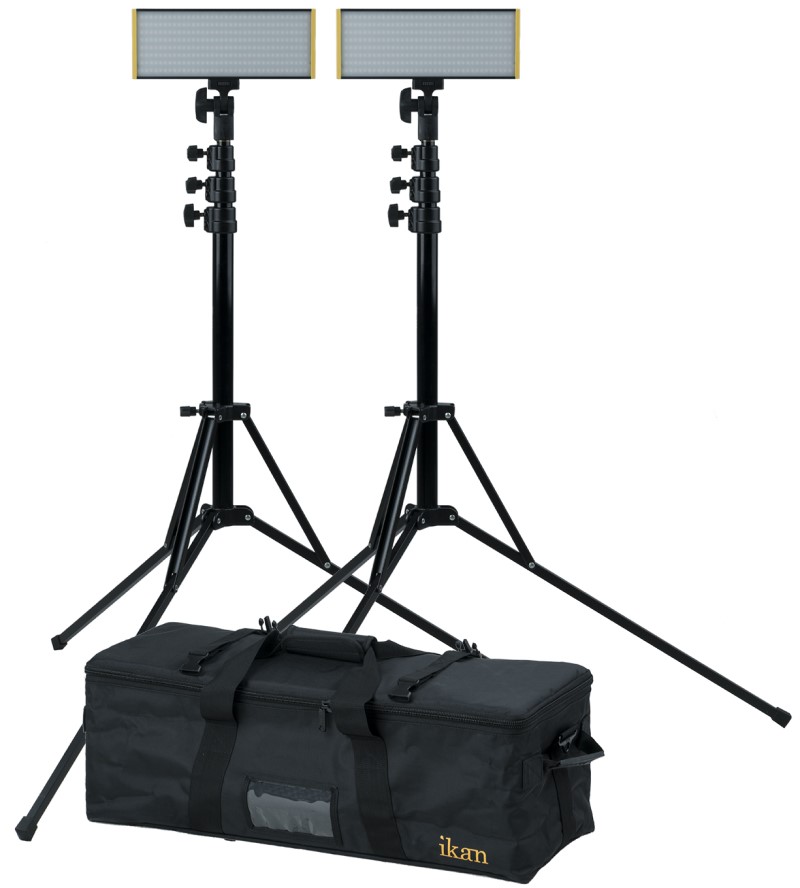
Onyx 30W Bi-Color 2-Point LED Light Kit
For anyone considering setting up a home video studio and wondering what types of home video studio lighting gear to obtain, consider a kit like the Onyx 30W Bi-Color 2-Point LED Light Kit with 2 lights, stands, and a nice carrying case.
One of the fantastic features of this complete light kit is that the lights can be battery-powered, which opens up on-location video productions with excellent light quality.
First and foremost, these are good lights. The light quality is beautiful, with just the right mix of hard with soft. So you can easily modify them either way with simple accessories such as diffusers or barn doors, depending on which way you want to go.
As beginner lighting gear for video, this is an excellent kit. It also works as part of a larger home video studio lighting configuration. The one feature I wish it had was DMX control capability, but with the simple to operate buttons and the clearly read digital rear display that isn’t a deal-breaker because these LED lights are very high quality.
Having the option of mounting one directly to the camera and not being tied down by power cords adds to the versatility of the kit as part of a larger system. So if you start out with a fine kit like this one you can incorporate them into any other lighting gear for video that you may end up with.
As a beginner home video studio lighting kit, as an on-location light kit, or as part of a larger set up, this is a good choice.
How Full Featured Do You Want Your Studio To Be?
Photo by Anna Shvets from Pexels
The lighting options for video are truly outstanding with the availability of DMX control, cool LED bulbs, battery power, fresnel lens focusing, and extremely high quality. Your home video studio will certainly not be lacking the ability to light scenes creatively.
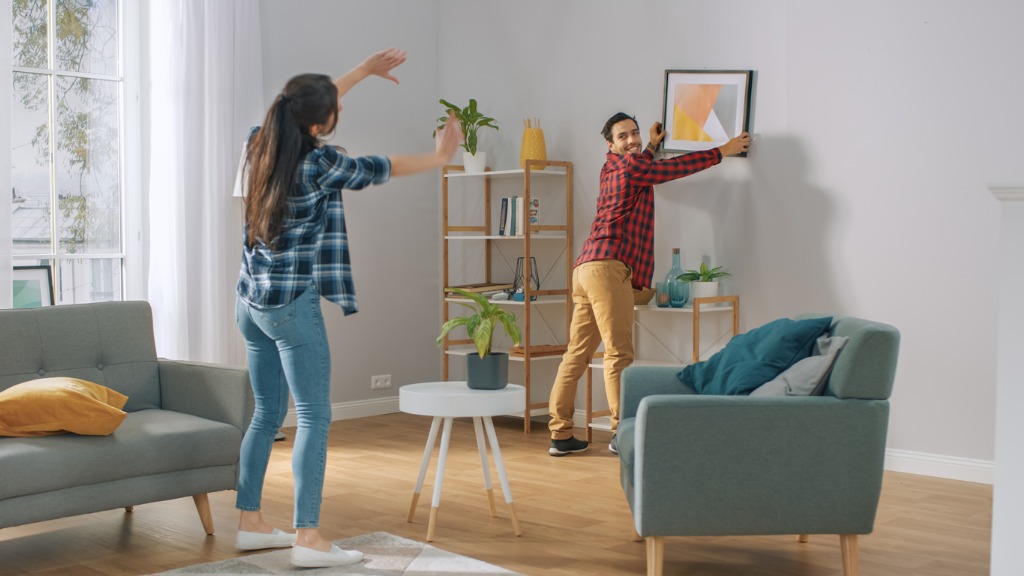
I’ve been spending a lot of time during quarantine figuring out how to hang photos. Hanging photos is not only a great way to show off your hand work, but it can also be a really fun project to burn time when you aren’t doing anything else.
It helps that my kid absolutely loves hands-on projects like this one. Learn more about photography project ideas on our website PhotographyTalk.com.
But, there are definitely good and bad ways of decorating your home with photos. If you’re thinking of embarking on this journey during a stay at home order, make sure you read these tips about decorating your home with photos first.
Do Hang Photos in Every Room
photo by YinYang via iStock
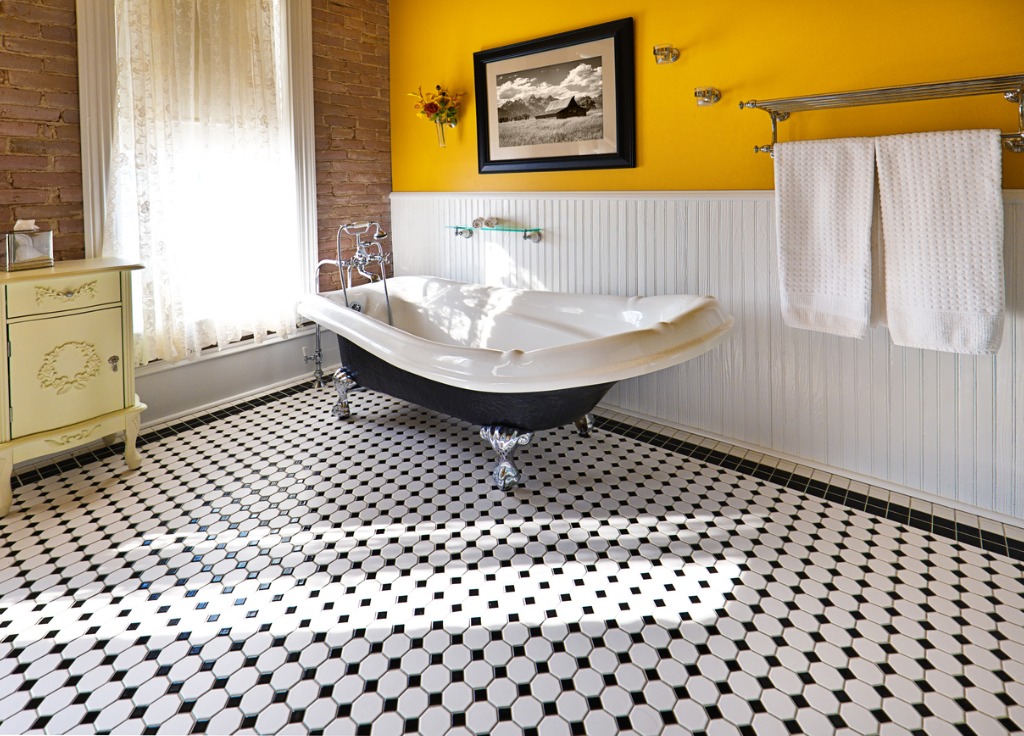
The biggest mistake I see people making when it comes to wall art is that they are afraid to hang photos in specific places, like the bathroom or their children’s rooms.
If I’m being honest, I don’t think there’s a wrong spot in your home to hang photos. Decorating your home with photos everywhere keeps the aesthetic the same from room to room and helps bring the concept together.
Plus, some of the best interior decorators suggest hanging photos in less obvious spots, like the bathroom, because you can have a lot more fun with photos in these spots.
For instance, you may not feel comfortable hanging a prominent photo of an odd subject over your bed or couch, but you can put that photo in your bathroom and it will look right at home. Plus, if you’re really proud of your photography at home, then wouldn’t you want to display it everywhere?
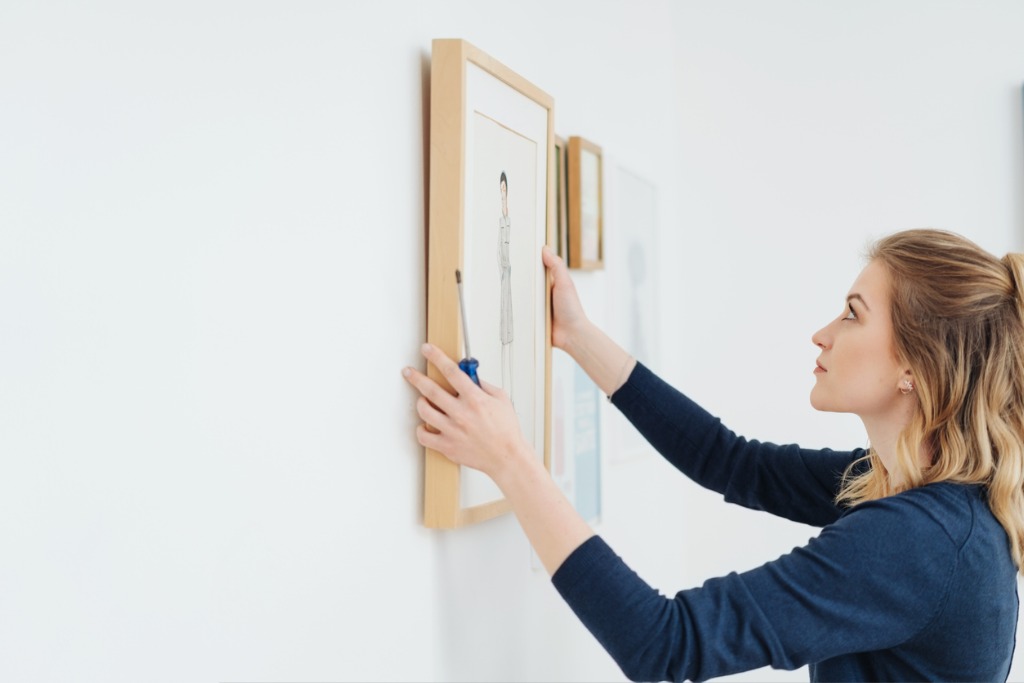
Do Plan Each Wall Out In Advance
photo by KatarzynaBialasiewicz via iStock
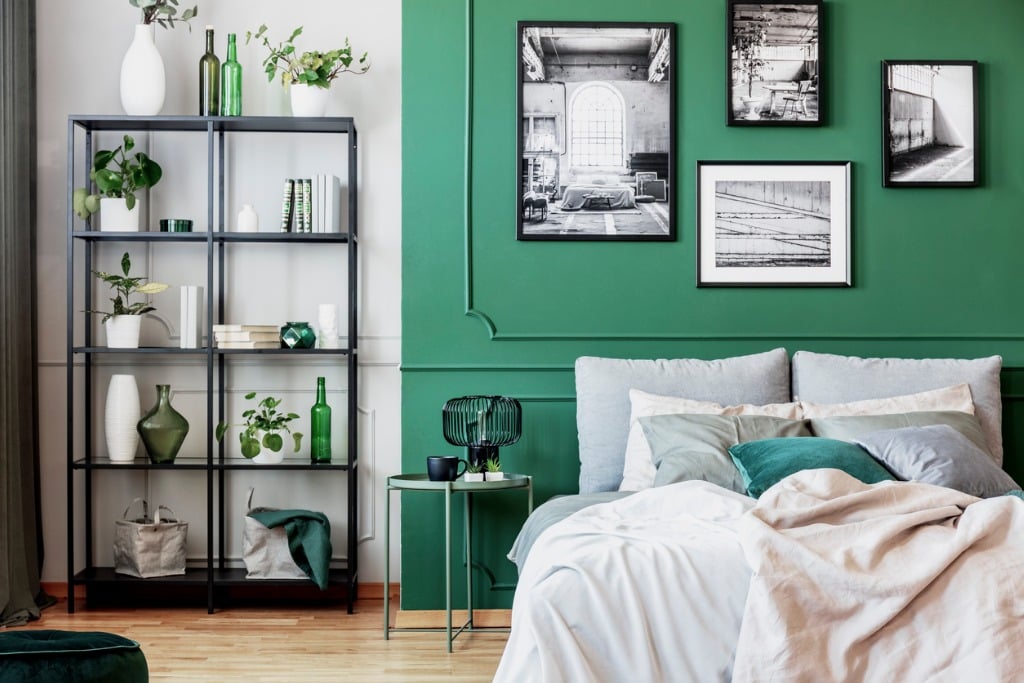
Another tip for decorating your home with photos is to plan every wall out in advance.
While it may be impossible for you to plan other aspects of your interior decorating with your photography (you aren’t going to repaint everytime you change up a gallery wall), you can and should ensure all of the photos you’re hanging in your home will work well together.
A good way to do this is to move all of your furniture so that you can build the gallery wall on the floor in front of each wall. This way you won’t need to keep hanging and rehanging your photos in a new way because you can visualize your whole home before you make any firm decisions.
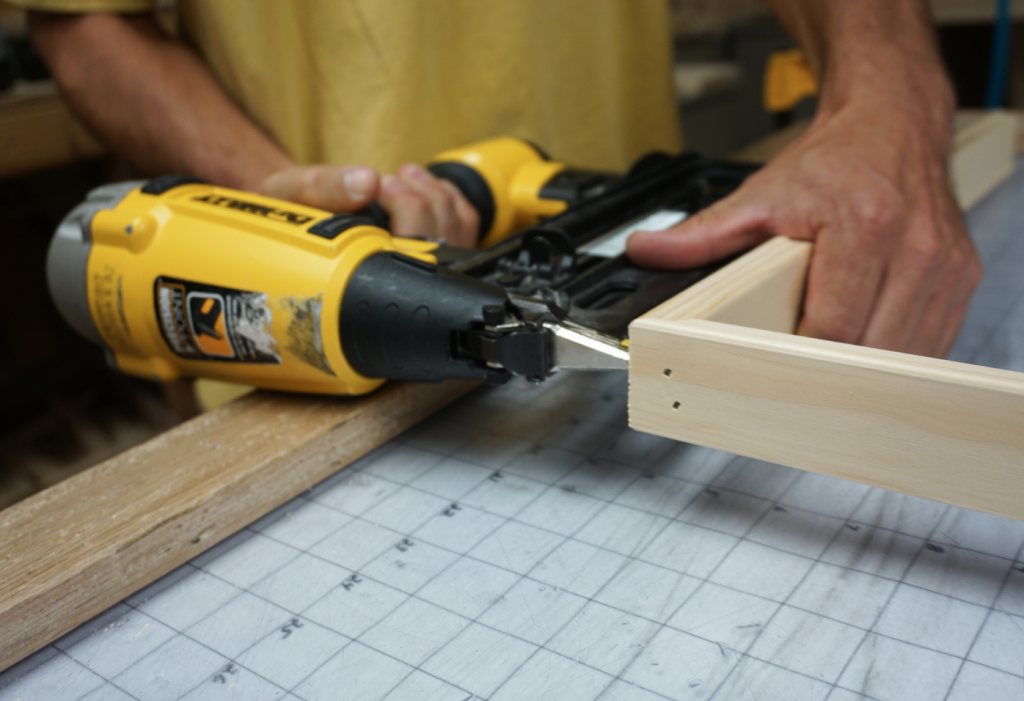
Do Use Unique Hanging Techniques
photo by stockfour via iStock
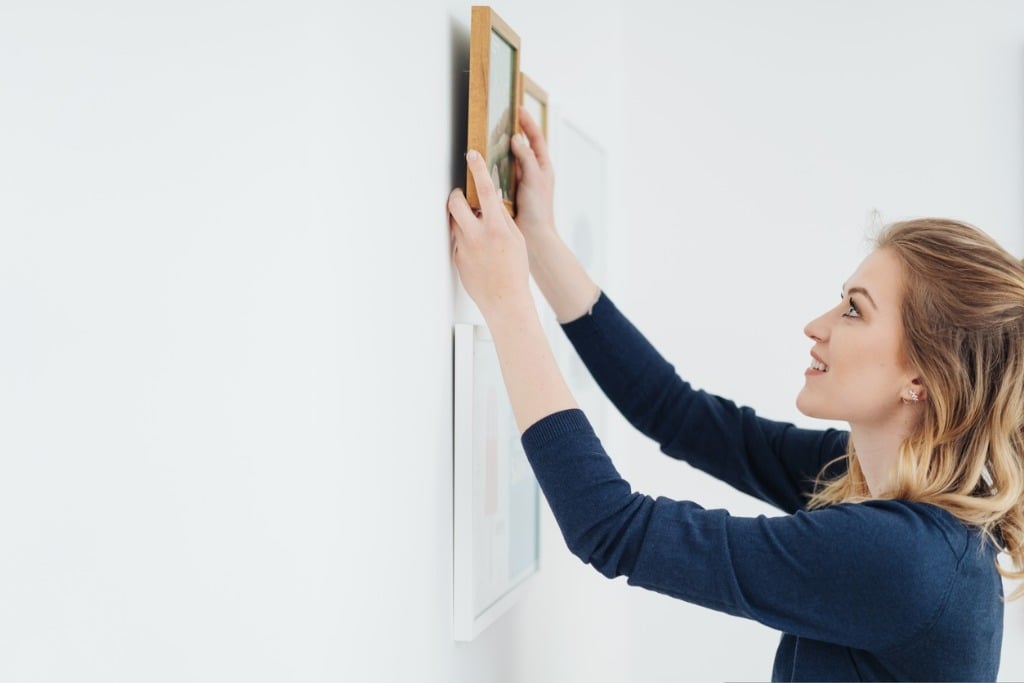
When decorating your home with photos, you don’t need to use old hanging techniques that will put holes all over your walls.
I use picture-hanging hooks, which are hooks that come with an incredible sticky backing. I started doing this when I lived in an apartment and wanted to get my deposit back, but over the years have found that this is a really easy way for me to change my gallery walls around more frequently because I don’t need to go back and caulk over all of the holes my photos have left.
Another hanging technique that I love to use is to actually not hang my photos at all. What I mean by this is that you can set specific pieces down on bookshelves or tables at an angle. It’s a good way to make it look like your gallery wall is coming to life and it adds great dimension to your photography.
Plus, it’s easier. I’m always a sucker for stuff that’s easy.
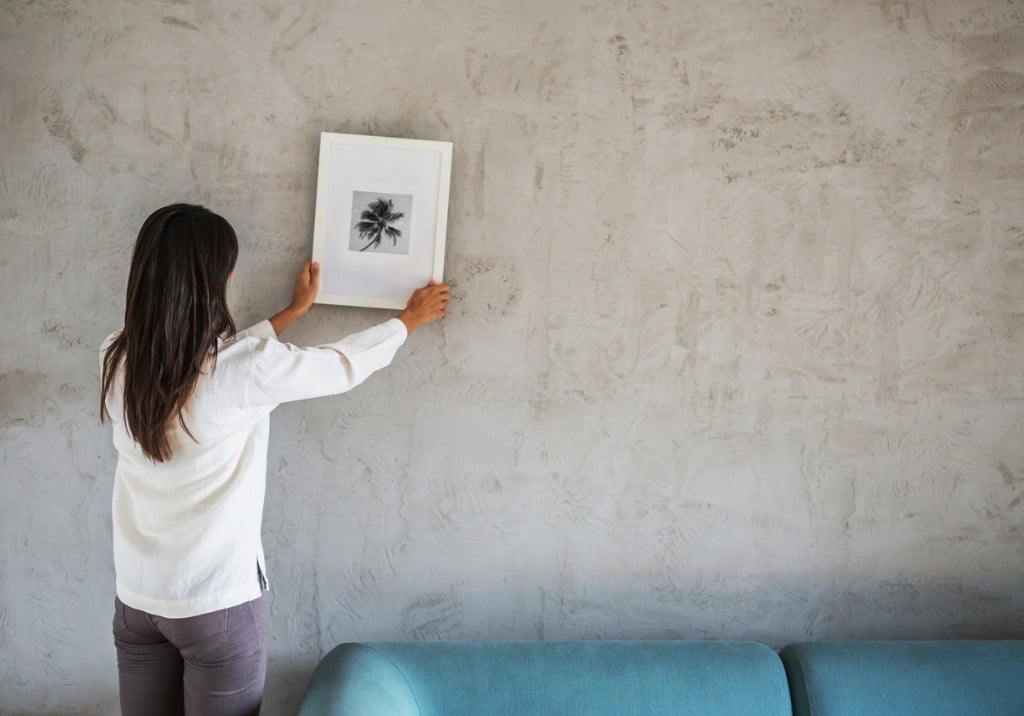
Don’t Hang Photos Too High or Too Low
photo by monkeybusinessimages via iStock
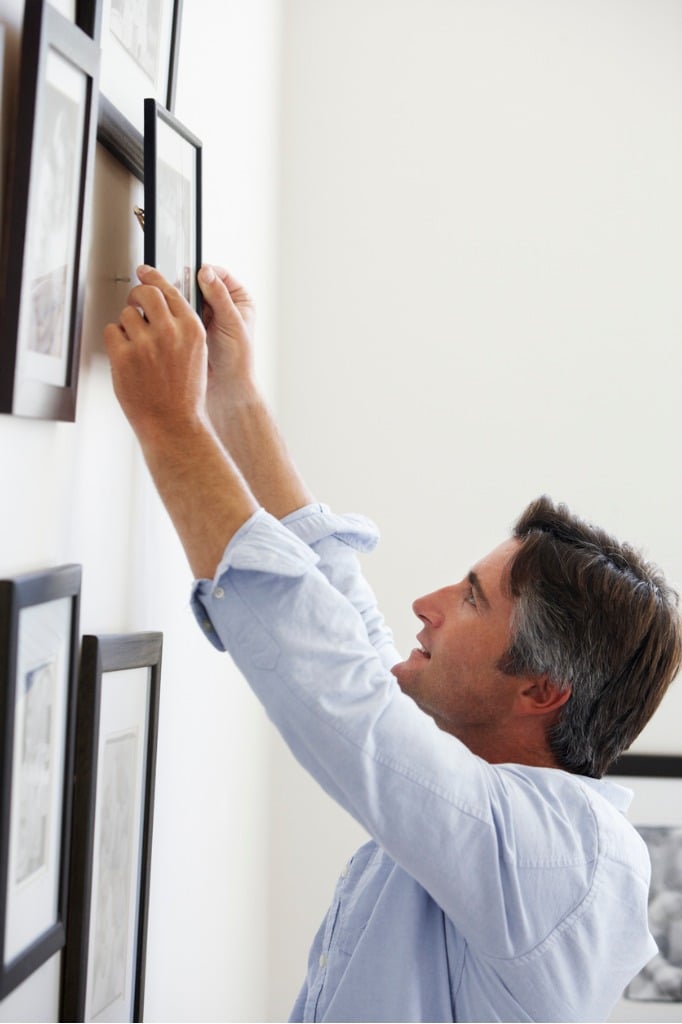
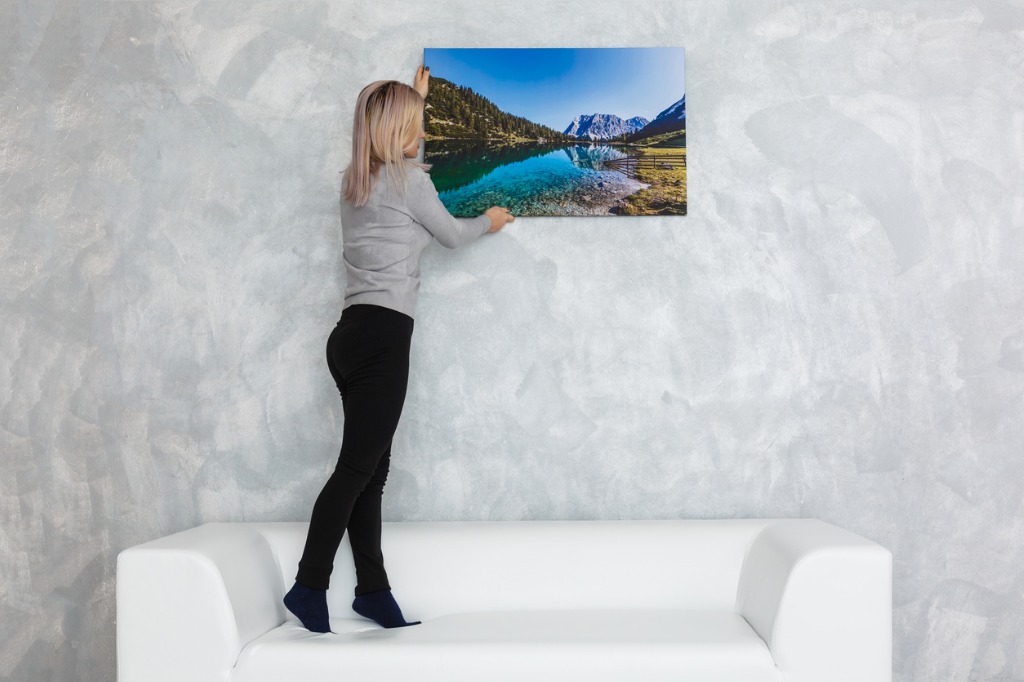
I hate when I see people hang photos way too high or low. Unless you’re creating a gallery wall, you should strive to have your photos hung up at eye-level. This means having the midpoint of the image around 57-60 inches off the floor.
Hanging your photos up too high or down too low makes it more difficult for most people to see them without straining their neck or eyes to get a good look. You can also view another post about best creative photography ideas at home.
Plus, it can also throw the design of your home off. Hanging images way too high or way too low throws off the balance in the room - it just doesn’t look right!
So, as you hang your photos, be sure you have your trusty measuring tape so you’re sure your images are the appropriate height.
Don’t Forget About Sizing
photo by theverest via iStock
When decorating your home with photos, you should be paying special attention to the sizing of your photos.
If you’re working with large-format photography prints, you need to be careful when hanging them in a tiny room because you don’t want to overpower any other decorations you have.
Conversely, if you’re working with a small print, it may be best to put it in a large frame to ensure it has the visual weight needed to be hung up on a large wall.
Don’t Use a Cheap Canvas Printer
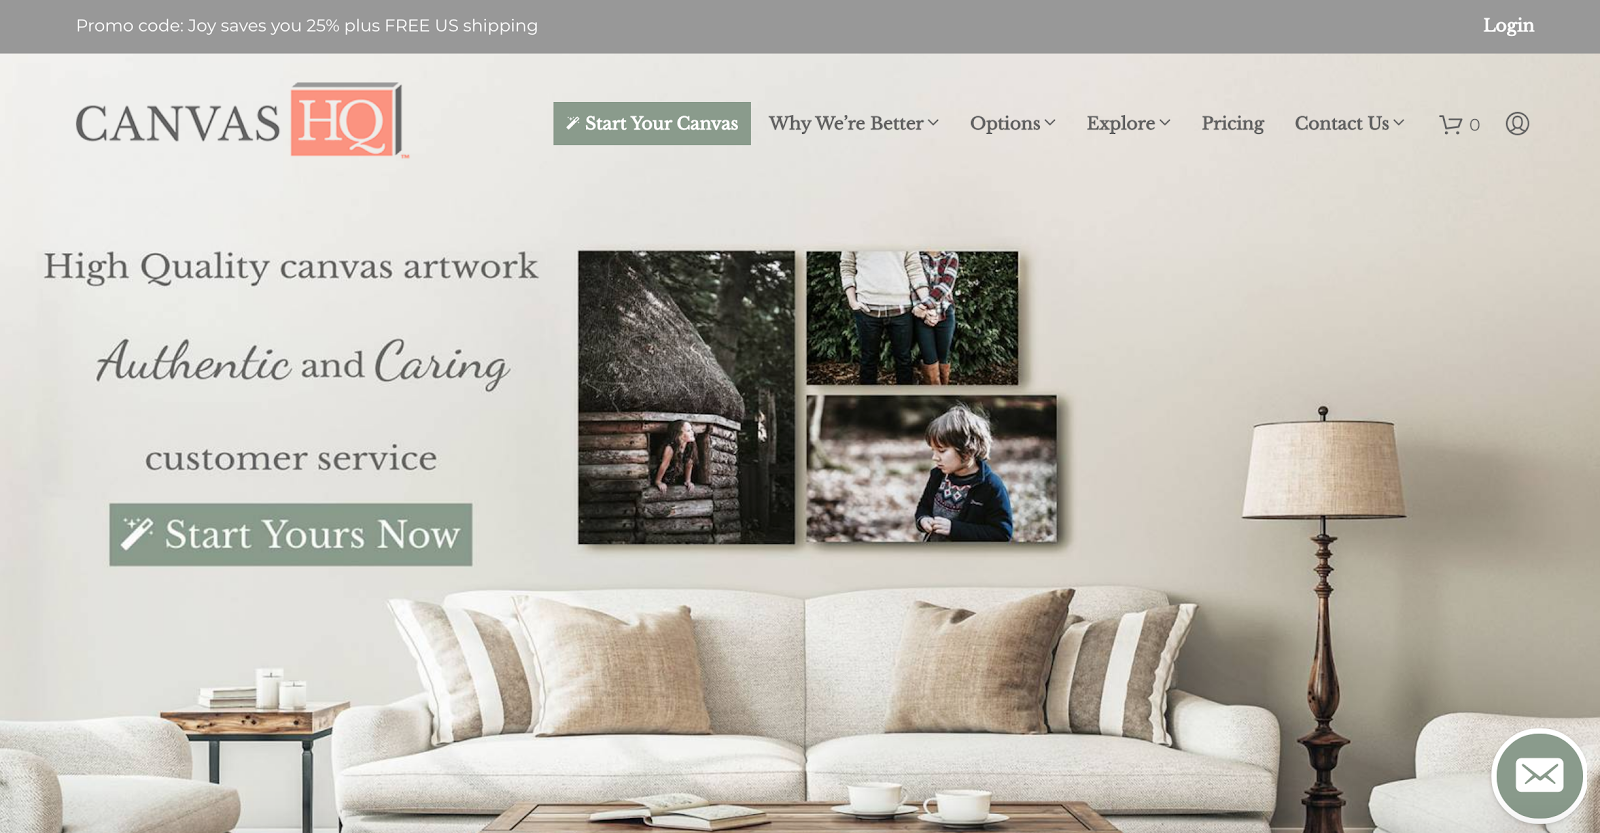
Canvas prints are one of my favorite mediums to work with when I’m decorating my home, but if you use a cheap canvas printer, your wall art will also look cheap.
That’s why I use CanvasHQ. CanvasHQ only uses the best quality ink and canvases, so that you can pass your wall art onto your children as family heirlooms.
They also hand stretch each canvas and hand build each frame so that, if there happens to be a problem in the creation process, they can fix it right away.
Plus, since canvas prints are relatively cheap (even when you work with a good printer like CanvasHQ) you really have no excuse to buy cheap prints.
Plus, unlike a lot of other canvas print makers right now, CanvasHQ is still shipping prints in a timely manner through the pandemic. You can actually check their website to see exactly how long it would take you to receive your canvas if you sent in a photo today.
As of the writing of this article, you’ll need to wait just 3 days for your production. That’s not bad at all considering the quality and craftsmanship that goes into each print.
I have dozens of CanvasHQ prints in my home, and I have yet to be disappointed! Besides, as I found in my 2020 Canvas Print Shootout (see video above), CanvasHQ more than held its own against their competitors.
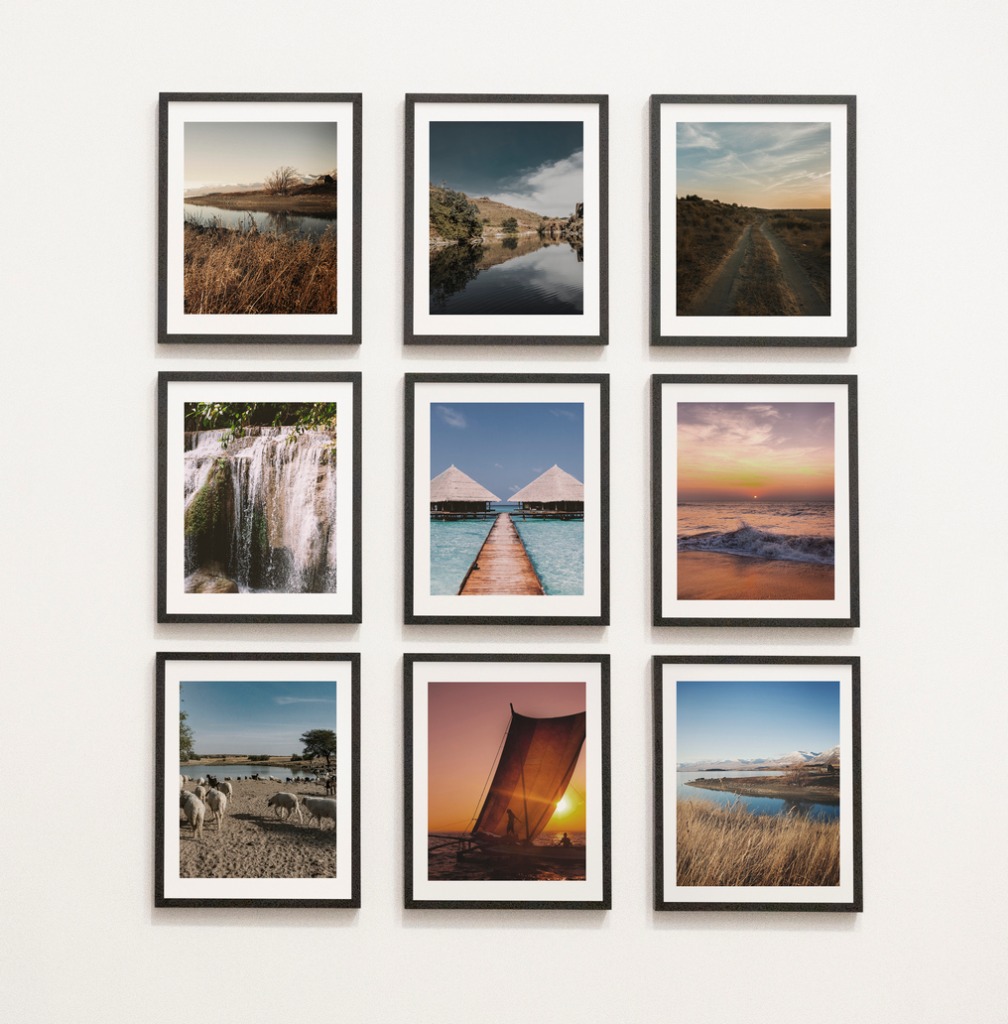
If you’re like me, you probably have way too many prints to hang on the walls of your home. But rather than displaying one image by itself, you can utilize the space around it to display other photos in a gallery wall.
Gallery walls can be a fun addition to any room. The key is to go about setting up the gallery display in the right way. Learn more about home photography on our website PhotographyTalk.com.
Here are some tips about how to display your photos you absolutely have to hear.
But first...
Before you can display your photos on a gallery wall, you need to select a company to print your photos. For me, canvas is the way to go. But the question is, what's the best canvas printing company of 2020? Check out the video above to find out!
Get Creative With Your Photo Display Placement
photo by Rawpixel via iStock
When I created my first photo display, I was so beholden to old preconceptions about what a photo display “should” look like.
I made sure everything was perfectly symmetric and in line with the furniture around it. I measured, then remeasured, then remeasured. But here’s the thing about learning how to display your photos - they are your photos. You need to listen to yourself, but moreover you need to ensure you don’t get in your own way.
Sometimes photos simply fit better in a specific room of your house that you wouldn’t otherwise think about given “normal” rules.
If you like your photo gallery wall to be in your bathroom, then that’s where it should be.
Examine Each Photo to Determine What Material to Print It On
photo by Sinenkiy via iStock
There are dozens of types of photo prints you can choose from and each brings its own unique characteristics to your wall display.
Some materials are less likely to work in your home. For example, if your personal style is very soft and delicate, a metal print with its hard edges and high reflectivity might not be the best option. You can also check another post about "at home photography ideas".
But other materials, like canvas, can work in any room of your house and give you that delicate, organic look you’re going for.
I’ve worked with CanvasHQ to create every one of my photo gallery walls. First of all, they’re a smaller company, which means their customer service is better and they’re more willing to work with you on your out-of-the-box ideas.
Secondly, they’re almost always running a promotion, so you can take advantage of killer prices on high-quality products.
Thirdly, they don’t use the same awful materials that some other printers do. Instead, they use archival-quality canvas that is hand-stretched onto your hand-built frame, and quality inks so you can be sure your photo display will retain its beauty for decades to come.
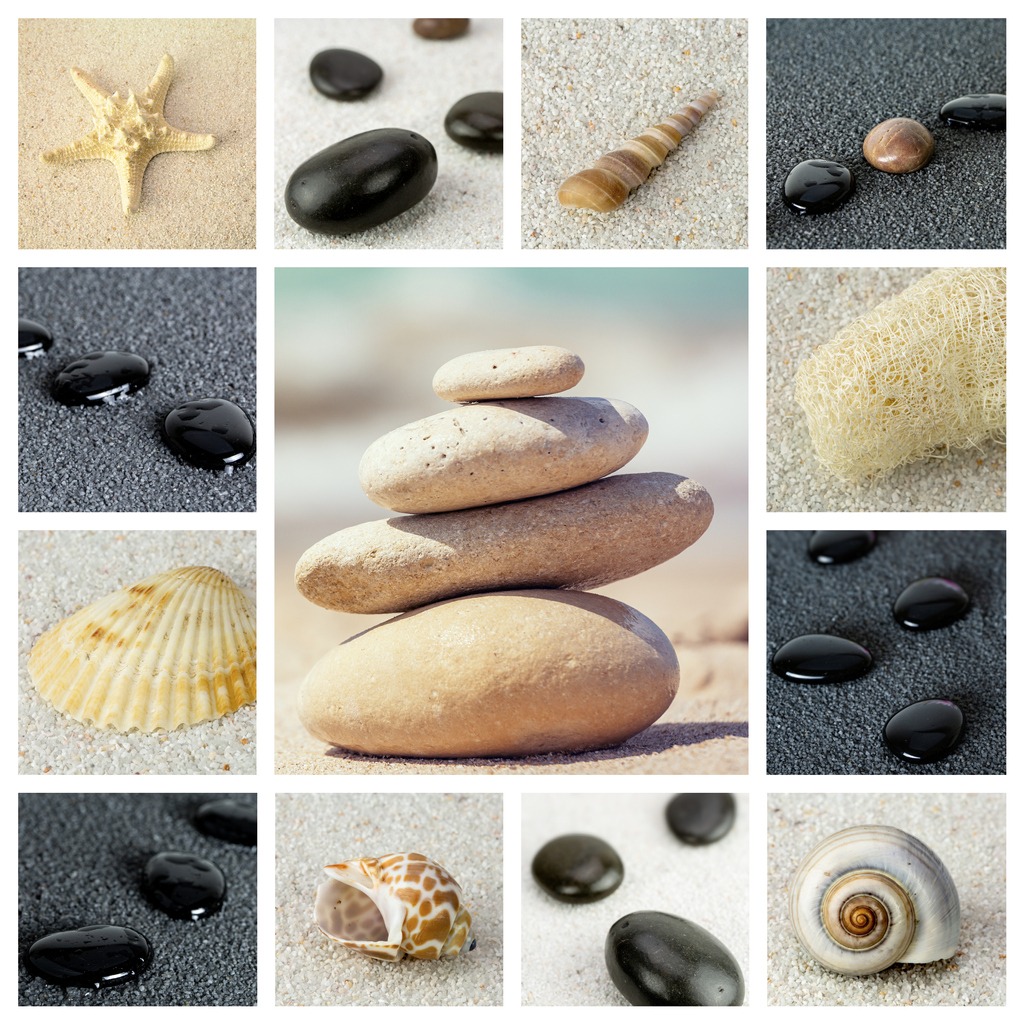
Think About Having a Theme
photo by pixinoo via iStock
While you’re learning how to display your photos at home, you need to remember that displaying photos at home is really no different than displaying photos in a gallery. Every piece needs to work off of the others.
In essence, you need a theme.
If you love your photos enough to build them a shrine in your house, then it only makes sense that you put in the work to make others love them just as much.
The theme you choose can be anything - family, home, love, struggle, the color blue...you name it!
But you don’t have to have a theme, either. Sometimes a themed gallery display can feel forced, and if that’s the case, the display won’t have the visual appeal you want.
Don’t Let Your Photo Gallery Wall Throw Your Feng Shui Off
photo by gorodenkoff via iStock
I’ve seen houses with a wall display that completely ruins the rest of the house. For instance, all of the furniture in your living room cannot be angled toward your photo display, no matter how proud you are of it.
The same goes for ensuring the colors of your photos add something meaningful to your space. Make sure they either play off of colors already present in your room, or the opposite, that the colors of the display contrast with other colors in the room.
In this way, you’re building an atmospheric experience rather than just a photo gallery wall.
Create Your Wall Display Multiple Times
photo by TommL via iStock
While learning how to display your photos, you don’t necessarily have to use your photos. While building a wall display, I usually cut out pieces of paper in the exact size as my photos and use them to plan where I want each photo to go.
Taping paper to the wall is much easier than hanging and rehanging your photo prints and will save you a lot of time in the long run!
This is just a simple tip to help spark your creativity before you commit to hanging your pieces on the wall.
Combined with the other tips provided above, I hope this helps give you a little inspiration and direction for making your gallery wall in your home.