Recording video at home requires good lighting in order for the finished video to have a natural appearance. You might at first think that the natural, ambient light in a home, office, or patio will record as a nice, natural look, but the truth of the matter is that ambient light can be difficult for good video recording. Learn more about photography at home on our website PhotographyTalk.com.
Being able to control the light will provide consistent, even results for your productions recorded inside, outside, or under mixed ambient lighting. When interviewing someone or filming your own instructional style video, maintaining a natural appearance will enhance the viewing of your videos.
How to Light for a Natural Look
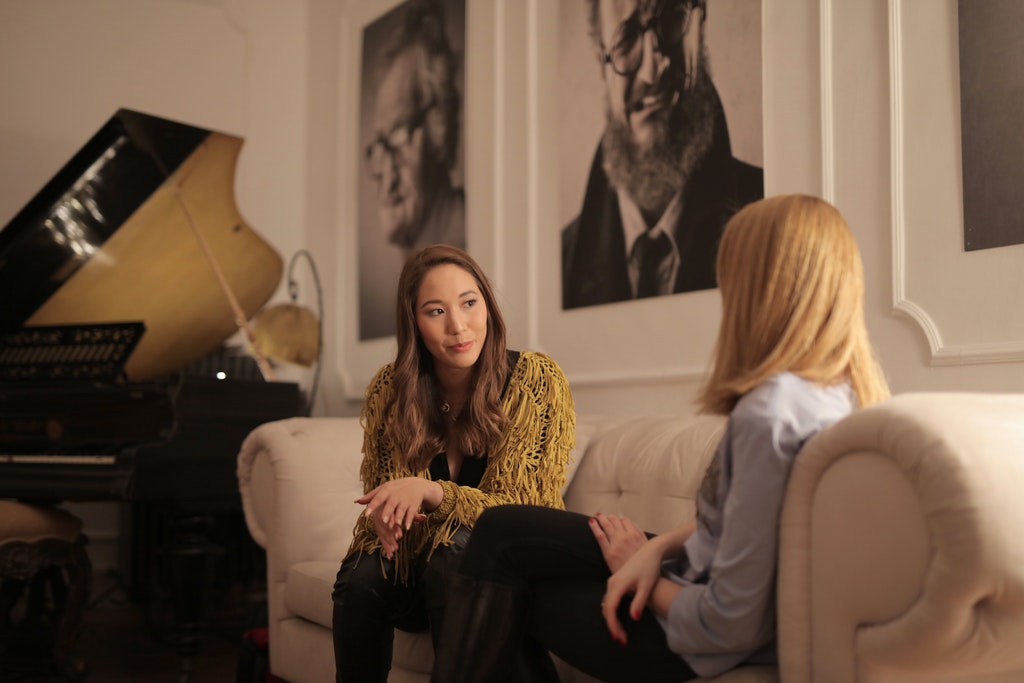
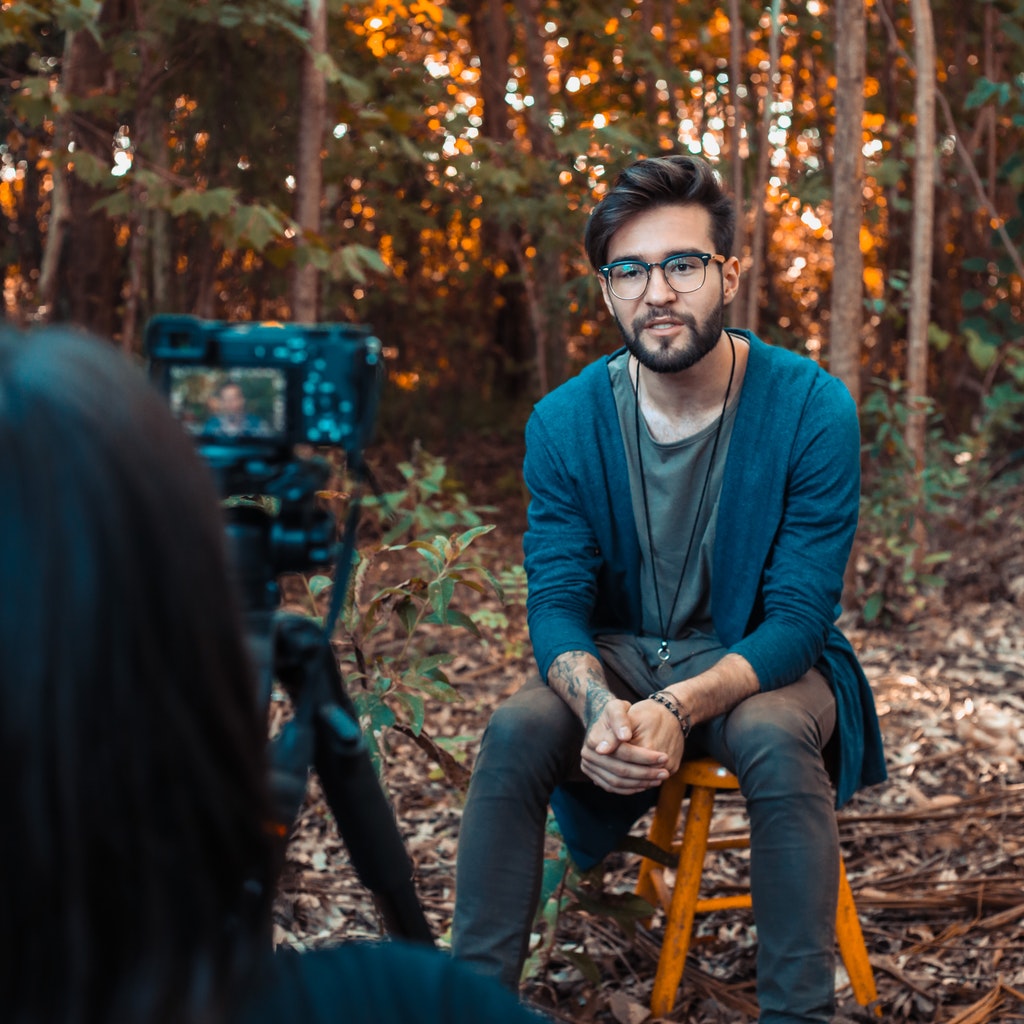
Photo by Andrea Piacquadio from Pexels
Put a cinematographer in any room and area and they will start looking at how best to light it. Ambient light is fine for something spur of the moment, but controlling the lighting is how a cinematographer achieves those superbly well lit natural looking scenes we’re used to seeing.
There are several simple video lighting arrangements that can be set up for recording video at home. The best lights for video recording are easy to operate, offer good color, and are powerful enough to control the scene.
The main lights used by many record from home cinematographers and videographers are key lights, fill lights, rim lights, background lights, and ring lights. Any combination of these lights can give you total control over lighting ratios and exposure values. You can also check article about photography projects.
We will highlight three very basic configurations and some choices for the lights themselves from Ikan. When shopping for video equipment such as lights and accessories, Ikan is a premier retailer for equipment since they make a lot of the stuff themselves and it’s designed by videographers.
Single Ring Light
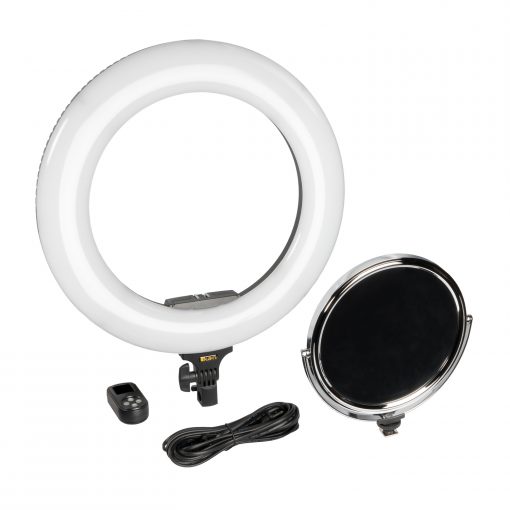
A ring light is a valuable tool for any videographer or photographer. Ring lights can deliver an almost shadowless light for relatively close up views. Figuring how to use a ring light is remarkably simple. You film through the ring of light itself.
This configuration is often used for close up shots or footage of an object you’re explaining or for recording a head and shoulder only view of an interview subject or yourself.
How to use a ring light: while the light is on, move the light closer or further away to vary just how shadowless it is. As with any other lights, the further away a ring light is, the more like a point source it becomes.
A couple of added benefits to ring lights is that they are excellent lighting for makeup artists and you can add a ring light to any other configuration for an eye catch light that results in a circular highlight in the eye.
The Oryon 18” ring light from Ikan is an excellent example of the type of ring light useful for recording video at home. The large ring emits a large swath of shadowless light and is also big enough to use with a full frame mirrorless or DSLR camera, a dedicated video, or a smartphone.
2-Point Light Setup
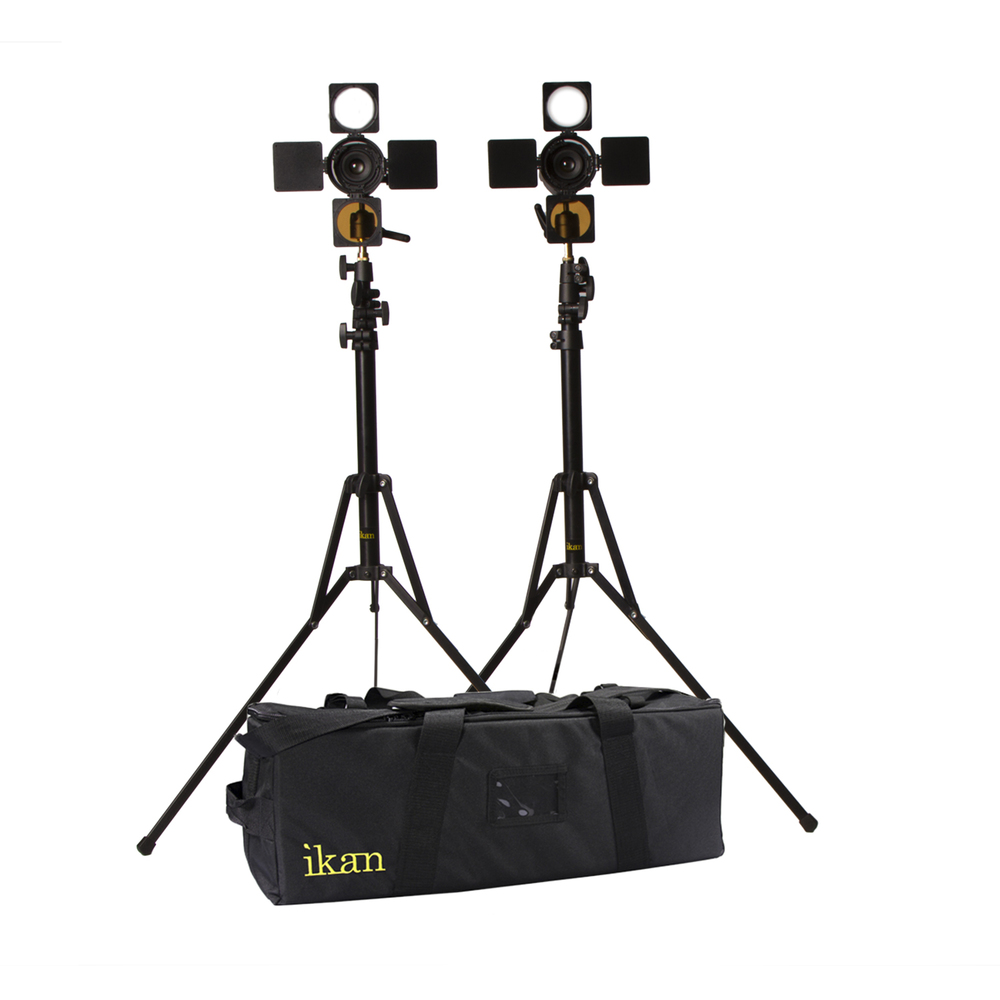
Perhaps the most common lighting configuration used in videography is the 2-point light setup. The two lights can be used in various ways. A couple of simple video lighting setups are a key plus fill light or a key plus back or edge light.
An easy way to get natural light when recording video at home is the key plus fill light configuration. The key light is the stronger light and the fill is less strong. The iLED 2-Point kit from Ikan comes complete with stands and can be adjusted with the included barn doors, gels, and diffusers.
In the common interview style of the subject looking slightly off the side of the frame, you can create either broad or short lighting by changing which side of their face gets the strong light. I like to have the stronger light on the side of the frame that the subject is not looking at, but either way works fine. You can also view another post about photography project ideas.
Using a 2-point light setup with a key light and edge light or backlight is also very easy to use and looks natural when recorded. An important tip with any interview video regardless of the light is to make sure you have both of the subject’s eyes visible, since having one eye hidden looks odd on screen.
3-Point Light Setup
The 3-point light setup is extremely versatile and lets you configure the lights for key, fill, and back or edge light all at once. Alternatively, you could use the 3rd light to light up the background.
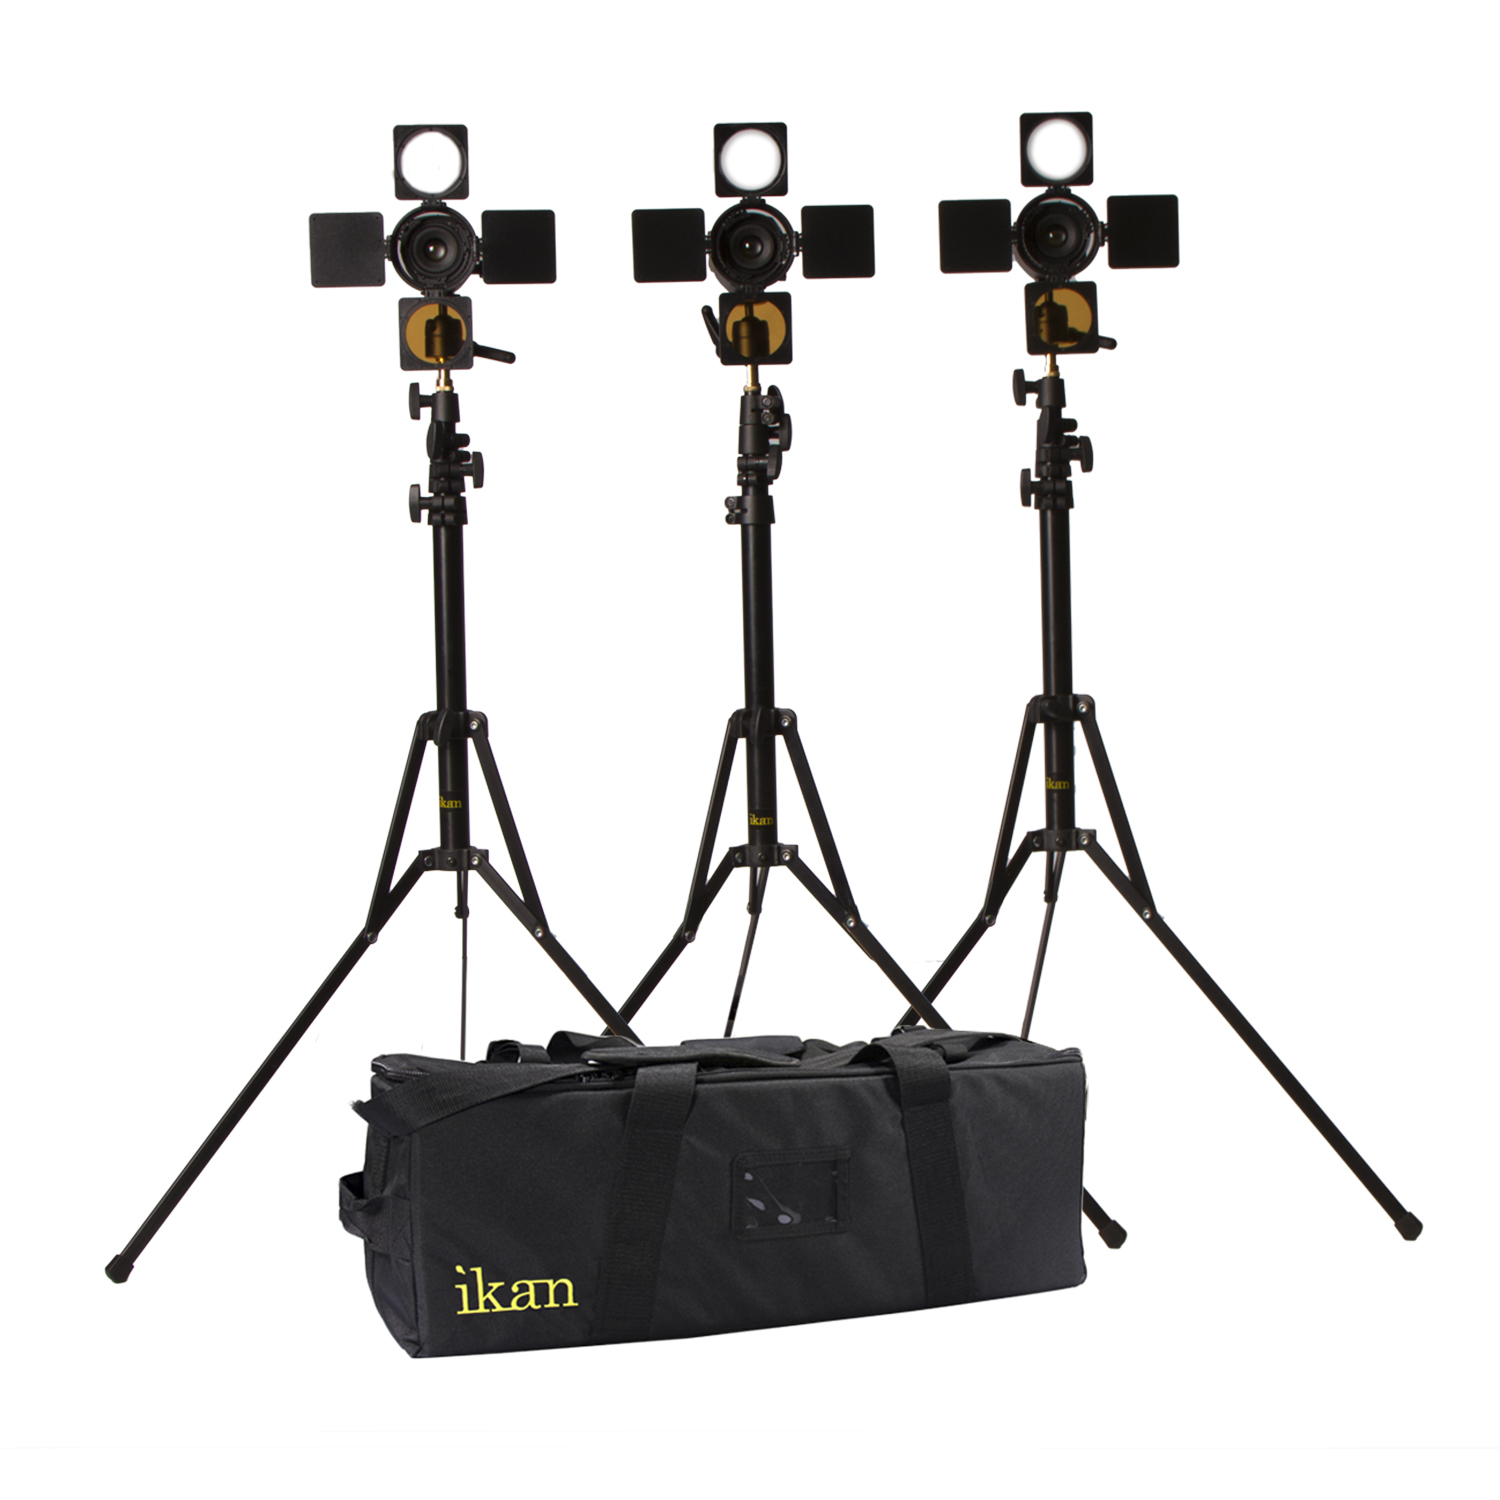
If you are planning on doing any chroma key or green screen effects, this lighting setup is the most useful since you need to light up the background for best results. The iLED 3-Point kit is the same as the 2-point light setup listed above, just with an added light, stand, and accessories.
Another alternative use for a 3-point light setup is to film a group interview or a larger scene. You can spread out the lights and balance them for even lighting or adjust lighting ratios for modeling effects. Raising one light higher than the other two is also an option for filming larger groups of people.
Control Is Key
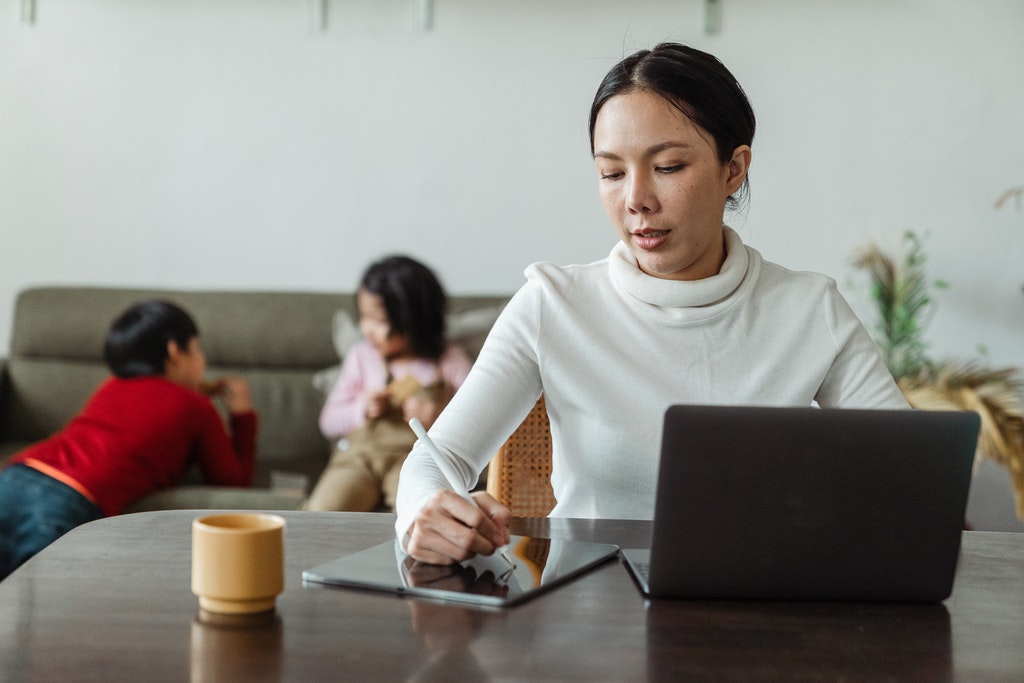
Photo by Ketut Subiyanto from Pexels
The key light is your main light and how strong you have it shine will affect exposure and frame rate the most, adding the other lights will add exposure value as well as change up the ratios and balance of the scene.
Move the lights around, raise and lower them, and adjust the intensity for what exposure settings you want, all of which will also enhance the naturalness of the finished recording.
This blog post about the topic "Lighting Options for Recording Video at Home" was first published on our website here https://www.photographytalk.com/lighting-options-for-recording-video-at-home