Showing posts with label Landscape Photography. Show all posts

Monday, 5 April 2021

How to Photograph Coastal Landscapes?

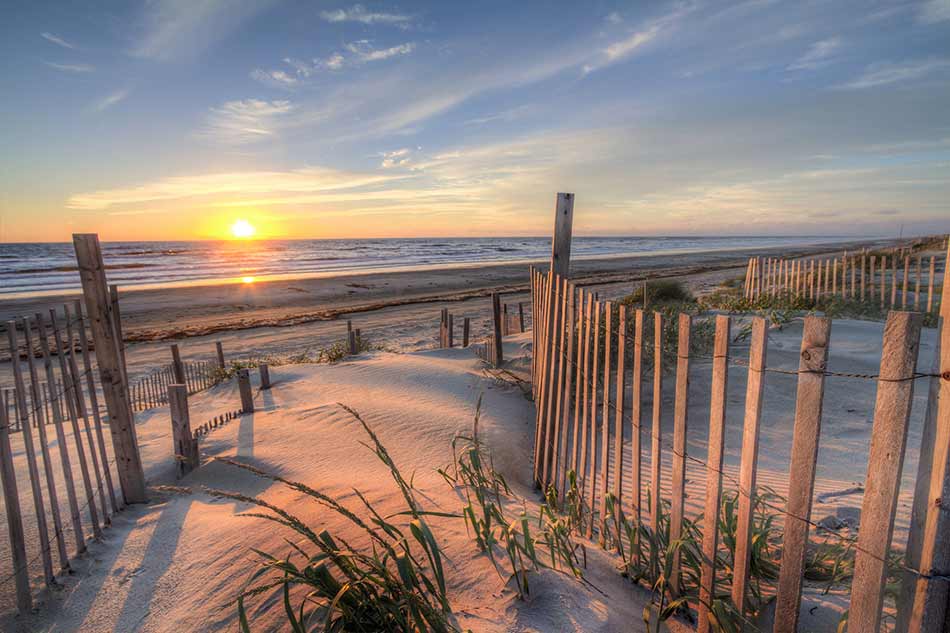
Coastal landscapes are some of my favorites because they offer so many different opportunities for landscape photos. Sunrises and sunsets, detail shots of texture-filled beached, motion blur of the ocean’s waves, and piers at night are just a few of my favorite subjects.

How to Photograph Coastal Landscapes image

But as with any kind of photography, there’s more to creating a beautiful coastal landscape photo than simply pointing your camera at something that looks pretty.

With that in mind, here’s a few tips on how to photograph coastal landscapes.

Coastal Landscape Photography Tip #1: Protect Your Camera

coastal photography tips image

photo by dchadwick via iStock

I think it probably goes without saying, but I’ll say it anyway - the coast is not a friendly place for cameras.

Pretty much everything you will find when you photograph the sea is detrimental to your camera - salt, sand, and ocean spray among them.

To keep those elements away from your gear to the greatest extent possible, follow these coastal photography rules:

  • Keep your gear in a camera bag whenever it isn’t in use. A waterproof bag is a good choice.
  • Minimize lens changes. The less time the inner workings of your camera are exposed, the less time there is for water or sand to enter.
  • If you need to change lenses, get as far away from the coast as possible. Even if you have to head back to your car in the parking lot, do it!
  • Once you’re done for the day, use a clean, damp cloth to wipe down all your gear. This will help remove any dust, sand, or salt spray. When you get home, a thorough lens cleaning and sensor cleaning is in order as well.

The coast is just too beautiful to pass up, so all this work to protect your gear is certainly worth it

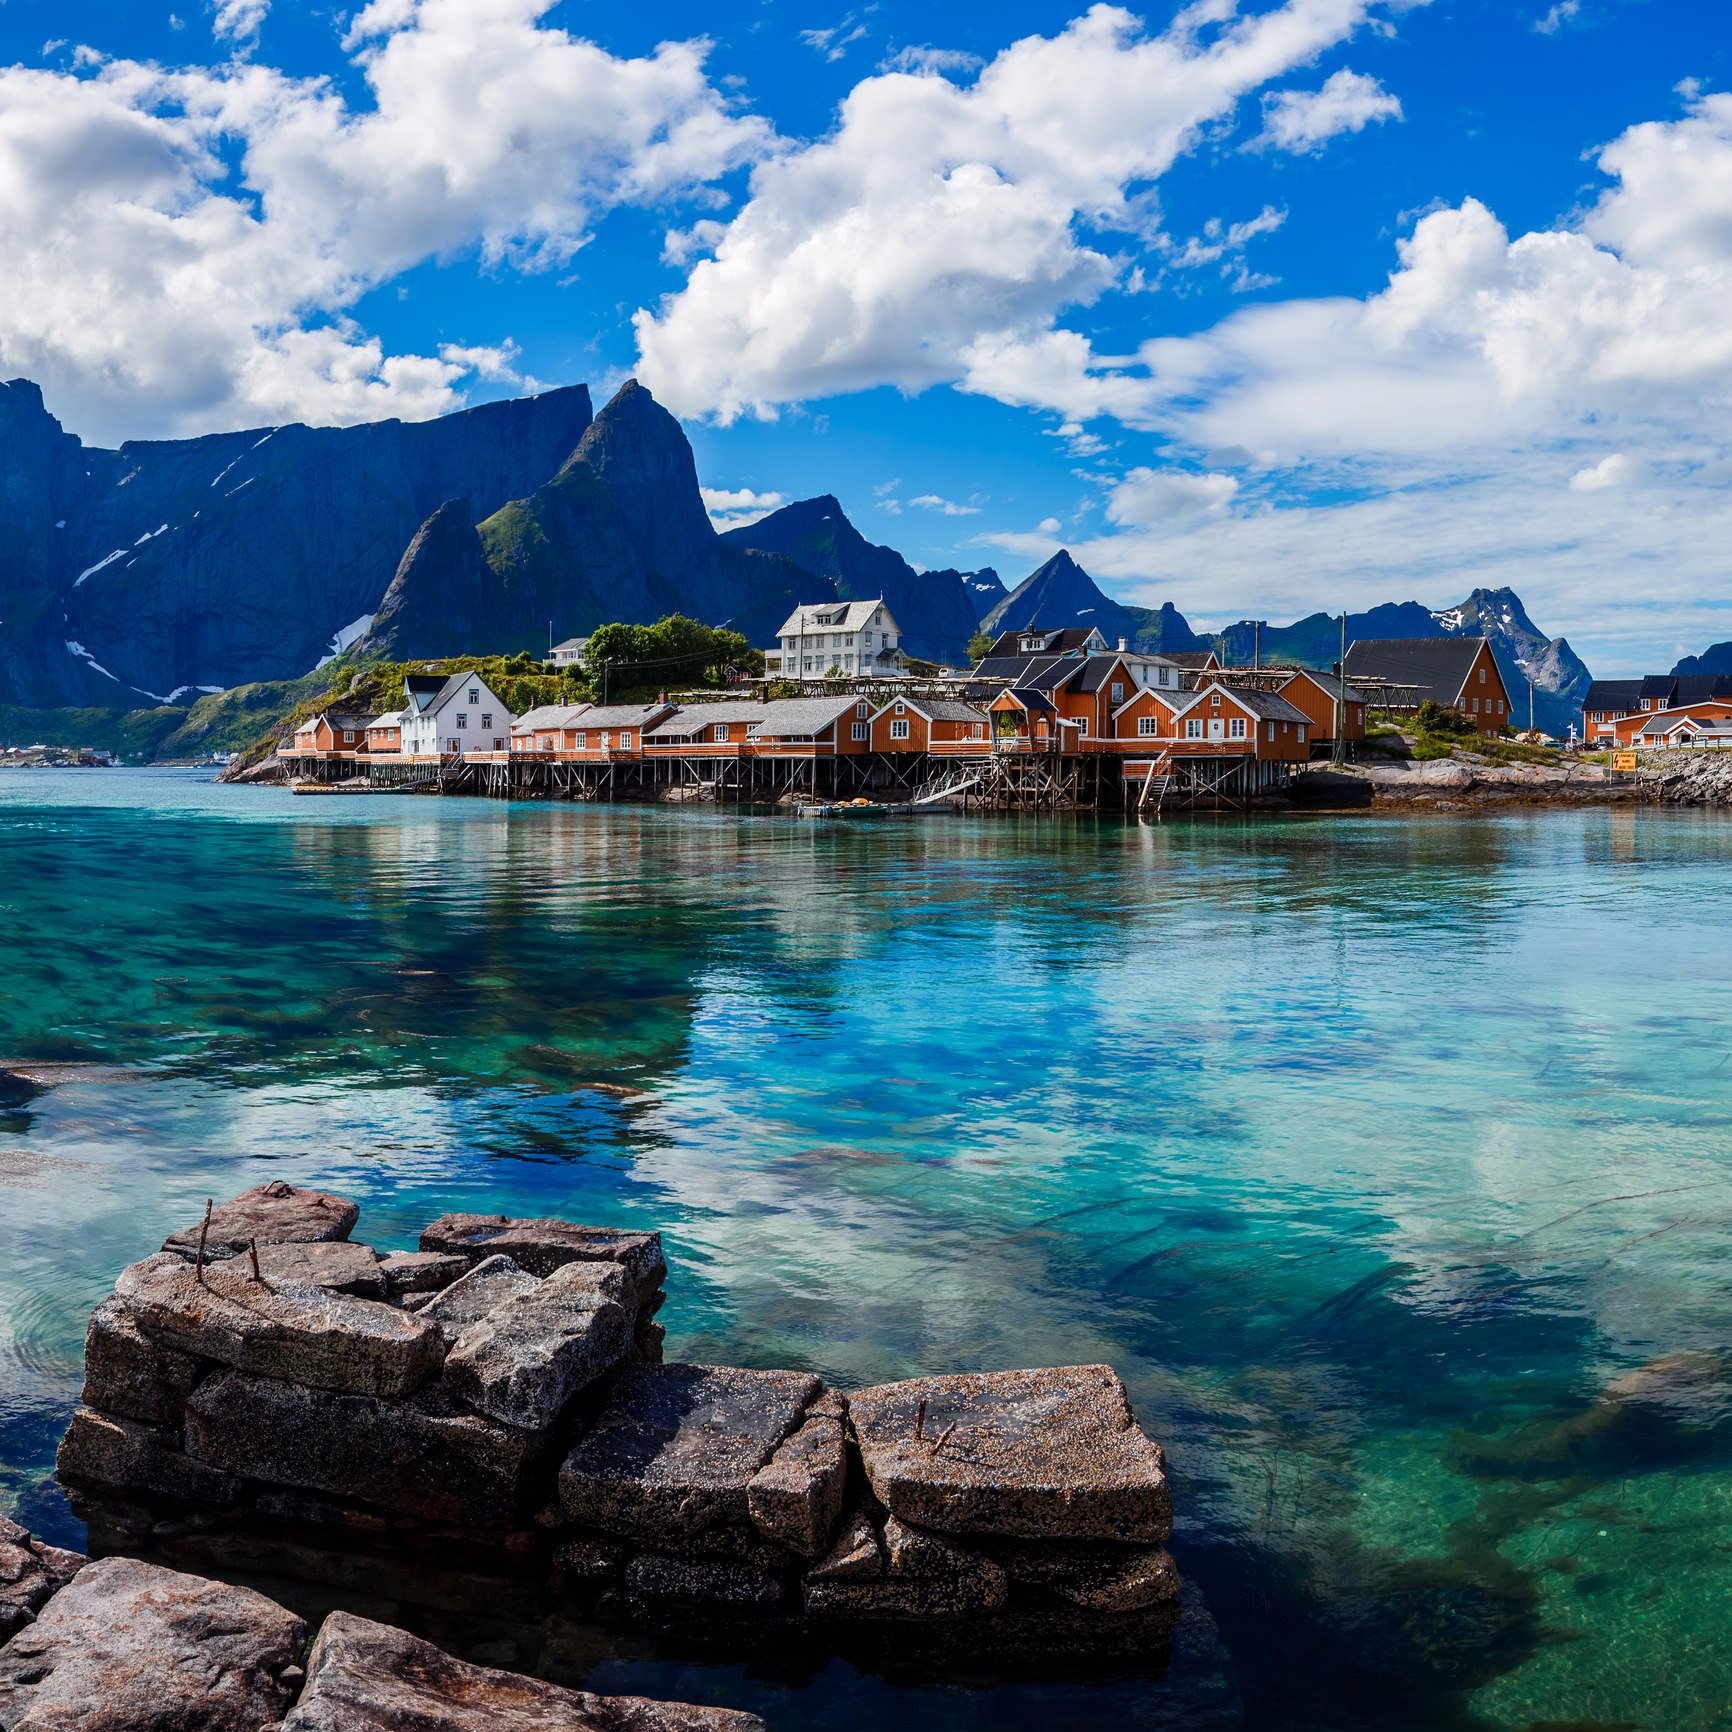
Coastal Landscape Photography Tip #2: Mind the Horizon 

how to photograph coastal landscapes 1 image

photo by RobChristiaans via iStock

When composing your shots, bear in mind that you not only need a strong subject to anchor the photo, but you also need to be aware of the best position for the horizon. Learn more about landscape pictures on our website PhotographyTalk.com.

A good rule of thumb to follow is that if there is more interest in the sky - a beautiful sunset or dramatic clouds, for example - shift the horizon downward in the frame.

Conversely, if the greatest area of interest is in the foreground - interesting rock formations or tide pools - shift the horizon upward in the frame.

how to photograph coastal landscapes 2 image

Photo by Jose Llamas on Unsplash

It’s also important to get the horizon perfectly straight.

A wonky horizon is one of the easiest ways to ruin an otherwise good shot. And while it’s simple to fix crooked horizons in post-processing, it’s even easier to simply pay attention to the composition and adjust your camera accordingly to get a straight horizon in-camera.

Many tripods have built-in bubble levels to keep things nice and straight. If your tripod doesn’t have a bubble level, you can buy one that fits in your camera’s hot-shoe mount.

Alternatively, you can use your camera’s virtual horizon if equipped, and if not, simply turn on the rule of thirds grid in live view and use the upper and lower grid lines to get the horizon straight.

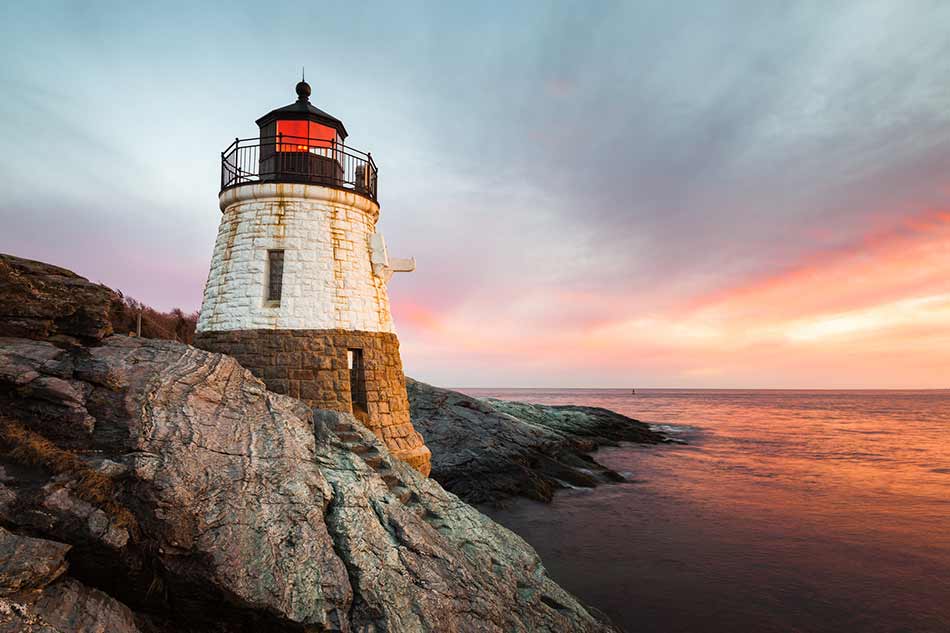
Coastal Landscape Photography Tip #3: Blur the Water’s Movement

tips for photographing the sea 1 image

photo by simonbradfield via iStock

You can’t visit the coast with your camera without taking a long exposure that blurs the movement of the water.

If you’re shooting during the daytime and you want this effect, you’ll need a good neutral density filter to block some of the light out so you can extend the shutter speed to get the blur you want.

On the one hand, you can use a set of solid ND filters that attach to your lens via a bracket. This allows you to stack filters to get the desired filtering power. It also allows you to stack different types of filters.

For example, you might have a solid neutral density filter combined with a graduated neutral density filter to darken the sky more without impacting the landscape.

tips for photographing the sea 2 image

photo by Daniel_Kay via iStock

Though this setup can work great, there’s two problems. First, using multiple ND filters can be a laborious task. For each shot, you might need to swap out one filter or another to get the right exposure level.

Second, when you’re at the coast, the last thing you want is more gear out in the salt and sand. Not only does that mean you have more gear that might suffer the deleterious effects of that particular environment, but it’s just more gear you have to clean when you’re done for the day.

kenko variable nd filter image

I started using the Kenko variable ND filter shown above a few months ago, and I have to say, it’s been a much smoother process than with my standard ND filters.

What makes it easy to use a variable ND filter is that it just screws onto the end of my lens, so I don’t have to worry about a filter holder and a bunch of rectangular filters

Furthermore, rather than having to swap out individual filters and stack filters to get the desired effect, with a variable ND filter, I just turn the filter in its housing ring. It really doesn’t get much easier than that.

variable nd filter tips 1 image

photo by DAJH via iStock 

I appreciate the fact that I can put the filter on my lens in the car when I get to the beach and leave it on there the entire time. This means I have one filter to clean and the lens glass is protected from that pesky salt and sand.

Of course, having a variable ND filter means I can easily blur the movement of the water and quickly get the desired effect I want. That’s because this filter varies from 1-10 stops, so you can get just a hint of motion blur, dramatic ethereal long exposures, and various points in between.


Coastal Landscape Photography Tip #4: Focus on the Details 

landscape photography tips 1 image

Photo by Joshua Earle on Unsplash

Not every photo you take on the coast has to be a wide-angle view of the beach or a sunset.

Instead, if you focus on detail-oriented shots, you will find that there are tons of possibilities for alternative types of coastal photos.

landscape photography tips image

Photo by Bruno van der Kraan on Unsplash

Try finding interesting rock formations to highlight in a shot. Add people to a coastal landscape for added interest. Explore sand dunes and feature interesting textures in a shot.

The point is that the more you explore, the more you’ll find that’s worthy of a coastal landscape photo.

This post about the topic "How to Photograph Coastal Landscapes?" was first published on our website here https://www.photographytalk.com/how-to-photograph-coastal-landscapes

Sunday, 4 April 2021

Landscape Photography Primer: Getting Sharp Images With Depth of Field and Hyperfocal Distance

When you gaze upon a landscape with your own eyes, you see the entire scene in sharp focus. Recreating that focus in the images you make of the landscape will have a lot to do with the image’s success or failure.

However, with some elements that might just be a few feet away from your lens and others that might be miles away, it’s necessary to take steps to ensure that all of that scenery is in sharp focus. Learn more about scenery photography on our website PhotographyTalk.com.

But how?

iStock 465546636 image

To get maximum sharpness in your images, you’ll need to use the principle of depth of field. Let’s explore a few critical components of this concept.

Depth of Field Defined

iStock 636329746 image

When you raise your camera to your eye and adjust the focus of the lens on a specific landscape element, you’re creating a focal plane that is parallel to the sensor.

That is, only the elements along that plane are in the sharpest focus - elements behind that plane and in front of it are not. That area of sharp focus is called depth of field.

For example: in the image above, the focal point is the horse in the foreground. As a result, the plane of focus falls across that horse, which is where the maximum areas of sharpness are in the photo. Everything in front of the horse (i.e. the grasses in the foreground) and everything behind the horse (i.e. the other horses and the mountains in the background) are outside the depth of field and are therefore not as sharp.

Note that the depth of field does not fall equally in front of and behind the focal point. Just one-third of the area of maximum sharpness is in front of the focal plane with the other two-thirds falling behind that point.

Factors That Impact Depth of Field

iStock 636886314 image

There are, however, a number of factors that influence the size of depth of field. If you find that the area of acceptable sharpness is too small, you can adjust any of the following to get a larger depth of field:

  • Aperture - The smaller the aperture (the larger the f-number), the greater the depth of field. For example, at f/22 you’ll have a greater depth of field than you will at f/2.8, all else being equal.
  • Distance to focal point - As the distance between your lens and the focal point increases, so too does the depth of field. For example, if your focal point is three feet away, the depth of field will be much smaller than if the focal point is 30 feet away.
  • Focal length - The shorter the lens, the greater the depth of field, so, a wide-angle lens offers a deeper depth of field than would be possible with a telephoto lens, all else being equal.
  • Sensor size - The larger the sensor, the shallower the depth of field, all else being equal. That means that if you use the same aperture, lens focal length, and are the same distance to the focal point with a full frame camera (large sensor) and an APS-C camera (smaller sensor), the full frame camera will produce a shallower depth of field.

For example: In the image of the Yosemite Valley above, we see how the first three factors above have been used to maximize depth of field. A wide angle lens has been used, and, combined with a small aperture, the entire scene is acceptably sharp from the rock in the foreground to the mountains in the background. Note how the rock is far enough away from the photographer’s shooting position that it falls within the depth of field.

Using Hyperfocal Distance

beautiful landscape with high mountains with illuminated peaks stones picture id920377882 image

Though “hyperfocal distance” sounds highly technical and scary, it is one of the most effective methods a photographer can use to ensure everything in the scene is acceptably sharp.

Hyperfocal distance helps you generate a depth of field that puts everything from the foreground to infinity in focus. Put simply, to maximize depth of field you need to focus at the hyperfocal distance for the aperture and focal length that you have selected. That means that by choosing the best aperture for landscape photography and adjusting the point of focus to the hyperfocal distance that the entire scene will be acceptably sharp.

iStock 607280514 image

The problem is that the mathematical calculation to determine hyperfocal distance isn’t exactly an easy one to grasp. Fortunately, there are many apps and websites that make those calculations for you.

For example: In the mountain scene above, if the point of focus was placed on the horizon line, the hyperfocal distance technique suggests that everything from about one-third from the bottom of the frame (i.e. the lakeshore) all the way to infinity will be acceptably sharp. In other words, by carefully selecting your focal point, you can determine which areas of the scene fall within the depth of field. If you want more of the background in focus, shift the focal point upwards in the frame. If you want more foreground in focus, shift the focal point downward in the frame. With practice, it will become far easier to understand where to shift your focal point to manipulate the depth of field based on the hyperfocal distance calculations.

A Hyperfocal Distance Hack

iStock 626465676 image

Because depth of field extends one-third in front of the focal point and two-thirds behind it, many photographers simply focus one-third of the way into the scene when using a very small aperture like f/22 to maximize depth of field.

In theory, this is a good trick to use because it will often result in an adequate depth of field. The problem is in the selection of a tiny aperture. As you select apertures at the extreme ends of a lens’ range, image sharpness begins to decline due to diffraction. So, by using the smallest possible aperture to get a large depth of field, you might actually negate the benefits of the large depth of field because the lens isn’t its sharpest at f/22. This lack of sharpness is especially evident around the edges of the frame.

Instead, endeavor to choose apertures in the lens’ sweet spot, or area of maximum sharpness. The sweet spot is different for every lens, but a good rule of thumb is that f/8 or f/11 will yield the sharpest photos. As a result, when using this hyperfocal distance hack, select f/8 or f/11, and then choose a focal point about one-third of the way from the bottom of the frame. The results will be sharper from edge to edge and from foreground to background.

With that, you have a better understanding of depth of field. You’re now also armed with the hyperfocal distance technique to maximize depth of field. Download a hyperfocal distance app to help you make perfect calculations, and keep the hyperfocal distance hack in mind as well. It will take a little practice, but with time, you’ll likely see landscape images that are sharper with a larger depth of field.

Get more details on hyperfocal distance in the video above by Brenda Petrella Photography.

This blog post about the topic "Landscape Photography Primer: Getting Sharp Images With Depth of Field and Hyperfocal Distance" was first published on our website here https://www.photographytalk.com/landscape-photography/7215-landscape-photography-primer-getting-sharp-images-with-depth-of-field-and-hyperfocal-distance