So, you're a photographer and a business-savvy person that's ready to start offering product photography services to retailers in your area and abroad. Smart move. It's a much more active field than many people realize in this camera-equipped world. Most retail business owners are more than willing to pay a professional for high-quality product photos, while they tend to running their businesses. That means steady work for a photographer who can consistently create product images that highlight the best features of the merchandise.
Before you get that first job, though, it's important to keep in mind that really good merchandise shots require much more than just tossing an item on a table and shooting. In many ways, this is one of the most challenging genres, especially when you're working with very small or reflective objects. Lighting each product in a way that enhances textures, colors, form, sparkle and more requires some practice and the right kind of equipment. Let's take a look at a few things that will help you get the best possible shots with the least amount of time and effort.
1. Use continuous lighting.
Flash is popular in many studios, because it's cooler than incandescent lighting and its color temperature is close to daylight, which makes it easier to render colors accurately. Unfortunately, flash lighting can be time consuming to adjust, since you can't see the effects of your setup without a test shot. In addition, using multiple flash heads means using remote triggering, so there's more cost involved.
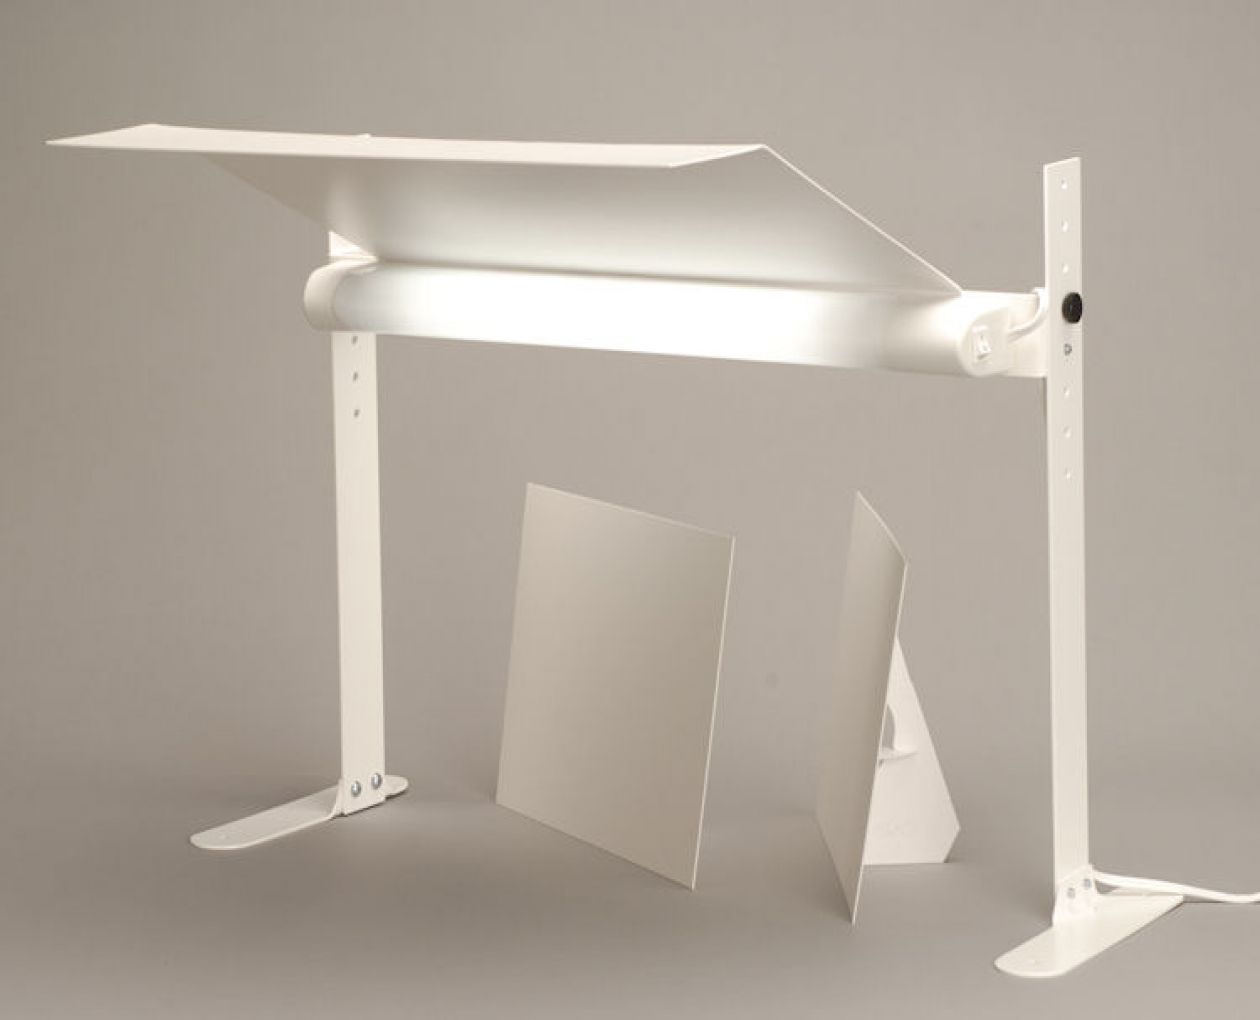
A cool, continuous main light source lets you adjust your lighting with bounce cards or matching accent lights and see the results in real time. This reduces setup time and makes you more productive, which is the key to making good money in this genre. A daylight-balanced fluorescent main light directly in front of and above the subject can be bounced to suit just about any object.
2. Use a sweep.
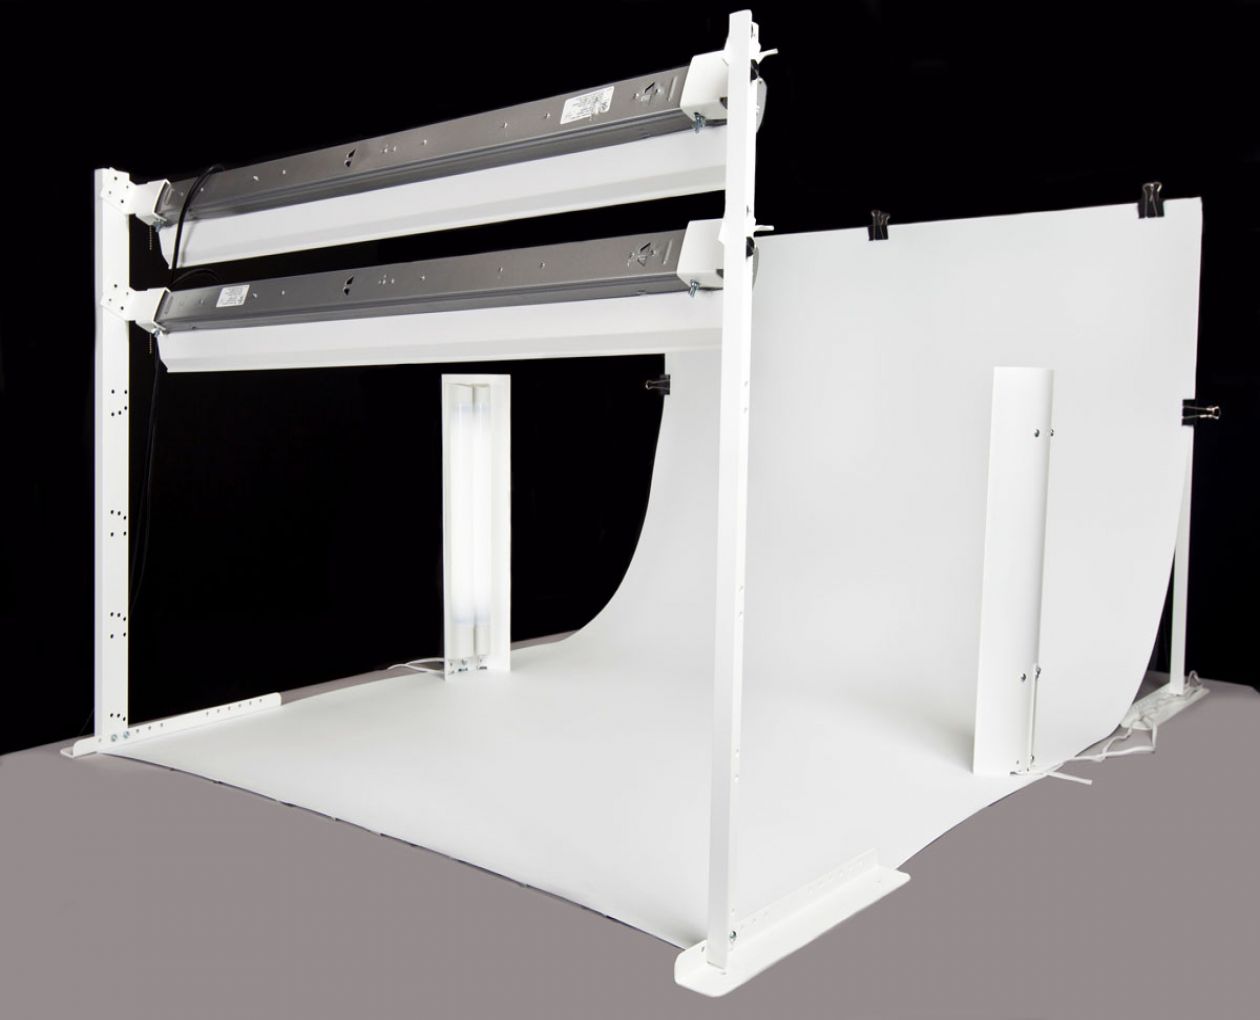
There's no need for fancy backgrounds in this field. It's the products you want to highlight, not the setting. A simple sweep is incredibly versatile, letting you create infinity backgrounds or gradients just by adjusting your lighting. A white sweep can even reflect that main light to help remove shadows from the subject.
3. Have a few props on hand.
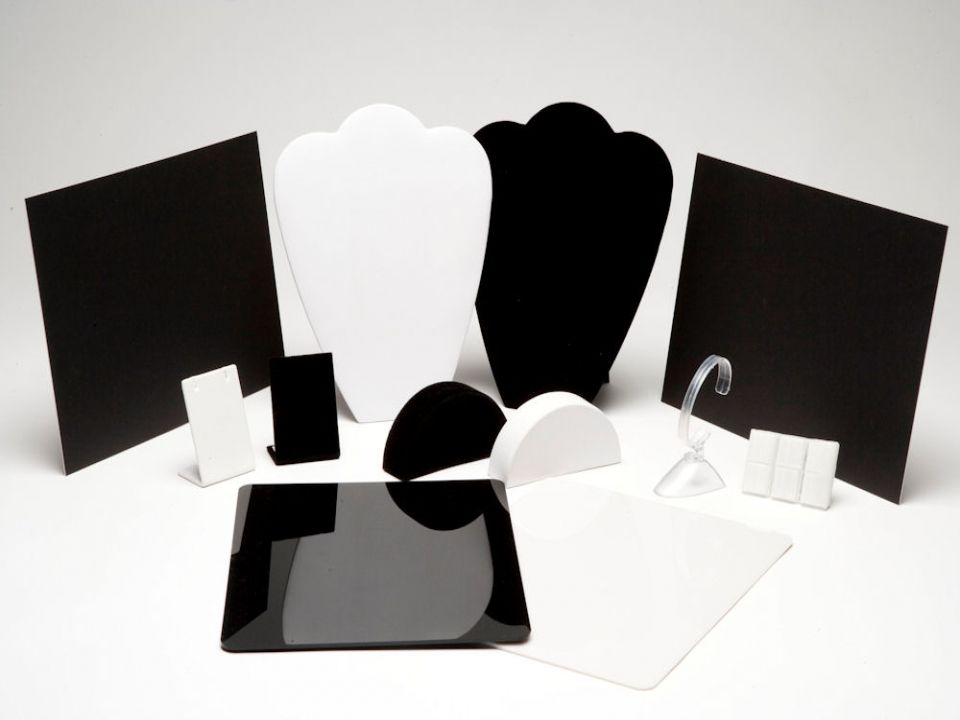
There are a many items that will look better when displayed on the right device. Necklaces, bracelets, earrings and other jewelry can be enhanced by placing them on a black, white or clear stand of the appropriate shape and size. Placing a mirror underneath some items can help model their shapes. A good product studio setup includes props that can be placed directly on the sweep to build a miniature set.
4. Be mobile.
There's a good chance that your first – and many other – product photo client will want you to shoot at their place of business. That's much easier to do if your studio travels and sets up easily. A tabletop setup is ideal, and the MyStudio® MS20J is the one I recommend for almost any shoot in any location. It's lightweight, sets up and breaks down in minutes and includes everything needed to follow the tips above, including the props. What's more, the cycloramic background gives you a sweep that allows much more flexibility in your shots.
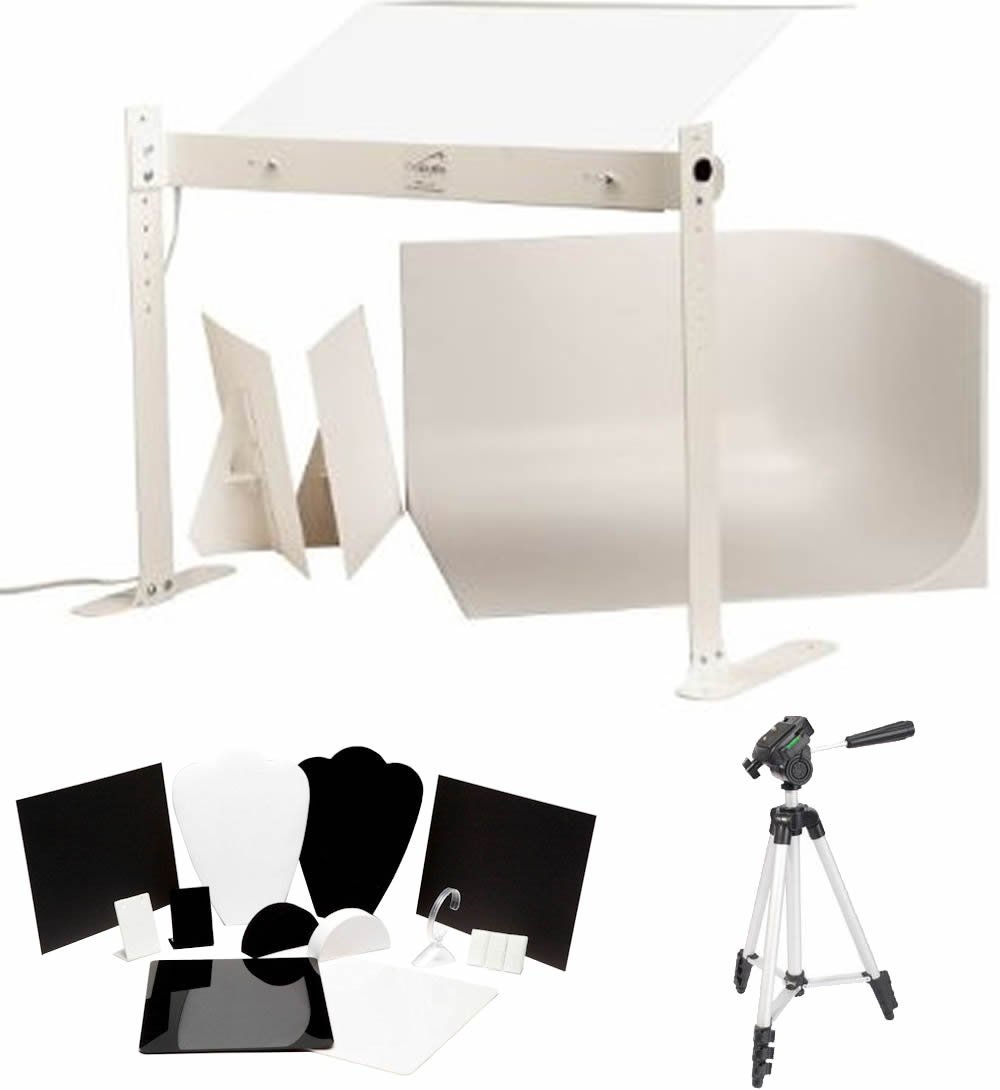
This portable studio will increase the productivity, a.k.a. profits of any product photographer and it goes just about anywhere. Best of all, it's affordable, even for a beginner! Take a few minutes to watch the demo video below, then head over to ProCyc to get yours today!
MS20J Tabletop Photography Studio + Jewelry Kit: http://www.procyc.com/store/complete-tabletop-photo-studios-jewelry-and-product-photography-props-accessories/ms20j
This blog post about "Product Photo Shoot" was first published on our website here https://www.photographytalk.com/photography-articles/6552-4-important-tips-for-your-first-product-photo-shoot